Dodge Ram 1994-2001: How to Replace Brake Fluid
Do the brakes on your truck not feel as sturdy as they used to? This is the sign that it's well past time for a brake flush. It's not all that difficult to do yourself. Here's how you flush your brake fluid.
This article applies to the 2nd generation Dodge Ram (1994-2001).
If you've ever noticed that your brake pedal doesn't push down as hard as it used to, that's because your brake fluid is getting old. Brake fluid absorbs moisture over time, which decreases its boiling point. When the brake fluid reaches past that boiling point, it doesn't work as effectively. This translates to a soft brake pedal that has to be pushed in all the way to get any brake force; this is called brake fade. The only solution is to flush out the old brake fluid and replace it with new brake fluid.

Materials Needed
- 2 bottles of DOT 3/4/5.1 brake fluid
- One man bleeder kit
- Turkey baster
- Drain pan
- Empty container
- Box-ended wrench
- Lug nut wrench
- Jack and jack stands
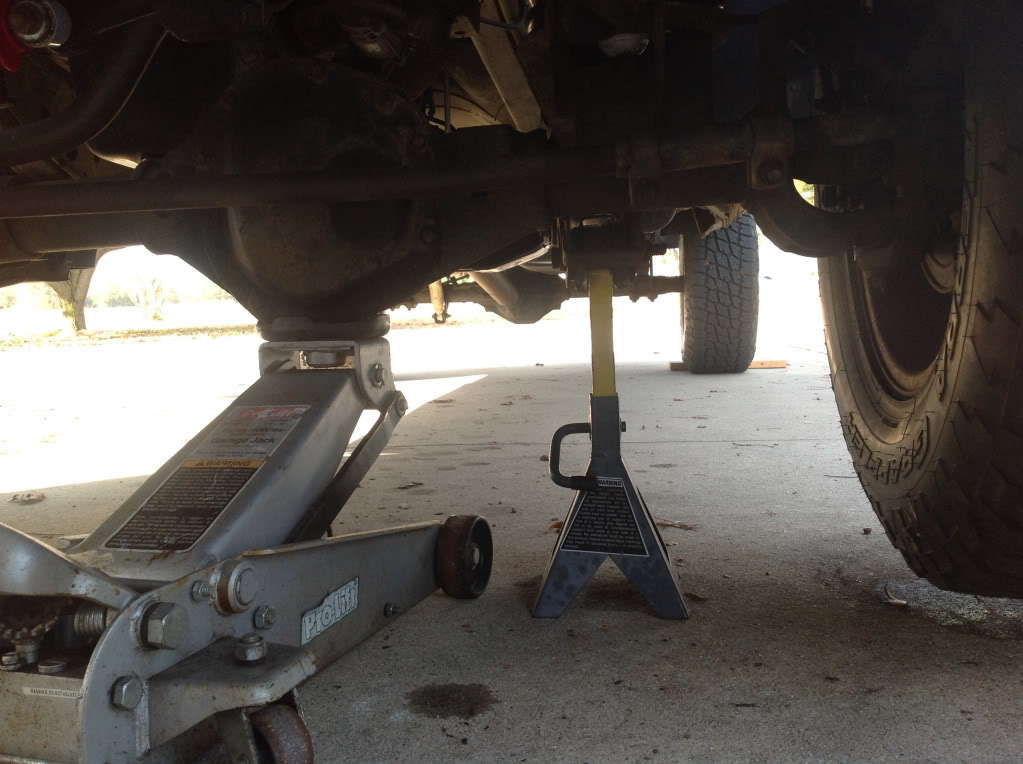
Step 1 – Lift the truck and remove the wheels
Loosen the lug nuts with your lug nut wrench a little before lifting the truck. Lift the truck with a jack and set it on four jack stands. Unscrew the lug nuts and remove the hubcaps. Pull your wheels off the wheel hubs.
Step 2 – Remove brake fluid from the master cylinder
Open the cap to the master cylinder. The brake fluid level should be high. Take a turkey baster and suck out about half the fluid in the master cylinder. You absolutely do not want the master cylinder to drain completely because that would introduce a lot of air into the system. So drain as much as you can without emptying it. Then pour in new brake fluid. Don't fill it all the way to the top because there's still a chance it could spill when you pump the brakes.

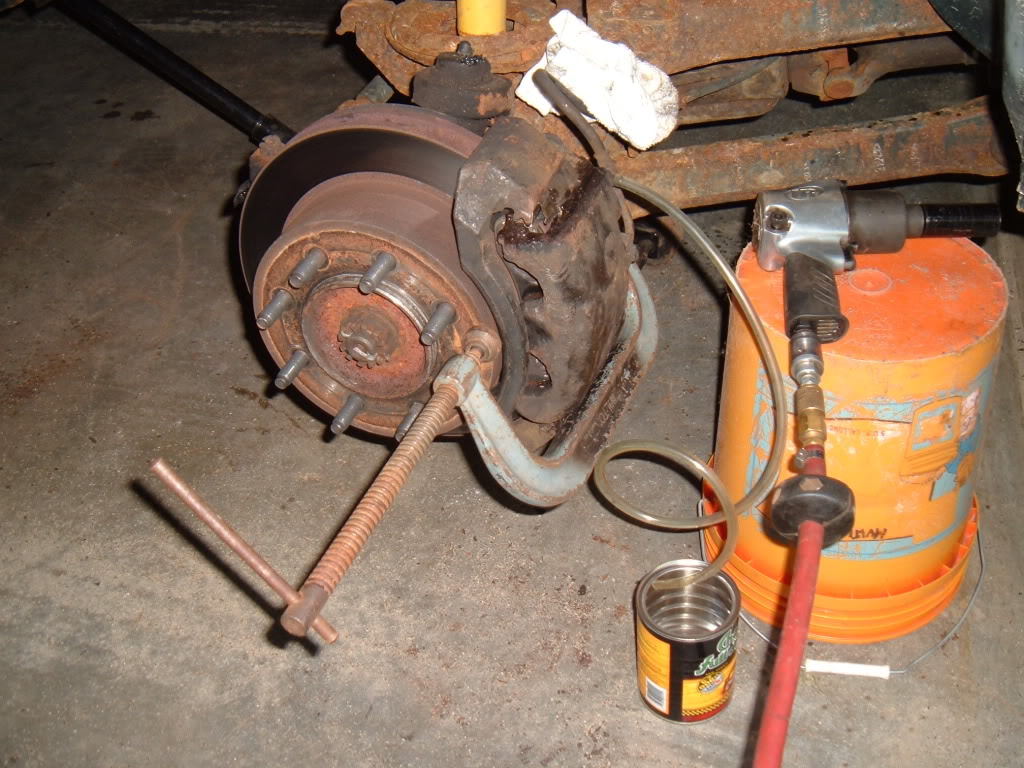
Step 3 – Bleed your brakes
Start at the caliper farthest from the master cylinder. Your one man bleeder kit should come with a bottle and a plastic hose. Put your box-ended wrench around the bleeder screw, and then attach the hose. Have a drain pan ready in case some of the brake fluid spills. Now, have your friend slowly pump the brake pedal several times, and then hold the pedal down. Open the bleeder screw, and brake fluid will quickly flow through your plastic hose. Watch the air bubbles flow through and watch the color of the brake fluid. Then close the bleeder, and have your assistant repeat the process of pumping the pedal. Every once in a while, stop to add more brake fluid to the master cylinder. Once new brake fluid starts flowing through the bleeder, tighten the screw and move on to the next caliper. The order you want to go in is right-rear, left-rear, right-front, and then left-front.
Pro Tip
Be careful not to push the brakes all the way down. This could damage the seals in the master cylinder.
Step 4 – Put back tires and lower the truck
Once you're certain your brake lines are filled with new brake fluid, you're pretty much finished. Just top off the master cylinder once more. Then reattach the wheels, hubcaps, lug nuts, and then lower the truck from the jack stands. Take a test drive around the block at low speed to ensure that the brake pedal is firm and the truck stops as it should.
Related Discussions
- Brake Fluid Flush Procedure - DodgeForum.com
- DIY Front Brakes and Caliper Replacement - DodgeForum.com
- Dirty Brake Fluid - DodgeForum.com
- Flushing brake fluid in 02 Ram with rear anti-lock - DodgeForum.com