Dodge Ram 2002-2008: How to Replace Brake Line
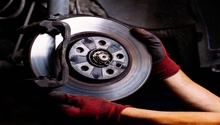
Bad brake lines could mean bad braking power. Make sure your braking system is as efficient as it can be. Here's how to replace the brake line in your Dodge Ram.
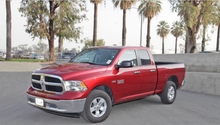
This article applies to the Dodge Ram 1500 (2002-2008).
Through the life of your Dodge Ram, it is possible you may need to replace the brake lines. This could happen due to damage or possibly even due to corrosion. In some wet or colder climates, especially where it snows, this is a very common issue. Also, the rubber that these lines are made out of tends to dry out and crack over time due to age. This can lead to a line rupturing or bursting, which, as you can imagine, is not a good thing.
Most auto parts should carry the brake lines in stock and all you will have to know is whether or not your truck has two or four wheel ABS.

Materials Needed
- Floor jack
- Jack stands
- Flare nut wrench set
- Millimeter socket set sizes 13mm - 21mm
- Millimeter wrench set sizes 10mm - 14mm
- Brake bleeding setup (vacuum or two person method)
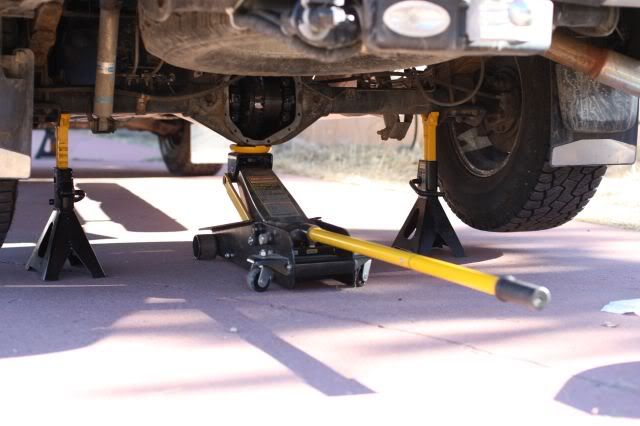
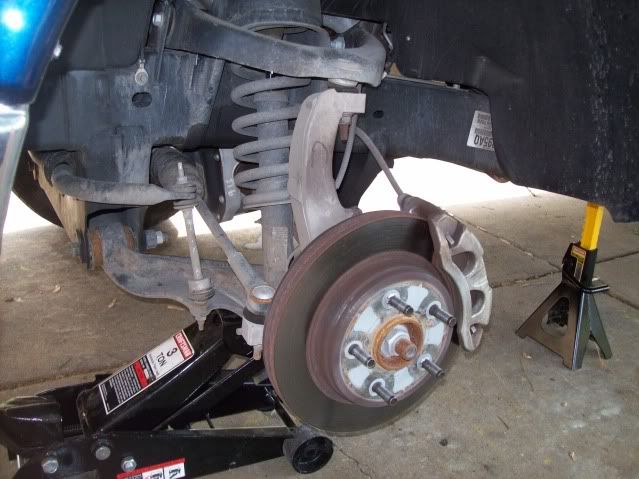
Step 1 – Elevate vehicle off the ground
Raise the vehicle off the ground so that whichever wheels of the brake lines you are changing aren’t touching the ground. Make sure the vehicle is secured with jack stands on level ground.
(Related Article: How to Jack Up Your Truck - Dodgeforum.com)
Step 2 – Remove wheels
Loosen the lug nuts, raise the car, secure it with jack stands, and remove the wheels of the brake lines you will be changing. When you remove the wheels set them out of the way.
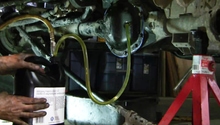
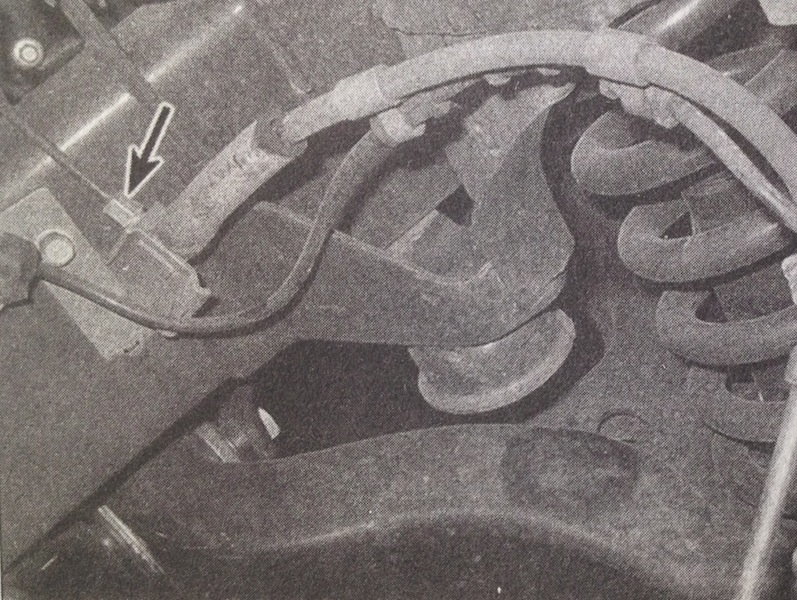
Step 3 – Replace flexible rubber hose
This is the outline of the steps to remove and replace the flexible rubber lines.
- Clean all dirt away from fittings.
- Using a flare nut wrench, disconnect the metal brake line from the hose fitting.
- Disconnect brake line bracket from frame. Plug the metal line to prevent contamination.
- Unscrew the banjo bolt at caliper.
- Remove the hose.
- Discard the sealing wahsers.
- Attach a new brake line to caliper. Always use new sealing washers when connecting brake line.
- Connect other end of the new hose making sure it is not twisted or kinked.
- Fit the metal line to the new hose.
- Tighten the line bracket.
- Tighten the tube fitting nut.
- If it was a front line, turn the wheel to ensure that the wheel will not come in contact with the new line.
Step 4 – Bleed brakes
You will only need to bleed the brakes of the wheel that you changed the brake line of.
Bleed brakes as follows:
- Remove the residual vacuum (or hydraulic pressure) by applying the brake pedal several times with the engine off.
- Remove the reservoir cap.
- Place the tube of the catch can over the bleeder valve on the wheel that you are going to be bleeding. Start with the farthest corner from the master cylinder first and work your way to the closest.
- Have an assistant slowly depress and hold it in the depressed position.
- Open the bleeder screw enough to allow a flow of fluid to leave the valve. While doing this, keep an eye on the fluid being removed. It will be a dark color.
- Tighten the bleeder screw.
- Have an assistant release the brake pedal.
- Repeat Steps 4-7 until you see fresh, lighter colored fluid coming out of the bleeder screw tube.
Related Discussions
- Brake Line Identification - Dodgeforum.com
- Replace Brake Line - Dodgeforum.com
- Brake Line Near Gas - Dodgeforum.com
- Rear Brake Line on Drivers Side - Dodgeforum.com