Dodge Ram: How to Wire a Third Brake Light
Wiring a third brake light provides added safety for you, your passengers and surrounding traffic.
This article applies to the Dodge Ram (1994-present).
All vehicles are equipped with brake lights, but not all of them are equipped with a third brake light. This type of light serves as an additional point on the vehicle that indicates to surrounding or following traffic to be aware that the operator has applied the brake pedal. Those vehicles that don't originally come equipped with a third brake light can still benefit from many of the aftermarket systems available today. Some truck owners may also want to utilize this feature that comes with many camper canopy or shell setups.

Materials Needed
- Shrink wrap
- Wire connectors
- Wire cutters
- Wire crimp tool
- Electrical tape
- Solder
- Phillips screwdriver
Step 1 – Install third brake light and run wire
While most Dodge Ram trucks in this range are relatively similar, not all came with the same harnesses. On many models, there is a white or tan wire which terminates under the rear of truck bed near the spare. This white wire was specifically provided by the manufacturer for purpose of CHMSL which stands for "Central High Mount Stop Light." For those who don't have this wire, they can tap into the left brake light assembly. The third brake would then function the same as the left and right brake lights.
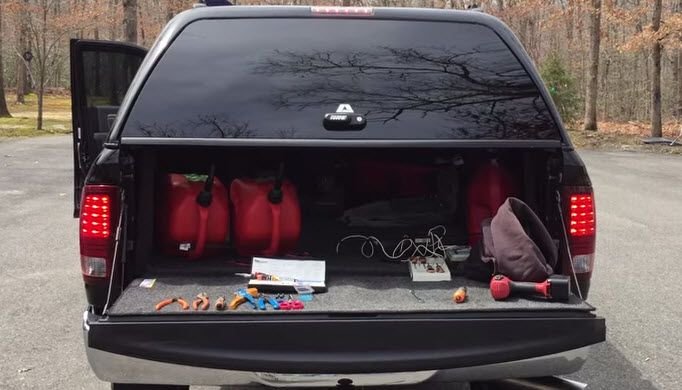
- Install and secure third brake light with screw driver.
- Guide the wiring down toward the driver side tail light "pocket."
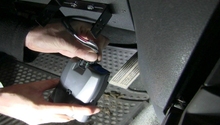
- Locate CHMSL wire under the truck bed near the spare tire.
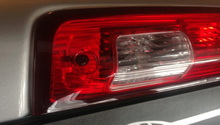
- Locate the continuous power to the driver side brake light assembly.

Figure 1. Securing third brake light. 
Figure 2. Guide wiring down toward pocket. 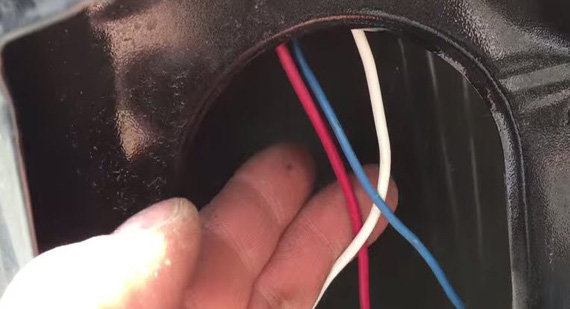
Figure 3. Locate CHMSL wire. 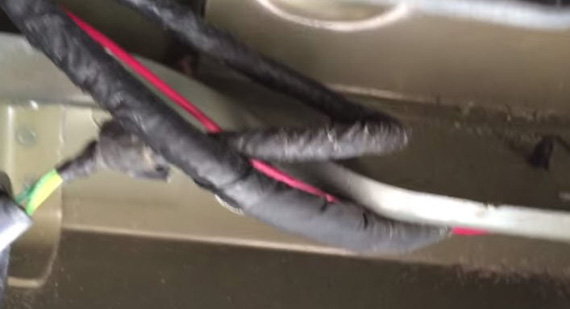
Figure 4. Continuous power.
Pro Tip
If locating the wire on the tail light, it is the white "middle" wire. It Is necessary to remove the bolts holding the tail light to the body for better access.
Step 2 – Splice your wires
Now that you've located the connection point, you'll need to connect the harness from the new third brake light assembly to your connection point.
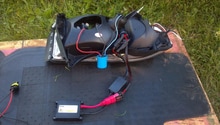
- Using wire crimping tool, strip the connection point's wire to expose wire.
- Splice in the harness's wire using wire connectors.
- Cover the splice with electrical tape.

Figure 5. Expose wire. 
Figure 6. Cover with tape.
Pro Tip
For the most solid connection, using waterproof connectors and soldering will create a tight and continuous circuit.
Step 3 – Test the brake lights
For this step, you may need an assistant to view the functionality for you. Now that everything is wired up and connected tight, it is time to test.
- Turn the key to accessory mode.
- Press brake pedal.
Related Site and Video
- Wiring 3rd Brake Light Dodge Ram - Dieseltruckresource.com
- Wiring 3rd Brake Light on Dodge Ram Camp Shell - Youtube.com