Dodge Ram 1994-2001: How to Install HALO Headlights
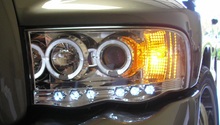
HALO headlights aren't just for improved visibility; they look pretty sweet on a Dodge Ram.
This article applies to the Dodge Ram (1994-2001).
If you are looking to set your truck apart and give it an out-of-this-world look, HALO HID headlamps may be the way to go. This isn't the cheapest modification that you can make, but it is one of the most impressive looking ones. As easy as these are to install, the return on investment will be quick, counted in the miles of smiles on your face as you drive down the road. If you choose to have a professional install these bad boys, expect to pay almost double what you will pay doing this job on your own. Save yourself all this cash by doing the job in your own garage and sit back and watch everyone else look mesmerized by your truck's new face lift.

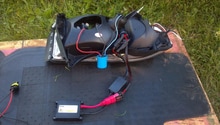
Materials Needed
- Phillips head and flat tipped screwdrivers
- Ratchet and 10 mm socket with long extension
- Trim pad removal tool or scraper
- Wire strippers and crimpers
- Male and female connectors
- Electrical tape
- White and black headlight wires
- Test light
Step 1 – Open hood, remove headlights
- Open the hood and locate the single Phillips head screw under the turn signal light. Remove this screw and the turn signal assembly will pop right out.
- Pull out the turn signal bulb from the back of this assembly, and the assembly can be set aside.
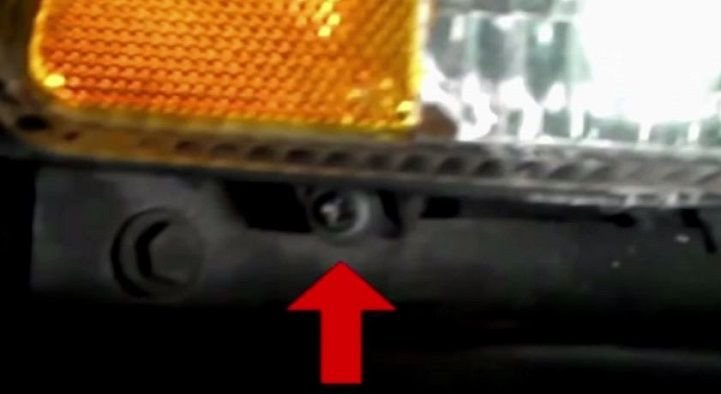
- For the headlamps, you'll find a rubber gasket on the outside edge with three plastic clips. Remove these clips with a trim pad removal tool, scraper or flat head screwdriver.
- There are three 10 mm bolts that need removed around the headlights. One is under the front, another is behind that rubber gasket and the third is in the bottom corner.
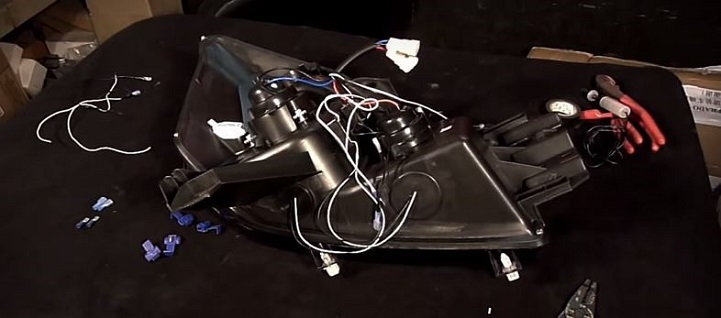
- When all three bolts are removed, the headlights can be removed after the wiring harnesses in the rear are disconnected.
Step 2 – Re-wire the replacement HALO headlights
- Strip about an inch of wire sleeve from the two white and two black wires. Crimp connectors on each end and wrap with electrical tape to protect from the elements.
- Repeat this procedure with the wires already connected to the back of the replacement HID headlight assembly.
- Match the two white wires, strip an inch from the ends and twist the two together. Crimp using the opposite type of connector that you used on the other wires (male versus female connectors).
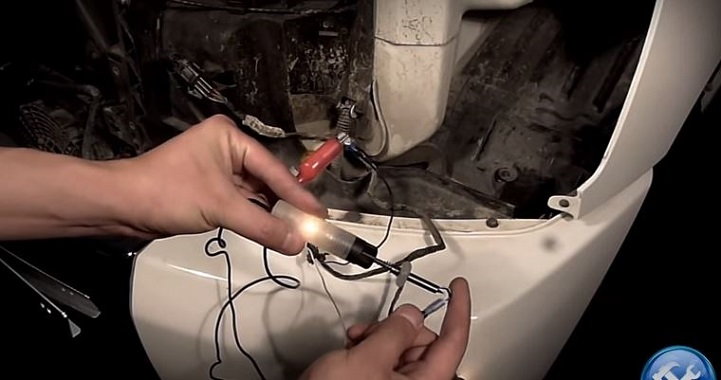
Step 3 – Find the hot driving light wire
- Ground your test light to the chassis of the car. Turn on the driving lights. Probe the wiring harness for the headlights until you find the power wire for the driving lights.
- Once you find the power wire, splice it together with one of the white wires from Step 2, and the headlight negative to one of the black wires from Step 2.
- Use the test light to check the continuity between the two wires you just spliced to ensure that you wired them together correctly.
Step 4 – Connect HALO assembly wiring to vehicle wiring
Connect the new HALO assembly wiring to the spliced wires you just connected to the driving lights on your truck.
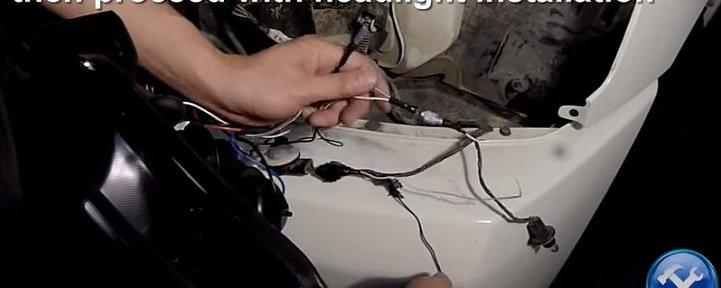
Pro Tip
Remember to wrap all spliced wires and connectors with electrical tape to protect from the elements.
Step 5 – Install new assembly
While your OEM headlight assembly came in two parts, your new HALO headlights are likely in one complete unit. Even with this difference, the fitment should be excellent and the existing bolts should line right up perfectly.
- Simply install the new assembly and replace the 10 mm bolts.
- Check the headlights for proper working order before taking your truck out on the road.

Featured Video: K2 HALO Installation Video
Related Discussions and Video
- Help HALO Projection Headlights Installation- Dodgeforum.com
- Aftermarket HALO Headlight Install - Dodgeforum.com
- K2 HALO Wiring Installation Video - Youtube.com