Dodge Ram: How to Build a Custom Sub Box
If you've been wanting to raise the bass in your Dodge Ram truck with a subwoofer, you have two choices: spend up to a couple hundred bucks to have someone install it, or do it yourself for less than half the price and more than twice the fun.
This article applies to the Dodge Ram (1994-2015).
A truck just isn't a truck without the booming stereo blasting your ears off. But if you're not into that, there's still nothing like cruising down the highway and relaxing with your favorite tunes. It's a simple task to make this happen; all you need to do is a little fabrication and some installation work. So if you're looking for a simple and fun DIY job to do, why not work on the sound system and amplify what makes your music come alive.

Materials Needed
- Sheetrock T-Square
- Quick-grip clamps
- Small circular saw or jigsaw
- Medium density fiberboard (MDF)
- Polyfil
- Black felt
- Carpenter's glue
- Generic spray adhesive
- Phillips mounting screws
Step 1 – Measure and cut the subwoofer fascia
- First gather up all of the tools and parts you will need to build your own subwoofer.
- Then you will need to determine where you want the box to fit. In this DIY, we are focusing on the driver's side seat storage area.
- Use a saw to cut an approximate section of your MDF to lay down over the storage area where your are implanting the box.
- Place the cutout MDF over the area of the floor, and use a T-Square to measure and outline the outside dimensions of the sub's facscia as well as the opening for the sub itself.
- Slowly cut the MDF to the exact measurements you outlined.
- Insert the sub into the opening of the fascia, and then drop it into the storage area to make sure it fits.
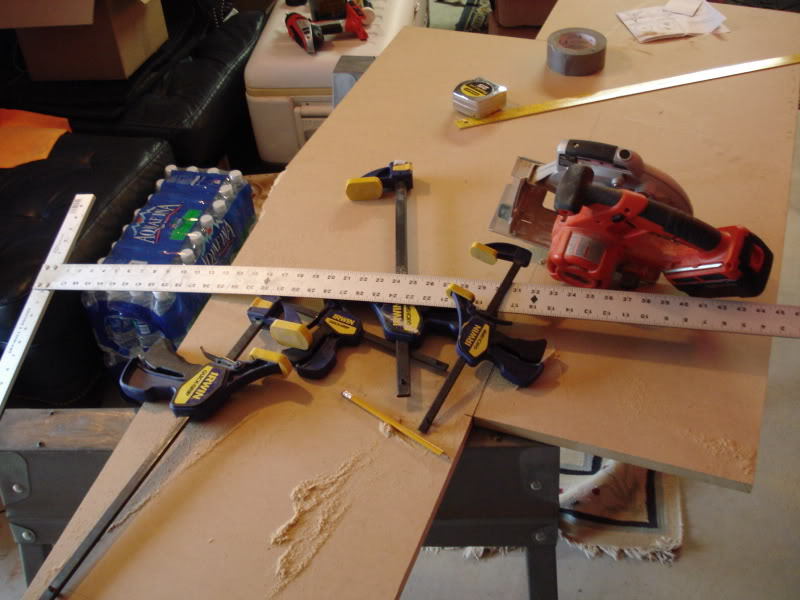
Figure 1. Basic tools needed for this DIY project. 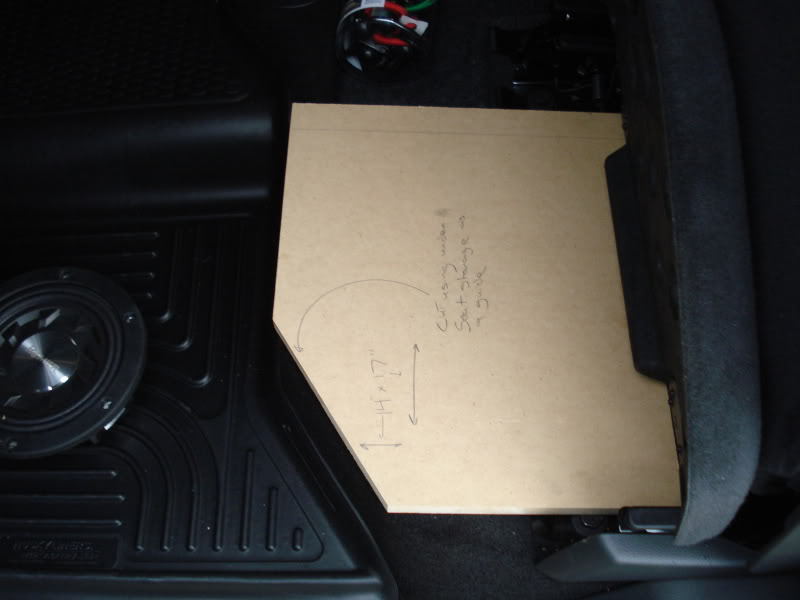
Figure 2. Lay down and measure the MDF. 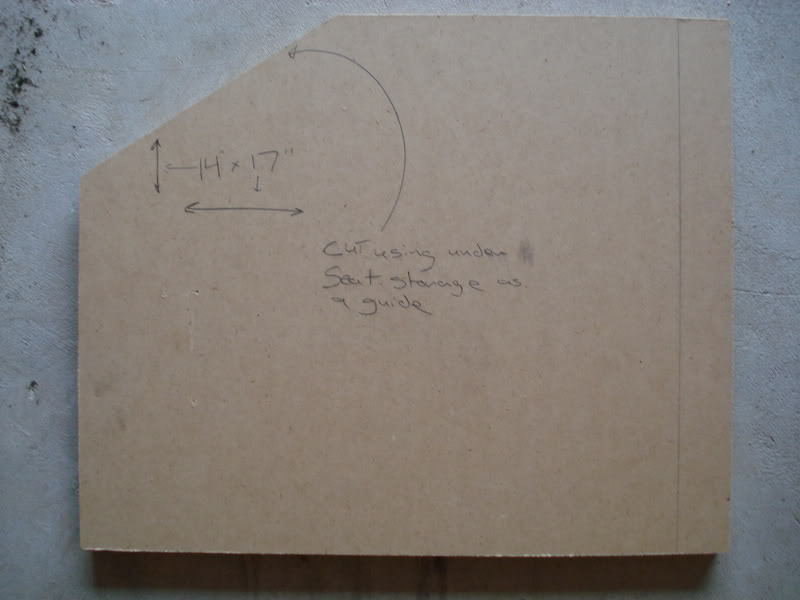
Figure 3. Top angle cut off fascia to fit into the storage area. 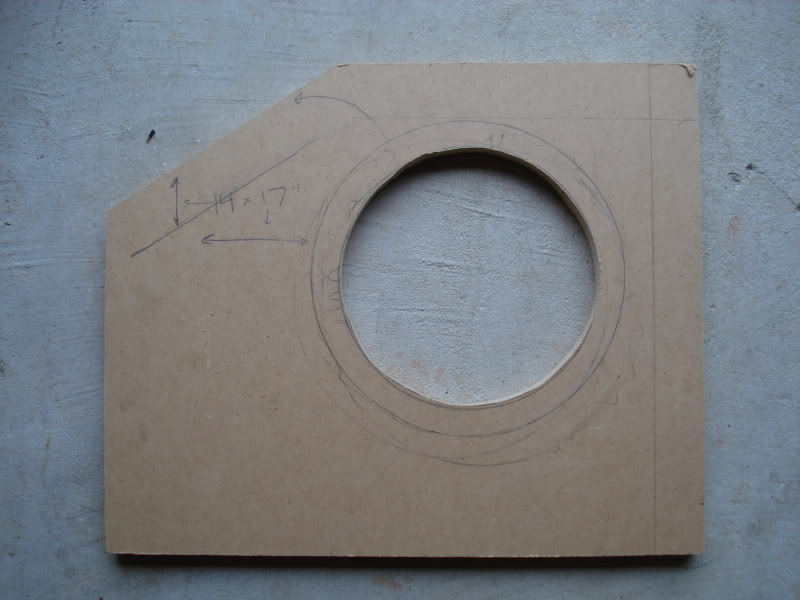
Figure 4. Subwoofer outline cut. 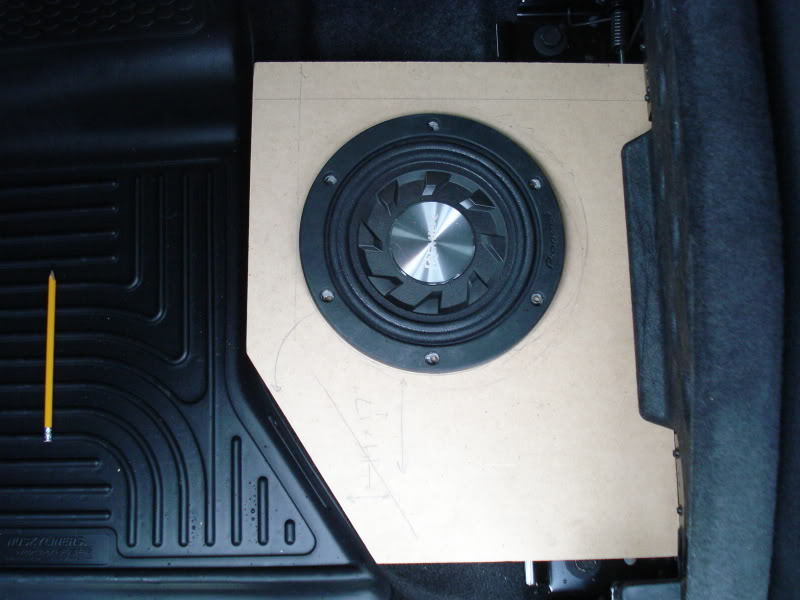
Figure 5. Drop sub and fascia into the storage area.
Step 2 – Build the subwoofer housing
- Following the same process in Step 1, measure and cut additional MDF material to house the subs. The housing walls will be attached to the bottom of the fascia to cover up the sub.
- Attach the MDF housing walls using carpenter's glue, and let the glue fully cure.
- Make sure the construction of the box is solid and stable before building the rest of the box.
Step 3 – Cover and fill the subwoofer box
- Cut a large piece of black felt, enough to cover the entire box.
- Spray adhesive onto all sides of the box, and then lay the felt over the fascia.
- Stretch the felt once you reach the edges and corners of the box to make sure there are no wrinkles after the felt is applied.
- Use the quick-grip clamps to hold down one end of the felt as your are stretching out the opposite end.
- Cut out the hole for the sub and any excess felt hanging off of the edges of the box.
- Then fill the interior of the box with polyfil.
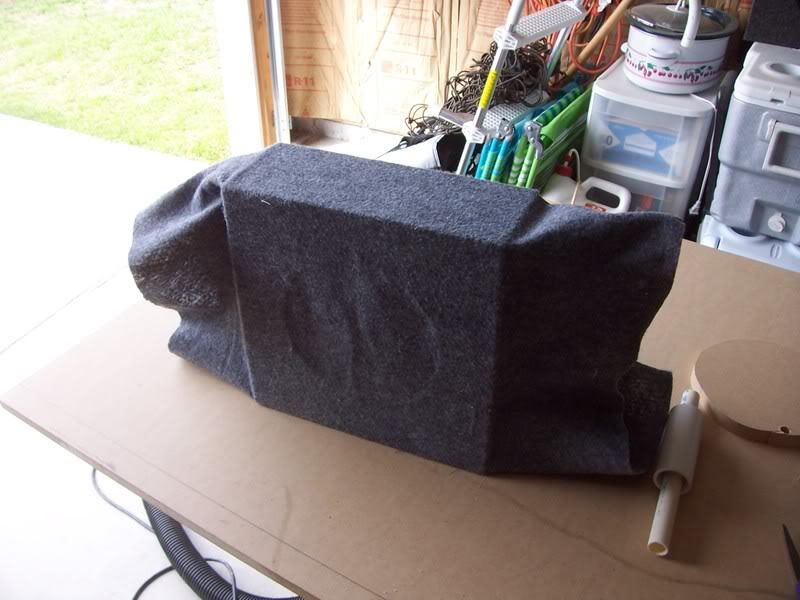
Figure 6. Example of felt covering process with a different sub box. 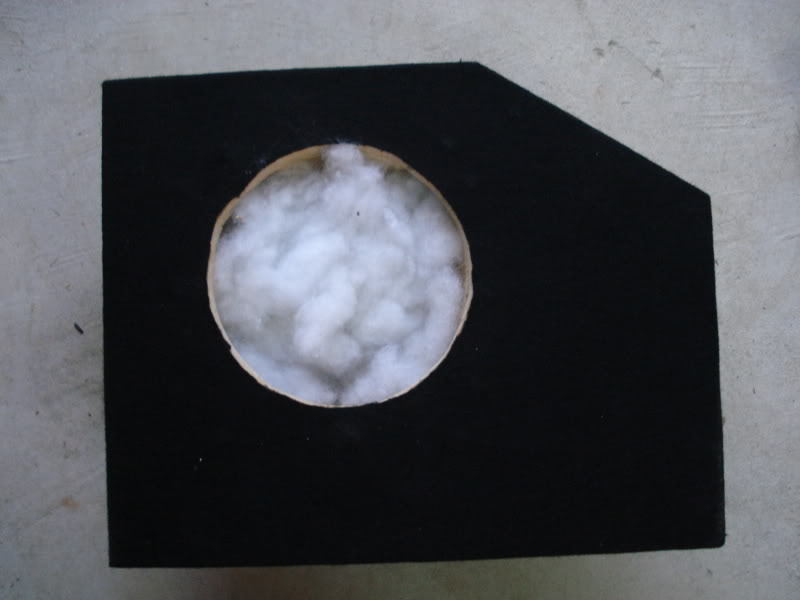
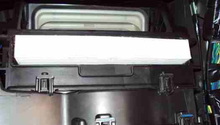
Figure 7. Fill the box with polyfil.
Pro Tip
You can find black felt from any arts and crafts store, while at Home Depot or Lowe's you can find some generic spray adhesive that will be perfect for attaching the felt.
Step 4 – Install the subwoofer
- Drop the sub into the box, making sure it fits nice and snug.
- Then mount the sub into the box by screwing through holes along the outside edges of the sub.
- Fit the sub into the floor and open or close any interior accessories around the box, making sure it is not in the way of any other components.
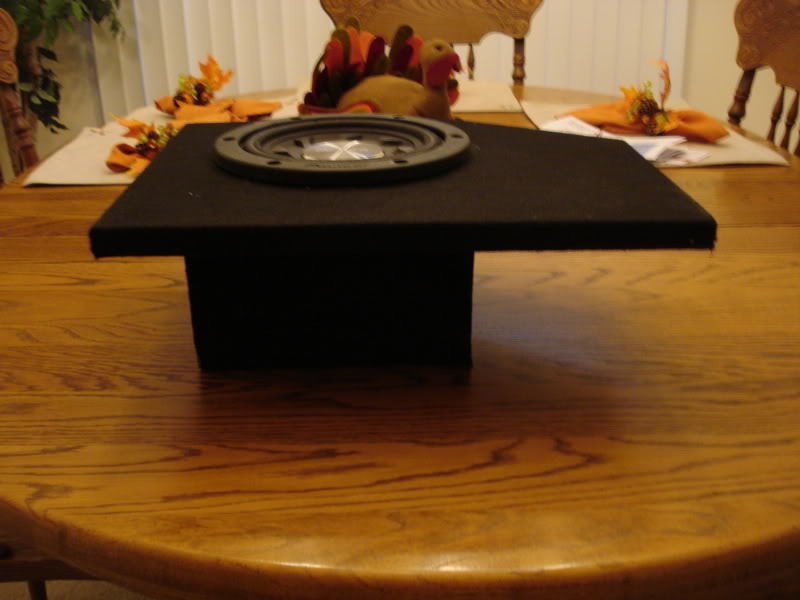
Figure 8. Drop the sub into the box. 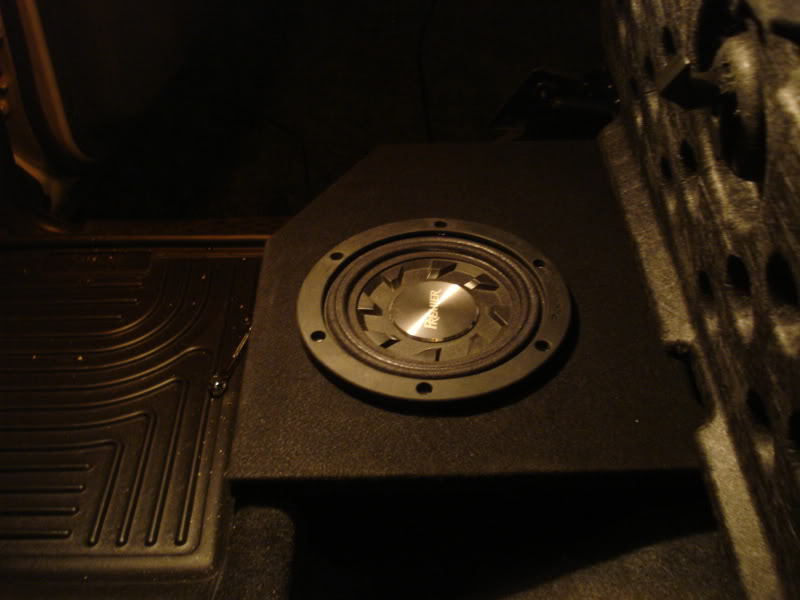
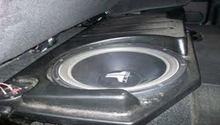
Figure 9. Custom subwoofer box in rear storage area.
Related Discussion
- DIY Custom Sub Box Build - DodgeForum.com