Dodge Ram 2009-Present: Why is My Parking Assistant Not Working?
The parking assistant feature on your Dodge Ram can become defective. Here are the steps you'll need to take when signs of damage appear.
This article applies to the Dodge Ram 4th Generation (2009-Present).
If you are having problems with your parking assistant sensors in your Dodge Ram, you are not alone. The truth is, the sensors in your truck can become dirty or defective, even a heavy spray of water from a recent car wash could cause your sensors to temporarily become inoperable. Don't panic. There are a number of troubleshooting steps you can take before replacement sensors are needed. While this project may require the professional expertise of a mechanic, you can at least complete the troubleshooting steps. You can also take steps to stop the "Service Rear Park Assist" warning light from appearing on the dashboard.
Materials Needed
- Microfiber cloth
- Car soap
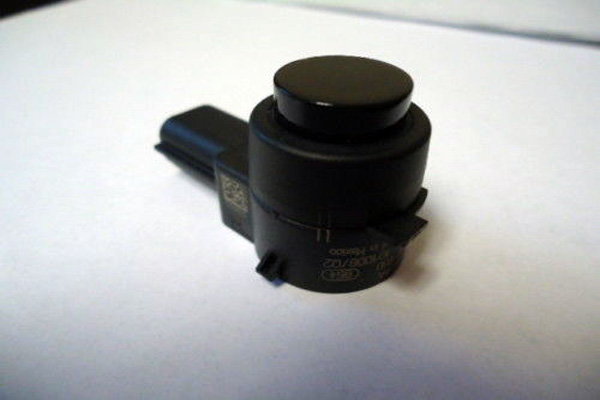
- Parking sensors
- Flat head screwdriver
- WD-40
- Dielectric grease
- Owner's manual
Step 1 – Check your sensor
They might be dirty, damaged, and need to be replaced.
Your sensor should emit sounds when functioning properly. The best way to check is to jack up your truck with the engine turned off, and listen for the sound of popping or snapping. You'll have to give a close listen as the sound might be faint. If there is no sound, either the connection is bad or the sensor needs to be replaced. To get to the sensors, simply chock your tires and lie down under the rear bumper. When you look up, the sensors will be there behind the bumper. You'll be able to see their connectors and the wiring harness. If you need easier access to them, removing the rear bumper is an option.
- If you check your sensors and they appear dirty or have ice on them, clean them with car wash soap, water and a soft microfiber cloth.
- Do not rub vigorously, as you could scratch the sensors or damage them permanently.
- Your entire bumper should be free of dirt.
- If your sensor is not emitting sound when you attempt to activate it, it has most likely gone bad and should be removed.
- To remove the harness from the bumper, push the tab on the harness as well as the bumper with your thumb and index finger along with a flat head screwdriver. The tabs to these sensors can be very tight on their first removal. Make sure the bumper tabs are actually clearing the sensor notch, or they will snag on them.
- This really is just popping the sensor out and plugging in a new one to fix the issue.
- If you have some trouble pulling the socket and harness apart, spray a little WD-40 and let it sit for a bit.
- When putting the sensors back onto the bumper, don't forget to use a healthy dose of dielectric grease in order to seal the rubber portions of the electrical connections.
Pro Tips
- The only way to stop the "Service Rear Park Assist" warning light from illuminating on the dash—until the new sensors can be installed—is to remove it.
- Check that your dashboard does not say "Park Sense Disabled" when you start your engine. If it does, this is the culprit. Also, look for a "Clean Park Assist" message, which obviously indicates you will need to clean your sensors.
Step 2 – Clear the warning light from the dashboard
It recognizes there is a problem with your sensors and won't stop flashing until the problem is resolved.
The only way to clear the warning light is to remove the rear park assist module.
- Removal of the rear park assist module from your vehicle requires multiple steps and some mechanical know-how, since you will need to remove several panels to reach and detach the module. You might want to have a certified automotive mechanic to replace the sensor for you.
- Removal of the rear park assist model will stop the "Service Rear Park Assist" warning from illuminating on the dashboard until a replacement can be installed.
- You can purchase replacement sensors from a wreckage yard, or buy them new online at a cheaper cost than you would pay at your local dealership.
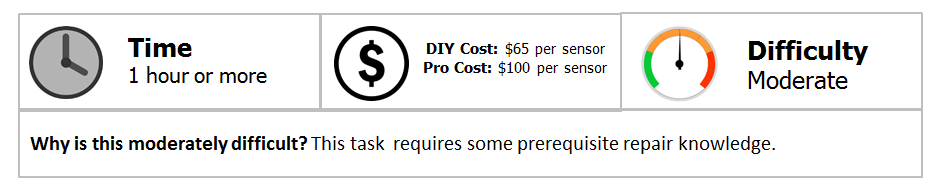
- The cost for this repair at your local dealership could be around $150 per sensor.

Step 3 – Check error codes
If you have cleaned the sensors and find that you are still having problems with them, then it's time to get out your owner's manual. Listed inside will be error codes that may appear and what they mean. The error code most commonly associated with the sensors is B1296-12 (PTS Sensor 9-Circuit Short to Battery). Replacing the defective shorted sensor should solve that problem.
Your dealer can read the trouble codes stored in your parking sensors control unit to determine if a shorted-out sensor is the culprit, or something else. Your dealer can also order the parts you need and install the replacement.
- If you own a Dodge Ram (a 2009 model), your truck might have been recalled due to problems pertaining to parking sensor failure.
- Have your dealer run your vehicle identification number (VIN) in the system to determine if your truck is part of the recall.
- If your vehicle has been recalled, you will not be responsible for the cost of your repairs.
Related Discussions
- Parking Assist Sensors - DodgeForum.com
- Parking Sensor Trouble - DodgeForum.com