Dodge Ram 2002-Present: How to Install/Replace Dash Kit
Would you like to update your dashboard? It might come as a surprise, but installing a dash kit is an easy way to revise your old dashboard. Read this article to learn how.
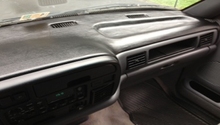
This article applies to the Dodge Ram (2002-present).
Dash kits are pieces pieces of vinyl, plastic or wood cut out to form the shape of your dashboard. They are often used as a less expensive substitute for custom panel finishes that offer similar texture and looks at a more affordable price point. There are several brands that offer different variations and quality of kits, all of which are installed in the same manner. Use the following instructions to correctly install a dash kit into the cabin of your Dodge Ram.

Materials Needed
- Dash kit
- Rags
- Alcohol
- Adhesion promoter
- Heat gun
Step 1 – Clean the trim panels
The first thing you need to do is completely clean the surface area of your existing trim pieces. Just as paint requires its covered area to be smooth and clean, the trim pieces can not have any oil on them–or else they may experience adhesive issues.
- Take a rag and wipe away any loose debris.
- Pour some alcohol on a rag and wipe the surface area clean.
- You can test an area by using a piece of tape. If the tape struggles to peel off, then the area is ready to be used.

Step 2 – Dry-fit the dash kit
- Take each piece and keep the adhesive cover on.
- Lay the pieces onto the existing trim to get a feel for how to install them.

Step 3 – Apply the adhesive promoter
- Use the stick of adhesive promoter on the trim surfaces.

Step 4 – Install the trim pieces
- Use a heat gun to warm the kit pieces up. Warming them allows the adhesive material to loosen, giving each piece some flexibility.
- Warm the surface area of the dashboard as well.
- Peel off the adhesive cover on the dash trim piece and carefully apply it to its location.
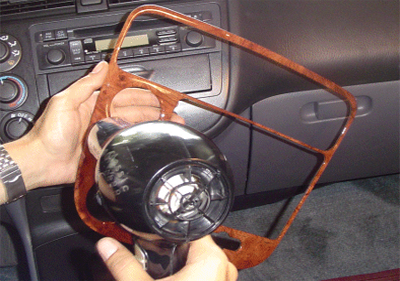
Figure 4. Heat the dash trim piece. 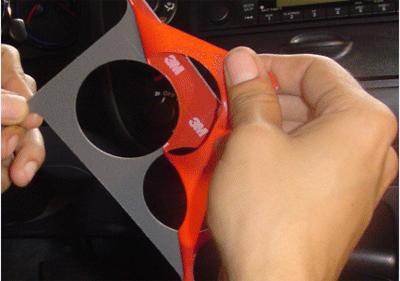
Figure 5. Remove the adhesive backing. 
Figure 6. Carefully align and install the new trim piece.
Once applying the dash trim pieces, use a towel to push down and secure them in place. Also be sure to check each of the corners on the dashboard to ensure they are stuck in place. After that, you are finished! Enjoy your interior's new look!

Related Discussions and Site
- Radio Dash Kit Replacement - Dodgeforum.com
- Dash Kit Installation - Nycdashes.com
- Upgrade the Interior of Your Ram with Remin Dash Kits - Dodgeforum.com