Dodge Ram 2002-2008: How to Replace Dashboard Cover
Replacing the dashboard cover in your Dodge Ram may take a while, but the time it takes to do so doesn't mean it's a difficult DIY job. Continue reading as this article will have the steps to get it done.
This article applies to the Dodge Ram 1500 3rd Generation (2002-2008).
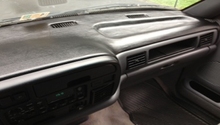
The dashboard cover is a common problem in almost all cars and trucks. Why? Mainly because of its constant and direct exposure to the sun, causing wear and tear when you don't even realize it. Unless you continuously maintain the dash top using cleaners, waxes, polishes, and sunshades, it will eventually erode, crack, or even melt. Also, depending on where you park and the longer the sun is beating down on your Ram's dashboard cover, the more it will take the heat and break down. In this article are the steps to replacing the dashboard cover in your Dodge Ram.

Materials Needed
- Phillips screwdriver
- Silicone adhesive
- Trim removal tool
- Shop rags
- Dashboard and trim cleaner
Step 1 – Remove the dashboard cover
Before you are able to pull out the dashboard cover, a few components latching it down must be removed.
- First, use a trim removal tool to pry off the side dashboard cover panels on the driver's and passenger's side.
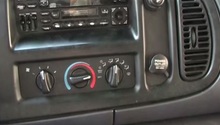
- After those have been removed, use the tool to carefully pop out the A/C vents on the driver's side.
- Then use a Phillips screwdriver to remove the two screws located directly above the instrument cluster.
- Lastly, lift up on the edge of the cover and pull it free from the dash.
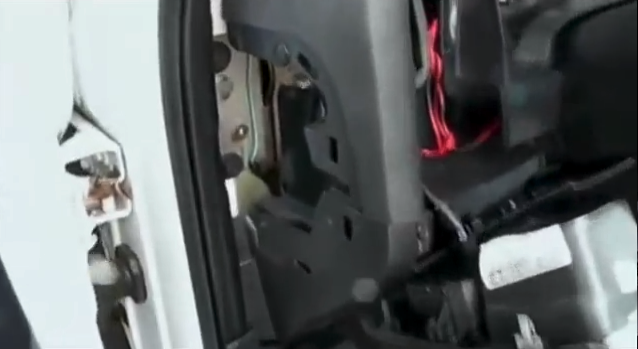
Figure 1. Remove the side dashboard panels. 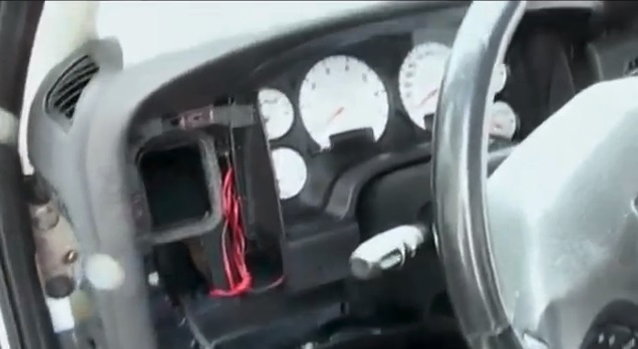
Figure 2. Remove the A/C vents. 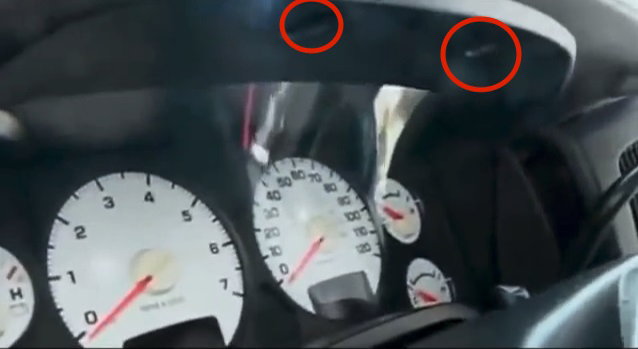
Figure 3. Remove the upper dashboard screws.
Step 2 – Prep the new dashboard cover
Once the old dashboard cover has been removed, you will need to prep the new cover before installing it.
- First, make sure that you've overlaid the cover on top of the dashboard to make sure it fits properly in your Dodge Ram model.
- Set the cover on a flat surface with the bottom side facing up.
- Apply a dashboard and trim cleaner solution to a shop rag to wipe the bottom side of the cover until it is free of all dirt as well as grime.
- Then, apply a silicone adhesive along the edges of the dashboard cover. Make sure not to get the adhesive anywhere on the center of the cover.
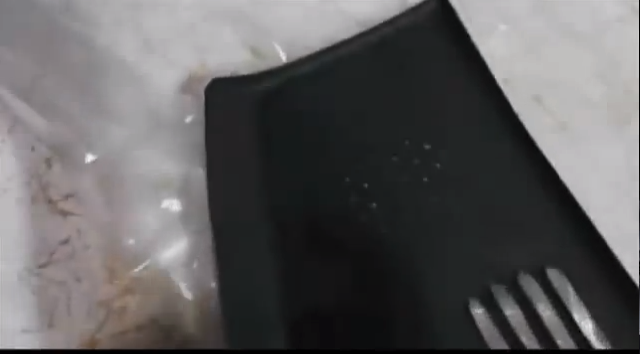
Figure 4. Clean the new dashboard cover. 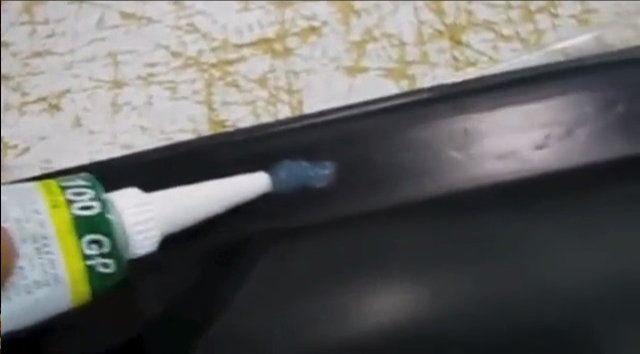
Figure 5. Apply the silicone adhesive.
Step 3 – Install the new dashboard cover
Once the silicone adhesive has been applied, make sure to quickly install it onto the dashboard.
- Line up the dashboard cover properly because you don't want to smear the adhesive on any surface where it doesn't belong.
- Set the cover into place, making sure the edge is tucked underneath the dash cap and overlaid securely over the instrument cluster.
- Once the cover is set in place, let it sit for at least an hour to allow the adhesive to fully cure.

Step 4 – Wrap up
Install the removed dashboard components after the cover has been fully secured.
- Tighten the screws above the gauge cluster.
- Pop in the A/C vents.
- Finally, snap in the dashboard side panels.
Featured Video: Dashboard Cover Installation
Related Discussions
- Replacing Top Dashboard Cover - DodgeForum.com
- Where to Find Best Dashboard Covers - DodgeForum.com