Dodge Ram: How to Install Wheel Spacers
Whether you want to install wider wheels or you just want your wheels to stick out of your Dodge Ram, wheel spacers are for you.
This article applies to the Dodge Ram (1994-present).
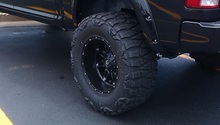
Wheel spacers function exactly as they sound; they move the wheels out farther. This gives the effect of a wheel with a lower backspacing to allow for tire clearance or to give you a wider stance. There are a few things to keep in mind when running wheel spacers to ensure the safety of both you and others around you on the road.
When choosing spacers, you definitely get what you pay for. Expect to pay $300-500 for a high quality set of spacers for all 4 wheels. Get spacers that have studs pressed in; these allow the lug nuts to still fully engage to prevent any chance of loosening. Stay away from any spacers that are the slip-on type; these can allow for the lug nuts to slightly loosen and possibly shear off while driving. You'll normally only find these in sizes of 1.5" or larger. Finally, don't forget to check the torque on the lug nuts, both on the wheels and the spacers, routinely.

Materials Needed
- Tire iron
- Floor jack
- Jack stands (optional, but recommended)
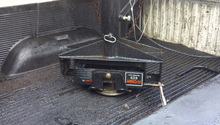
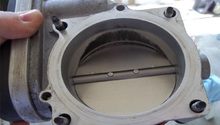
- Wheel spacers
- Cut-off wheel (necessary depending on spacer width)
- Wheel chocks (optional, but recommended)
- Something with a straight edge
You'll need to repeat Steps 2-4 for each wheel you are installing a spacer on.
Step 1 – Preparation
Before diving into the install, you'll want to park on level ground to prevent any chance of the truck rolling. In addition, it's recommended you chock the wheels on the opposite side of the truck that you are working on as well as set the parking brake.
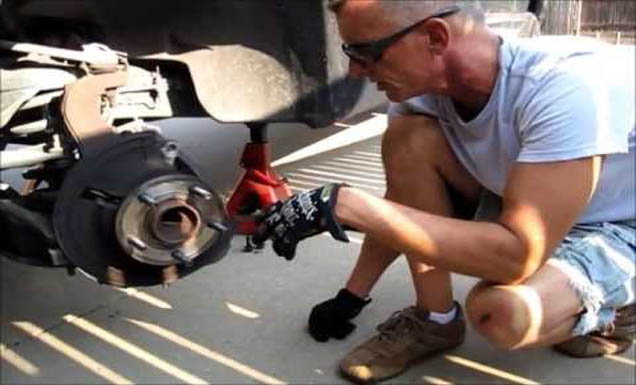
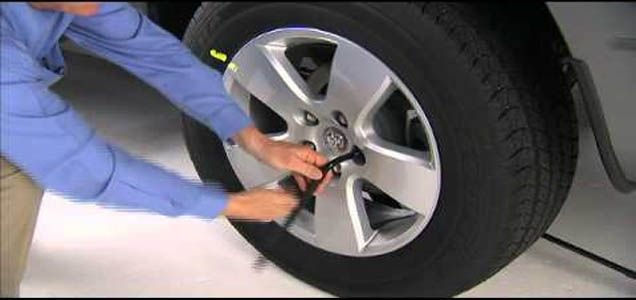
Step 2 – Remove the wheel
- Using the tire iron, loosen but don't remove the lug nuts on the wheel.
- Using the floor jack, raise the truck high enough to remove the wheel.
- Remove the lug nuts.
- Remove the wheel.
- You can now lower the vehicle onto the jack stand to support it.
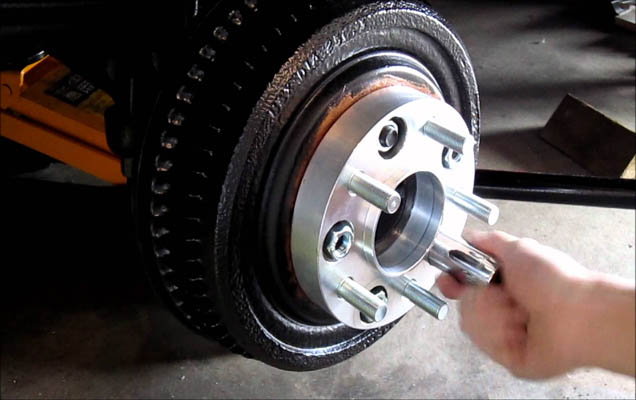
Step 3 – Install the spacer
- Slide the wheel spacer onto the studs.
- Tighten the included nuts onto the spacer in a crisscross pattern. Torque to the same spec as you would torque your wheel.
- Using something with a straightedge, run it across the holes you just installed the nuts in on the factory studs. If it catches on any of the old studs, you'll need to trim the stud flush or slightly lower than the face of the wheel spacer. This is to make sure the wheel will be able to sit flush against the spacer.
Step 4 – Re-install wheel
You can now re-install the wheel back onto the truck using the factory lug nuts. Be sure to tighten the wheel in a crisscross pattern and torque to spec.
Step 5 – Routine checks
It's recommended you check the torque on both the spacer nuts and wheel lug nuts regularly around every oil change. This will help to make sure the truck is as safe as possible with the wheel spacers installed.

Featured Video: Wheel Spacer Install
Related Discussions and Video
- Wheel Spacer Adapter Budget - Dodgeforum.com
- Wheel Spacers Good or Bad Idea - Dodgeforum.com
- Are wheel Spacers Safe - Dodgeforum.com
- Wheel Adapter Mistake - YouTube.com