Dodge Ram 2009-Present: How to Install Lift Kit
Lifting your truck with a lift kit is a pretty straightforward DIY modification.
This article applies to the 4th Generation Dodge Ram (2009-Present).
Installing a lift kit is a pretty straightforward process that anyone can do. The most technically difficult process of this modification is working with a spring compressor. A spring compressor is inherently dangerous, and you can do some severe damage to yourself if you don't know what you are doing. Outside of the spring compressor, you will only need a couple of hours and standard tools to get this job done (if you are installing a moderate two to three-inch lift). If you want more drastic results with a four-inch or higher lift, a great deal more work will need done with additional specialty tools such as a metal cutting saw and handheld grinder. This guide will focus only on a moderate lift of approximately 2.5 inches, and therefore, the differential will not be dropped. If you feel unsure about messing with your suspension at all, by all means, have a professional do this job. Otherwise, you will save a ton of money doing it yourself. Regardless of who performs this work, always get an alignment when it's completed.

Materials Needed
- Hydraulic floor jack or lift
- Jack stands (in the absence of a lift)
- Impact wrench (ideal), otherwise ratchet and socket set
- Breaker bar
- Big hammer or mallet
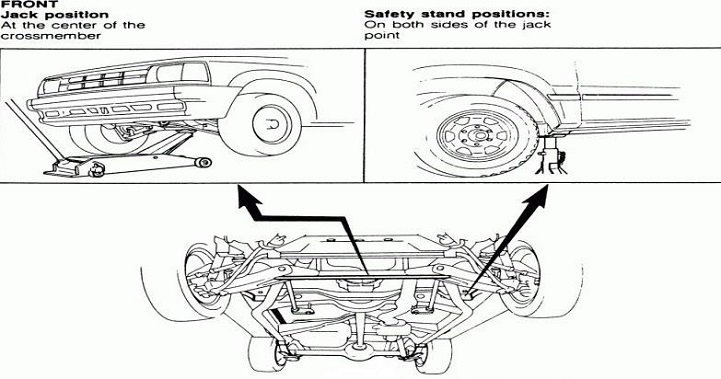
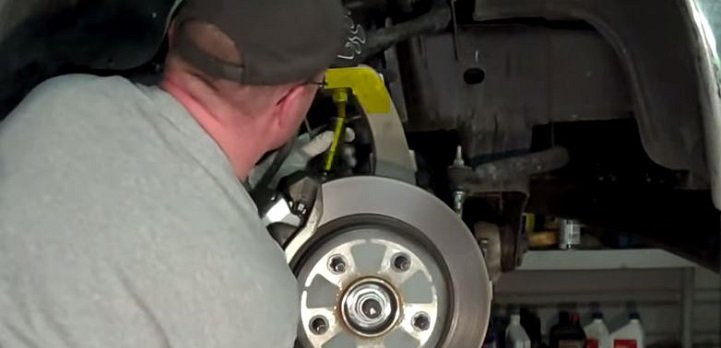
Step 1 – Raise truck
Lift the truck with a hydraulic floor jack and place on jack stands in the approved locations, unless you have access to a lift. Remove the wheels.
Pro Tip
Never work under a truck, especially doing suspension work, with only a floor jack holding it up. Always use jack stands.
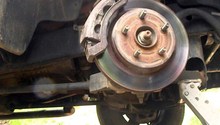
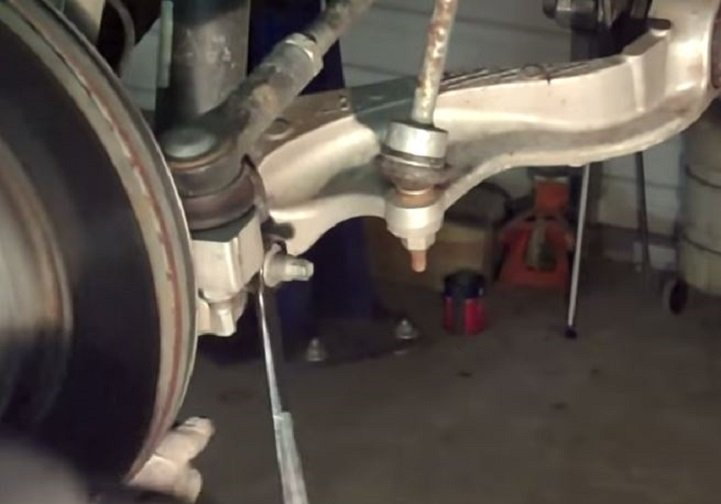
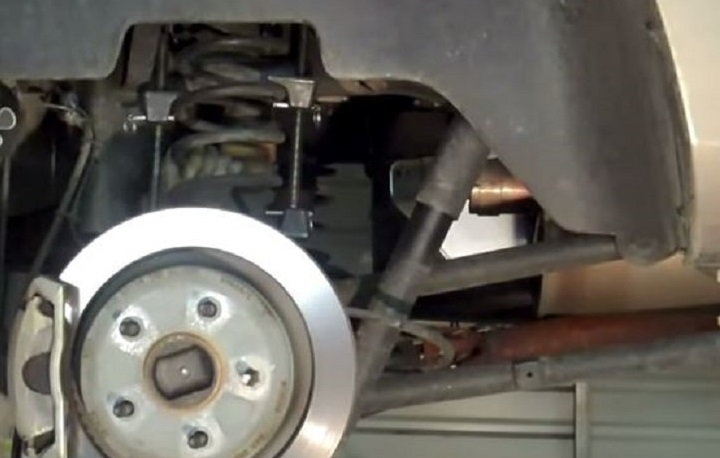
Step 2 – Disconnect the upper ball joint
Disconnect the bolt at the bottom side of the upper control arm under the ball joint. You will likely need to beat on it with a big hammer or mallet.
(Related Article: How to Replace Ball Joints - DodgeForum.com)
Step 3 – Disconnect sway bar link
Use an open-end wrench to disconnect the sway bar link.
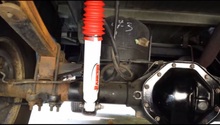
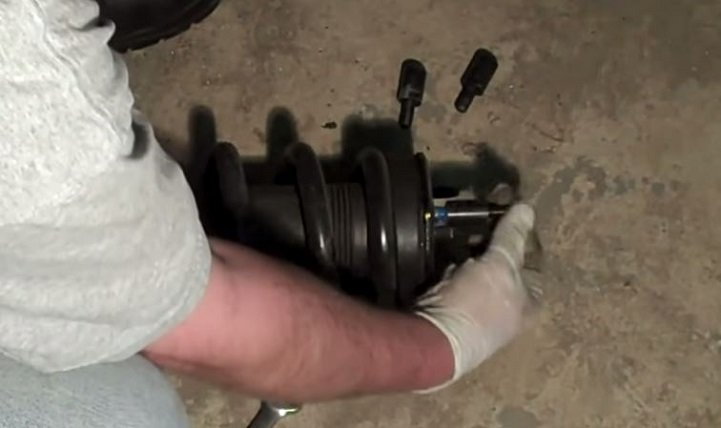
Step 4 – Remove strut
Disconnect the three upper strut mounting bolts on the strut tower. Pull the strut assembly out. Use some Loctite on the strut tower bolt threads. Take the extension bolts that came with the lift kit and screw them onto these tower bolts. You do not need to wait for the Loctite to set or cure.
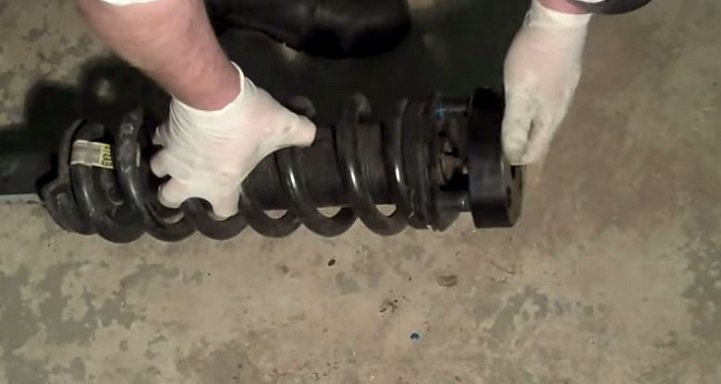
Step 5 – Mount new spacer on top of tower and re-install strut assembly
With the strut assembly out and the bolt extensions installed, place the spacer on top of the strut tower. Re-install the strut assembly, the sway bar link, and the ball joint. When re-installing the strut assembly, use the washers and nuts that came with the lift kit to mount the tower. Repeat this process on the other side before moving to the rear.
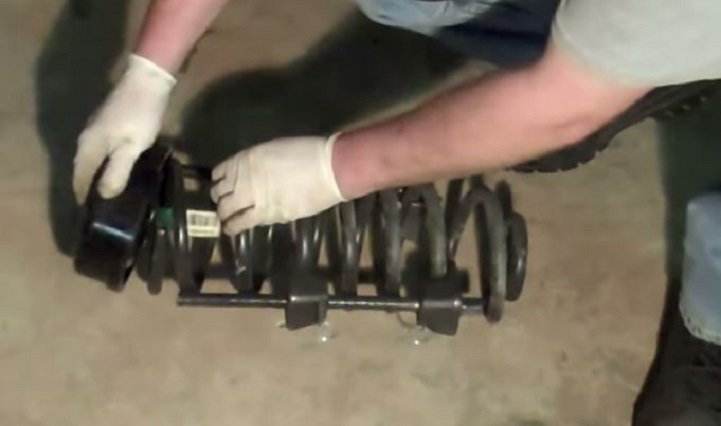
Step 6 – Put spring compressor onto the rear springs
You will save a lot of time by putting a spring compressor right onto the rear springs while they are still on the truck. This allows the spring to be removed from the truck with extreme ease.
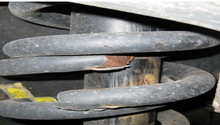
Step 7 – Install rear spacer
Remove the old spacer from the spring and install the new one. Re-install the spring onto the truck, decompress, and remount it. Repeat on the other side.
Step 8 – Test drive and get an alignment
Once the rear springs are installed, you're done. Pretty simple. Take it out for a test drive to make sure there's no squeaks or odd noises. Once you are satisfied with your work, remember to take it in for an alignment.

Featured Videos: How to Install Lift Kits on Dodge Ram
Related Discussions
- Bilstein 5100s DIY Installation with Pictures - DodgeForum.com
- Lift Kit Install Video - DodgeForum.com
- Lift Kit Install - DodgeForum.com
- Leveling Kit Install Price - DodgeForum.com