Dodge Ram 1994-2008: How to Install a Fifth Wheel
You might think it is difficult to install a heavy duty 5th wheel Gooseneck trailer into the bed of your Dodge Ram. Yes, it might be a little hard and there are some special tools you'll need, but with this article to guide you, it's a job you can accomplish without too much effort.
This article applies to the Dodge Ram 2nd and 3rd Generation (1994-2008).
Installing a 5th wheel hitch into the bed of your truck may be a little intimidating, but it has to be done. You just purchased that new Gooseneck trailer and it will be delivered by the end of the work week; plus, you have loads to haul. So let's get down to it. The installation isn't really as arduous a task as you might think. Keep reading and we'll make the job as easy as possible for you to do it yourself.

Materials Needed
- Cordless power tool
- Socket set
- 1/8" and 9/16" drill bits
- Torque wrench
- 1 1/8" hole saw with pilot bit
- Tape measure
- Marker
- Bolt pull wire.
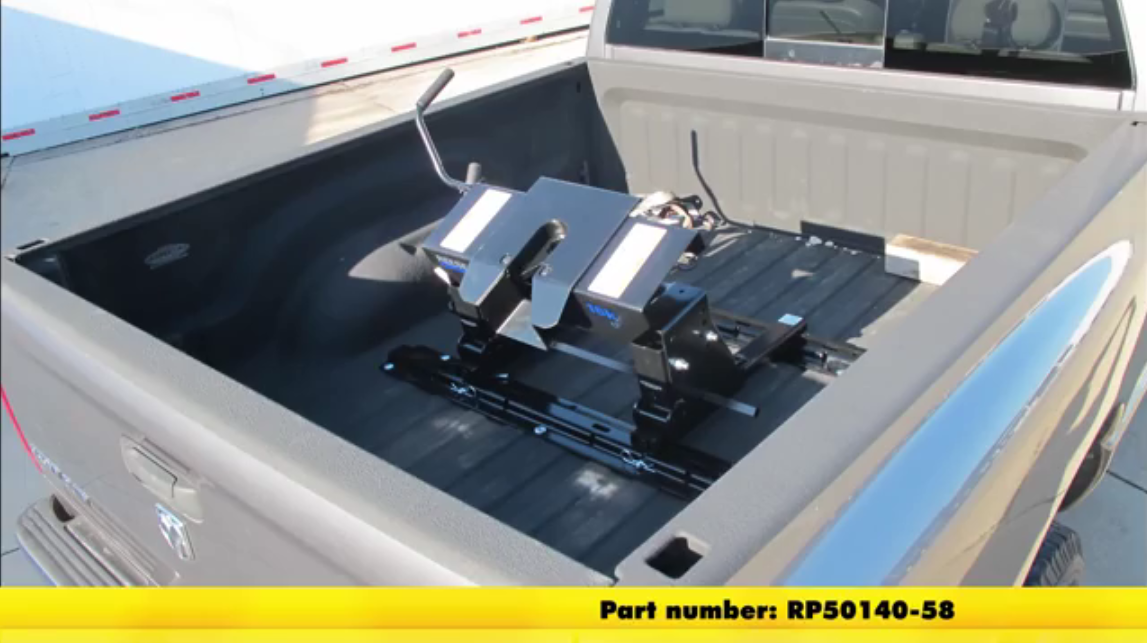
In this article we will be using the Reese Quick-Install custom base rail hitch (part # RP50140-58).
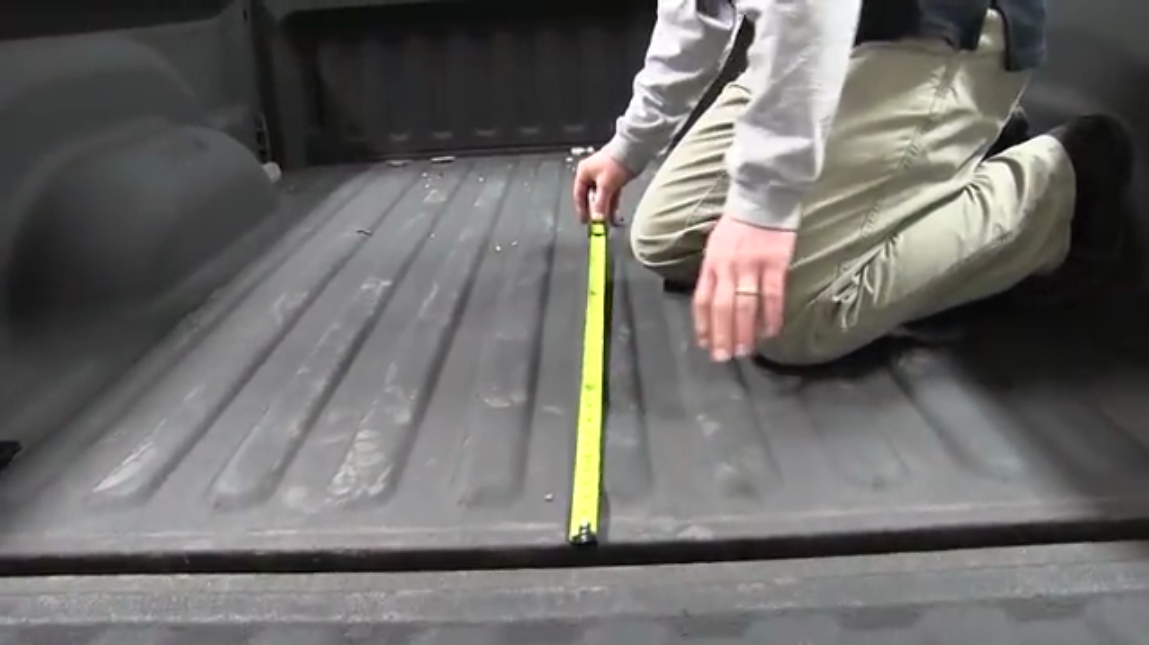
Step 1 – Measure the mounting rails
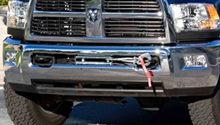
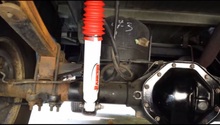
- Check underneath the truck bed and remove obstacles such as the spare tire, wire harnesses, exhaust parts, etc.
- Center the rear rail between the weld seems running along the length of the truck. Make sure the rail is properly distanced from the rear edge of the bed.
- Once the rail is centered, mark the bed as indicated by the instructions. You should mark two holes on either side of the rail and two holes in the center of the rail.
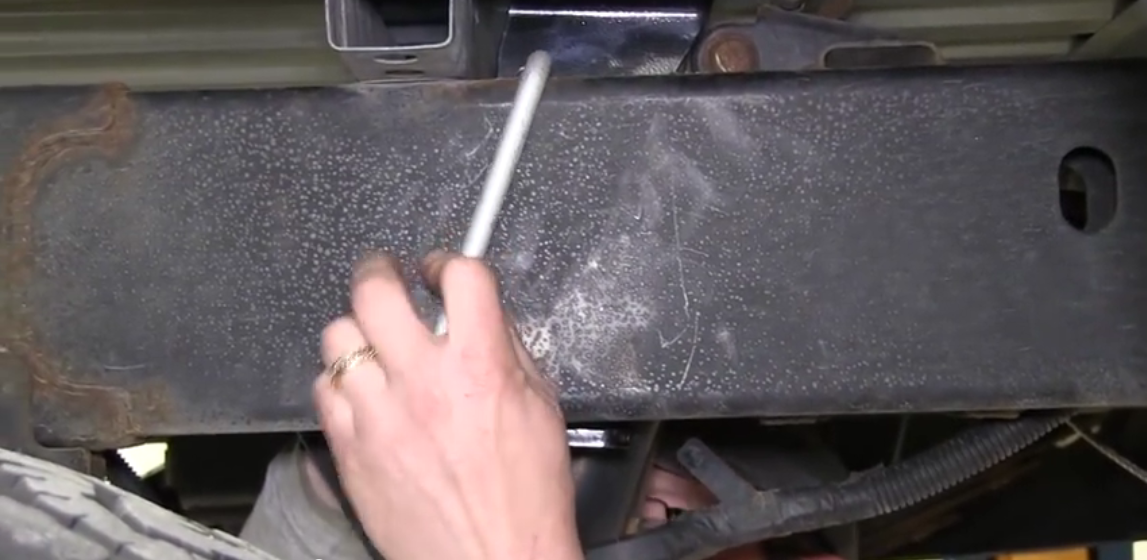
Step 2 – Drill the pilot holes
- Drill pilot holes using a 1/8" drill bit.
- Remove the fender well.
- Line up the brackets to make sure the pilot holes match.
- Drill pilot holes out to the correct size using a 9/16th-inch drill bit.
- Using the included U-bolts, loosely attach the side brackets to the frame.
Pro Tip
Make sure there is nothing underneath the truck that may interfere with drill placement, such as brake lines, the gas tank, etc.
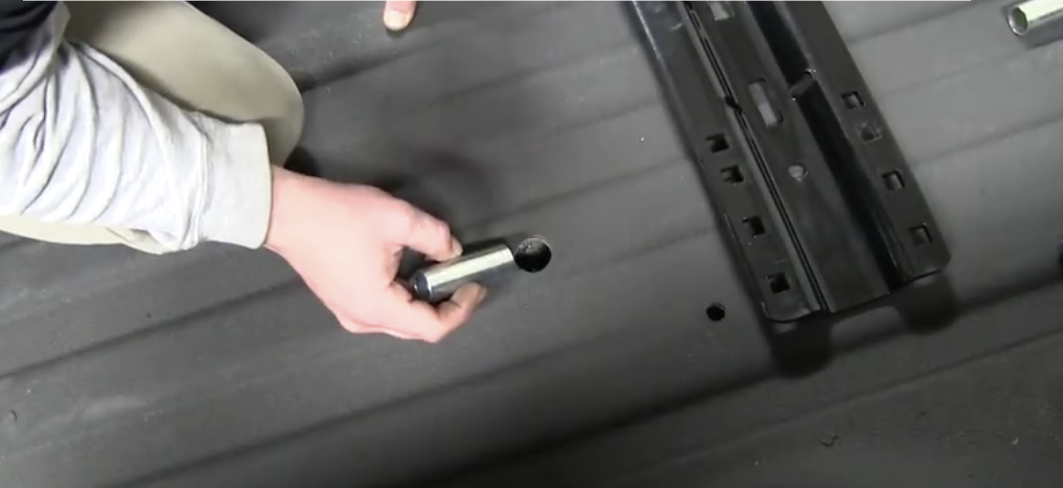
Step 3 – Install the spacer sleeves
- Using a pull wire, feed in the 1 3/4" carriage bolt and the 3" block through a hole in the underside of the frame. Insert it into the driver's side bracket only.
- Loosely attach the side bracket.
- Using a 1 1/8" hole saw with long pilot bit, open up the front holes for rear base rail per the instructions.
- Insert the spacer sleeves and 4" carriage bolts through the holes on the front of the rear rail. The holes are 1/8" wide.
- Insert the 2 1/2" carriage bolts into the remaining holes, and use the U-shaped half-moon style washers to go around the bolt.
- Attach the bolt using block and lock washers along with the nut.
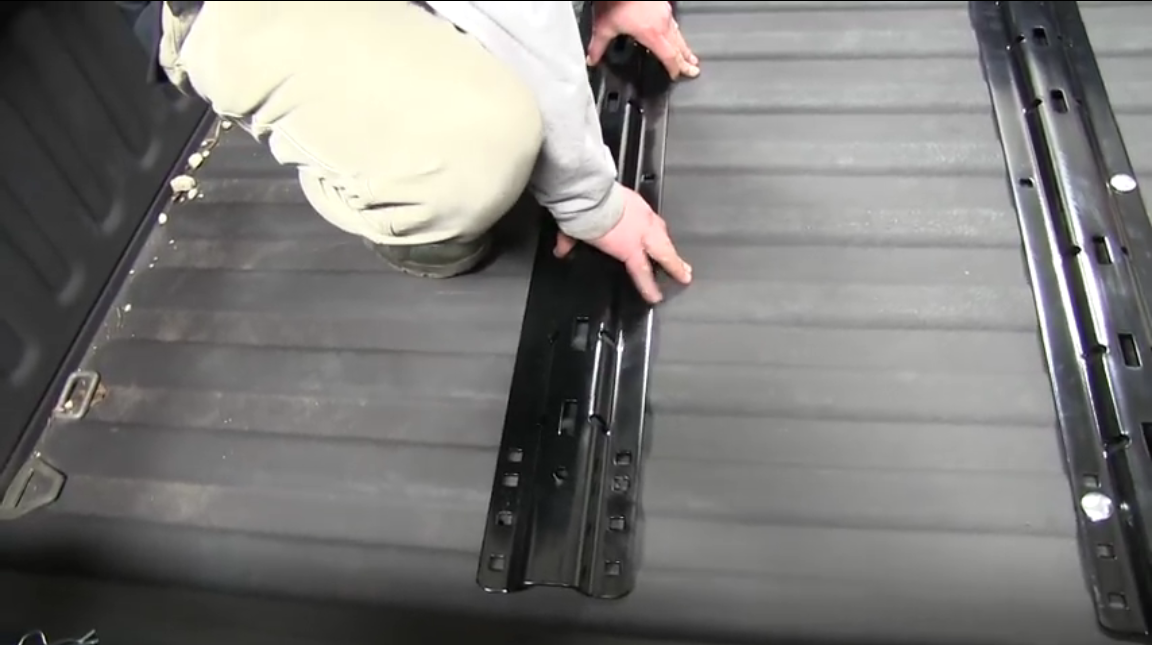
Step 4 – Install front rail and brackets
- Loosely attach the 5th wheel hitch. This will function as a template so you can measure and install the front rail.
- Using the tape measure, double check and make sure that the front rail is between the weld seems.
- Now that the front rail is in position, mark the correct holes that will be needed to be drilled per the instructions.
- Drill out all five pilot holes using a 1/8" drill bit. Again, make sure to check underneath the truck to make sure the holes are in their proper places.
- Then open up the holes using the 9/16" drill bit.
- Place and align the front rail with the holes.
- Install the front bracket along with the U-bolts.
- Insert spacer sleeves between the front bracket and the bed of the truck.
- Place the carriage bolts into the front rail. Use the U-shaped spacer blocks in the bed as well as underneath the bolts to fill in any corrugation.
- Fasten the rest of the connection points with block washer, lock washer, and nut.
Pro Tip
If you run into any obstacles (such as hangers), temporarily disconnect it and then reattach it after the brackets as well as rails have been installed.
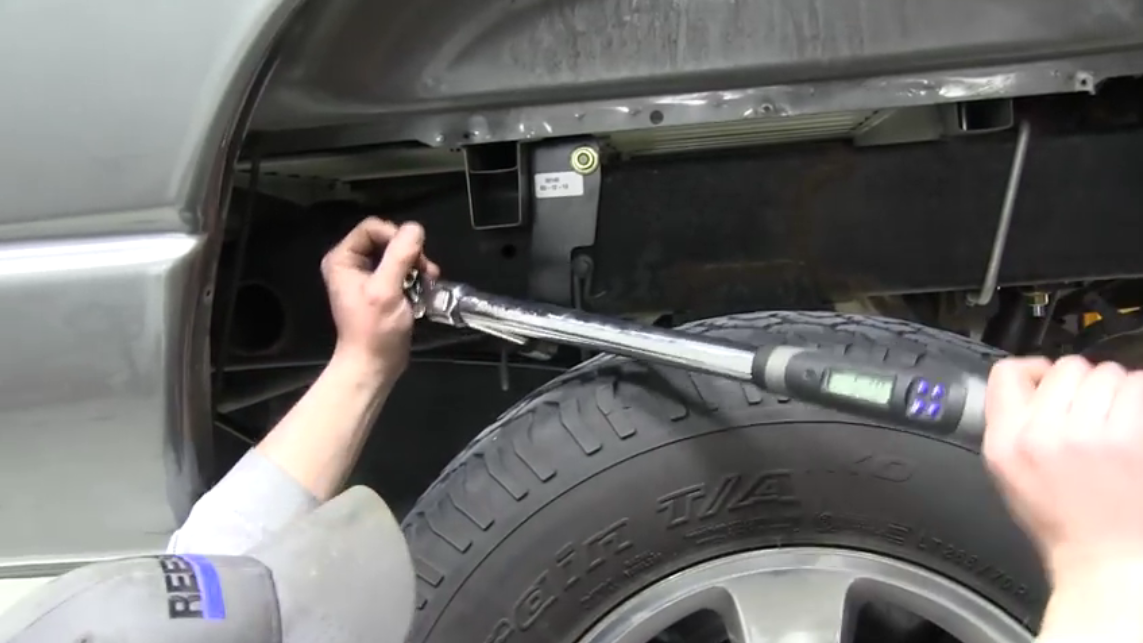
Step 5 – Install the trailer hitch
- Place the hitch into the rails and ensure that it will fit.
- Use the nuts and bolts to secure the rails to the frame, and then secure the brackets. Tighten all bolts to a snug fit.
- Using a torque wrench, torque all nuts to manufacturer's specifications.
- Re-install and reattach all the components that were disconnected as well as removed before the installation.
Related Discussion and Video
- Fifth Wheel Hitch Installation - DodgeForum.com
- Fifth Wheel Hitch Installation Video - YouTube.com