Dodge Ram 2009-Present: How to Swap Factory Stereo with OEM Navigation
If you're wanting to install a navigation unit in place of the stock radio on your Dodge Ram, it's easy and takes almost no time. In a matter of a few minutes you'll be set to go anywhere.
This article applies to the Dodge Ram (2009-present).
So you've got your new Dodge Ram truck. If you're like most, one of the first things you're thinking is to replace your stock radio with a state-of-the-art radio/navigation unit. Good thinking! Even better is the fact that the process to swap out your stock radio for the new unit is so easy. It will take you around 10 minutes and the only skills required are the ability to turn a screwdriver and plug in some cables. Read on for the simple step-by-step instructions to upgrade your stereo and navigation equipment.

Materials Needed
- Basic screwdriver with a "starz" tip
- A nut driver with a socket attachment
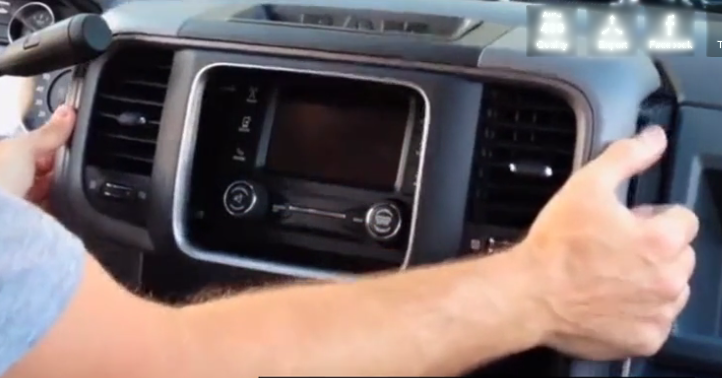
Step 1 – Remove face plate
- Begin by removing the two screws on the top of the face place with a screwdriver.
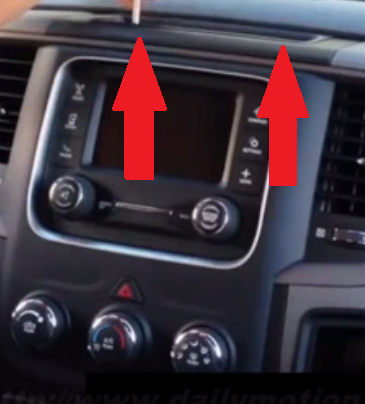
- Once removed, go ahead and pull off the face plate.
Step 2 – Remove factory radio
- Next, unscrew the four screws securing the factory radio by hand.
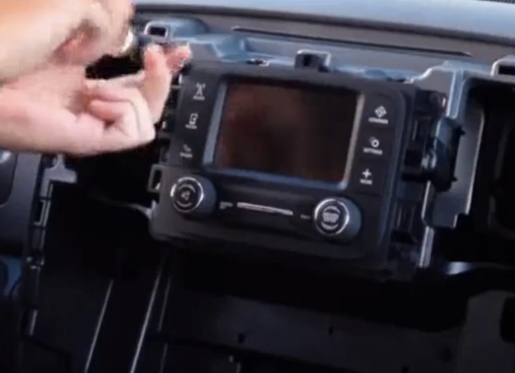
- Unplug the antenna, satellite antenna and the main wiring harness cables and pull out the radio.

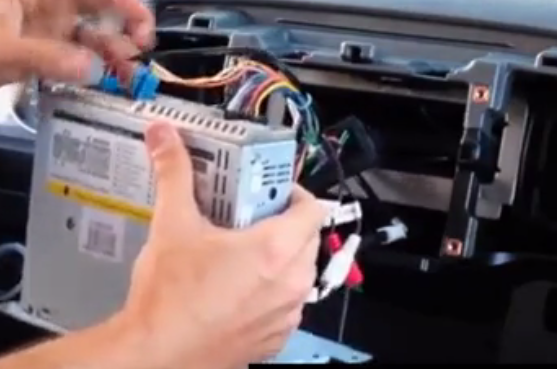
Step 3 – Plug in some added cables and adapter for the radio antenna
- Plug in an adapter for the radio antenna.
- Plug in an added wiring harness directly into the factory wiring harness.

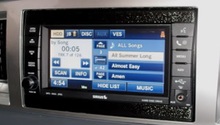
Step 4 – Plug all the necessary cables into the back of your new navigation unit
- Plug in the power main cable.
- Plug in the power on cable.
- Plug in the lead.
- Add the satellite GPS antenna cable.
- Plug in the radio antenna cable.
Pro Tip
When you add the satellite GPS antenna, simply leave the antenna in the bag it came in and slide it somewhere up in the dash. This is a simple way to add the installation of this part you didn't have before.
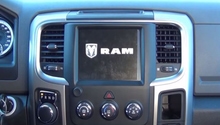
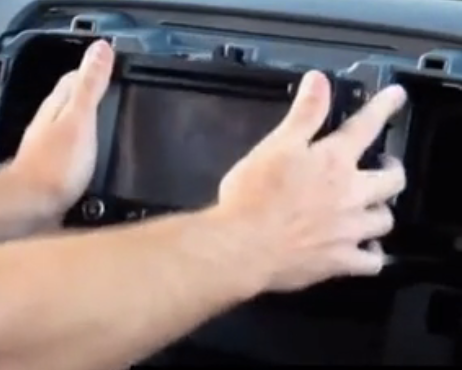
Step 5 – Slide new unit into place
- Tuck your wires back up in the dash and push your new navigation unit into the opening.
- Attach the four bolts to hold the unit in place.
Pro Tip
After you tighten the bolts to secure the new unit, it is a good idea to test everything before you put the face plate back on. This might save you a few steps and time if you have to make any adjustments, etc.
Step 6 – Re-install face plate
Push the face plate back on and replace the two screws in the top to secure the face plate. Enjoy your new stereo head unit!
Related Discussion and Site
- Swapping Out Factory Stereo for Navigation - Dodgeforum.com
- How to Install Radio, DVD, Navigation Stereo - Dailymotion.com