Dodge Ram 2009-Present: How to Replace Transmission Fluid
Replacing transmission fluid is the most forgotten piece of maintenance. It's not the easiest of procedures, but it can and has to be done.
This article applies to the Dodge Ram (2009-Present).
Changing out the fluid in your transmission is a daunting task for some people, mainly because it's not the easiest component to reach. Some cars don't even have drain plugs for the transmission, which means the transmission pan will need to be removed. Changing out your automatic transmission fluid is essential for the proper care and feeding of your transmission. It lubricates and cools your engine. If the fluid is old and dirty, your truck can be susceptible to overheating. So don't wait until you smell or see trouble. Proactively replace your transmission fluid and filter every 90,000. If you use your truck for towing or hauling, consider changing your fluid more frequently. Be sure to perform this procedure only after the engine has cooled down.

Materials Needed
- Jack
- Jack stands
- Millimeter socket set sizes 10mm-15mm
- Ratchet
- Seal removal tool
- Drain pan
- Oil filter wrench
Be sure to perform this procedure only after the engine has cooled down.
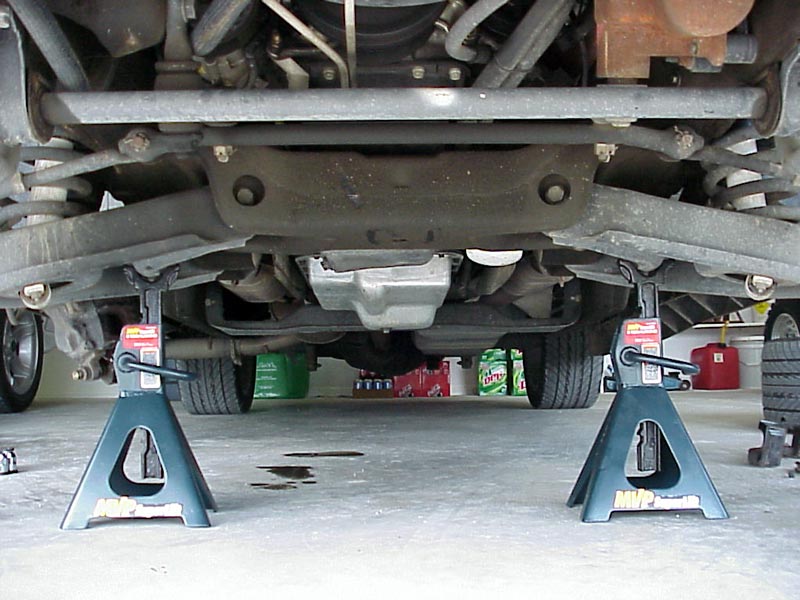
Step 1 – Raise your truck
To gain a workable amount of space under the truck, it is a good idea to elevate it either by placing it on jack stands or by driving it onto ramps. Of course, if you have access to a lift that would be the ideal thing to use.
(Related Article: How to Jack Up Your Truck - Dodgeforum.com)
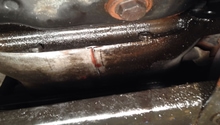
Step 2 – Clean gasket surface
Loosen the drain pan's mounting bolts. But before you go and loosen them all, there is a procedure that will aid in the draining of the fluid so that it does not get all over the place.
Loosen the bolts and drain the pan as follows:
- Place drain pan under the transmission pan.
- Remove the rear and side pan mounting bolts. Loosen the rear pan bolts approximately four turns.
- Carefully pry the transmission pan loose with a flathead screwdriver allowing the fluid to drain.
- Remove the remaining bolts, pan, and gasket.
- Clean the gasket surface removing all traces of the old gasket and sealant.
Step 3 – Clean the pan
It is extremely important to clean the pan thoroughly with solvent to get rid of all of the old transmission fluid. After you have cleaned it with solvent, make sure to dry it with compressed air. Some models were equipped with magnets in the transmission pan. You will want to make sure to thoroughly clean the magnets as well. Don't worry, a small amount of metal around the magnets is normal, but if you are concerned with how much there is and you think you might have excessive metallic debris, consult a dealer or professional transmission shop.
Step 4 – Remove filter from valve body
You will see the filter located in the corner next to the valve body. It removes just like your engine oil filter would and you will need an oil filter wrench to unscrew it.
Step 5 – Remove transmission filter seal
After you have removed the transmission filter, you will see the seal behind it. Use a seal removal tool or scrape to remove the seal and discard.
Step 6 – Install new transmission filter seal
After you have removed the old transmission filter seal, you can now install the new one. Take extra care to make sure that it is seated properly. Some new filters might have the seal already installed on the filter. Either case, ensure the seal is installed.
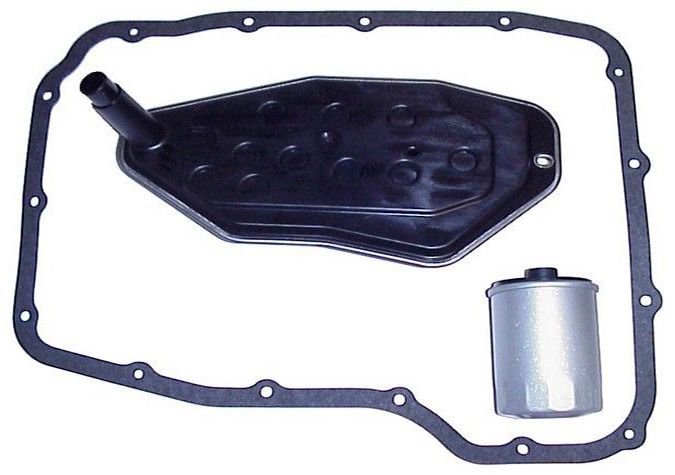
Step 7 – Install transmission pan
Before installing the transmission pan, you will want to place a new gasket on the pan. On 454RFE and 545RFE transmissions, RTV sealant is used instead of a gasket. Be sure to use RTV sealant that is ATF resistant. After the gasket or sealant is installed, put the pan in place and start the bolts. The best way to tighten the bolts is by turning them a couple of threads at a time while evenly seating the pan against the transmission. Torque them to the factory specification.
Step 8 – Lower vehicle and fill transmission
Lower the vehicle and add the specified amount of transmission fluid minus one quart. After you have done this, run the engine at a fast idle for a little bit, then let it lower down and with your foot on the brake, move the gear selector through each range and then back to Park. Check the fluid level one more time and add fluid to bring it to in between the two holes on the dipstick.
After the first few trips, check the fluid level again when the fluid is hot.

Related Discussions
- Fluid Capacities - Dodgeforum.com
- Transmission Fluid Type - Dodgeforum.com
- DIY Transmission Flush - Dodgeforum.com