Dodge Ram 1994-2001: 4WD General Information
Read on for some pertinent 4WD information and some proper maintenance procedures.
This article applies to the 2nd generation 4WD Dodge Ram (1994-2001).
If you have your eye on a used 4WD Dodge Ram truck or you've purchased a fairly old one, odds are the odometer is at or above 100,000 miles. To make sure your truck is reliable and continues to roll you through the rugged terrain, keep not only the powertrain components well-maintained, but the drivetrain and 4WD system components as well. Here's what you need to know about 4WD systems and what you can do to lengthen the life of your truck.
What Is It?
A 4-Wheel Drive (4WD) vehicle differs from a 2-Wheel Drive (2WD) or All-Wheel Drive (AWD) because it allows the driver to use a gear selector to engage the transfer case and lock the front axle, thus allowing the truck to get out of a tough situation. A 2WD vehicle only utilizes the rear axle to turn the rear wheels, and an AWD vehicle distributes power to all four wheels at all times with no option to disengage the axles.
Remember that a 4WD truck will require a bit more maintenance than the other two drivetrain setups. So keep your 4WD transfer case in good condition by only engaging it in rainy weather, snow, soft dirt, sand, or muddy terrain. 4WD actually relies on a bit of "slippage" to keep everything in sync. Running on hard surfaces for prolonged periods of time will not only waste fuel needlessly, but it will also wear down your transfer case gears and add unnecessary strain on your transmission.
Keeping your 2WD or 4WD Dodge Ram truck in great running condition doesn't require a lot of mechanical ability or know-how. Simply keep an eye on the factory-recommended maintenance schedule, and if you've just purchased your truck, check the condition of your fluids often.
Maintenance
- Inspect and replace the transfer case fluid at least every 35,000 miles.
- Change the engine oil and engine oil filter.
- Rotate the tires at the first sign of irregular wear.
- Replace the air intake filter.
- Inspect and replace the PCV valve, if necessary.
- Inspect and replace the brake lines, if necessary.
- Inspect and replace the CV joints, if necessary.
- Inspect the steering and suspension components for damage. Repair as needed.
Change the Engine Oil
It's recommend that you change your truck's engine oil at least every 3,000 miles. However, with newer cars and trucks, the amount of miles between oil changes has significantly increased, so change your truck's oil in accordance with the manufacturer's recommended maintenance schedule.
To change the oil:
- Remove the engine oil cap.
- Locate the oil pan drain plug and remove it using a 3/8" drive ratchet with 16mm socket. Allow all of the oil to drain into a drain pan.
- Using an oil filter wrench, remove the oil filter.
- Before installing the new filter, apply a moderate amount of oil to its rubber gasket.
- Re-install the oil drain plug.
- Add new oil through the filler hole using a funnel. Add around five quarts of 5W-30 or 10W-30 engine oil, or as recommended in your owner's manual.
- Run the truck for 30 seconds, turn it off, and then check for drips.
- Re-check the level of the engine oil and top off as needed.
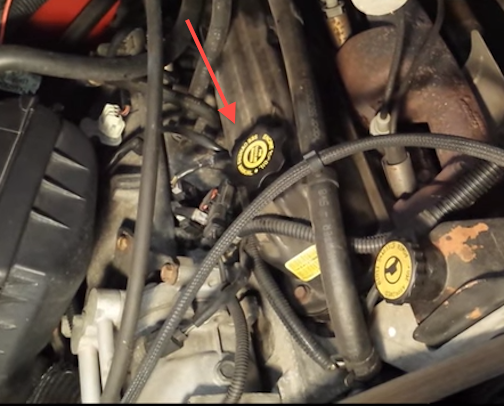
Figure 2. Remove the engine oil filler cap. 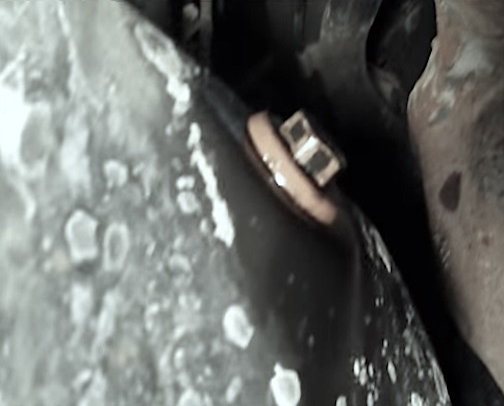
Figure 3. Remove the oil pan drain plug. 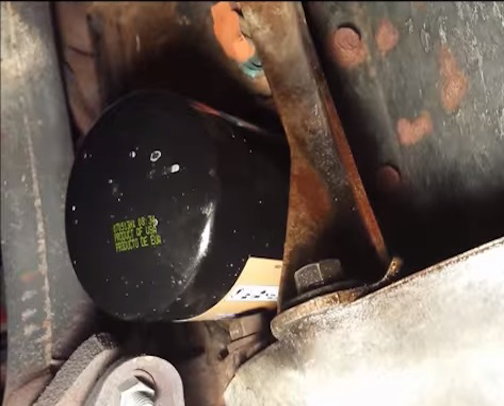
Figure 4. Remove and replace the oil filter. 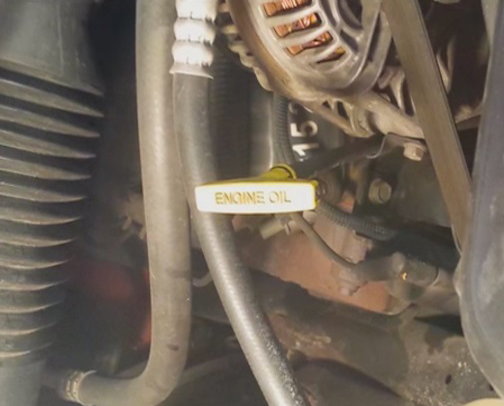
Figure 5. Check engine oil level.
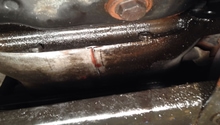
Change the Rear End Differential Fluid
If your truck is at or above 100,000 miles and the rear differential fluid has never been changed, now is the time.
To change the differential fluid:
- Remove rear end "pumpkin" bolts to drain the fluid; start with the bottom bolts and work your way to the sides.
- After removing the last few upper bolts, pry off the cover carefully with a stiff-blade putty knife.
- Wipe the inner casing with a clean, soft shop rag.
- Wipe the outer rim clean.
- Re-install differential cover, and add fluid until fluid backs out of the filler hole.
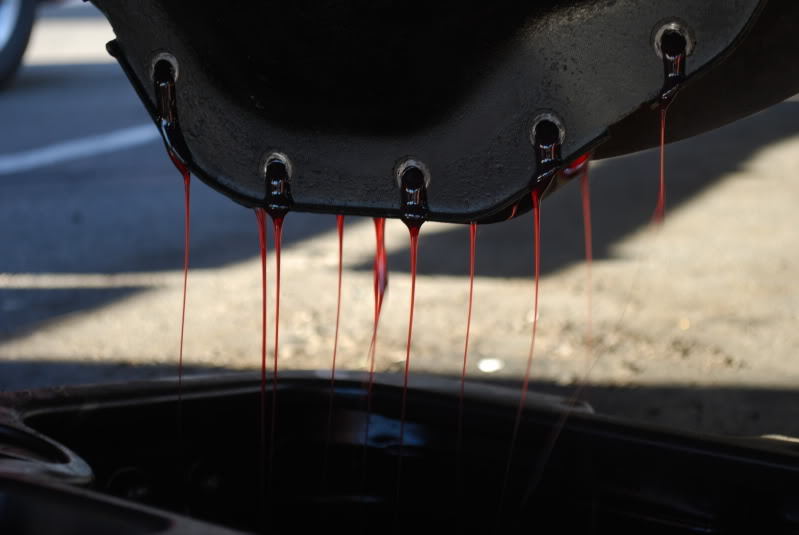
Figure 6. Drain the rear differential fluid. 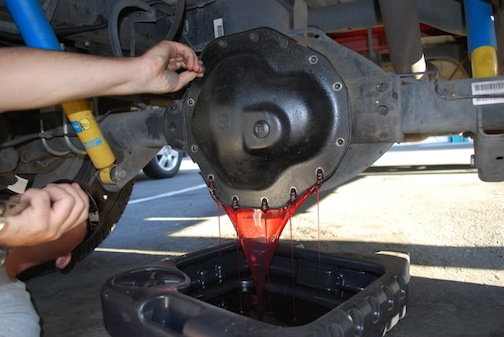
Figure 7. Remove the remaining upper bolts. 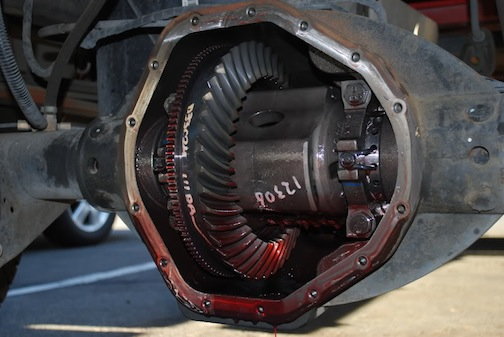
Figure 8. Remove the casing and clean the differential gears. 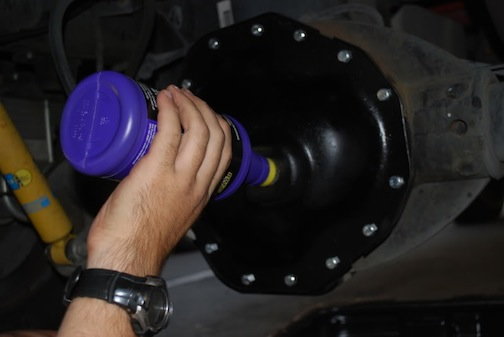
Figure 9. Pour in new differential fluid.
Pro Tip
Do NOT use soaps or cleaners to clean out the differential case! Soap residue can break down the fluid quickly, and sooner or later lead to gear wear as well as failure.
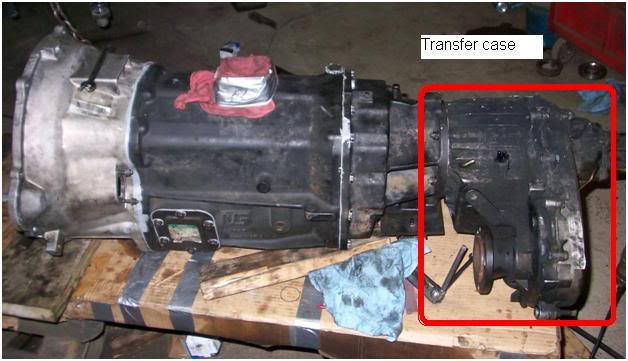
Change the Transfer Case Fluid
The transfer case is the heart of your Ram's 4WD system, so maintain it by replacing the transfer case fluid at least every 35,000 miles.
To change the fluid:
- Remove the 10mm Hex bolt from the transfer case's upper filler hole. Put your finger in the hole to inspect the fluid; if it is a brownish color, you will need to change the fluid.
- Remove the lower 10mm Hex bolt from the transfer case's lower drain hole, and allow the fluid to completely drain out. Remember to catch the oil with a drain pan.
- Once the fluid has drained, re-install the lower drain hole bolt.
- Add fresh transmission fluid using a small curved funnel until the fluid backs out of the filler hole.
- Then re-install the upper filler hole bolt.
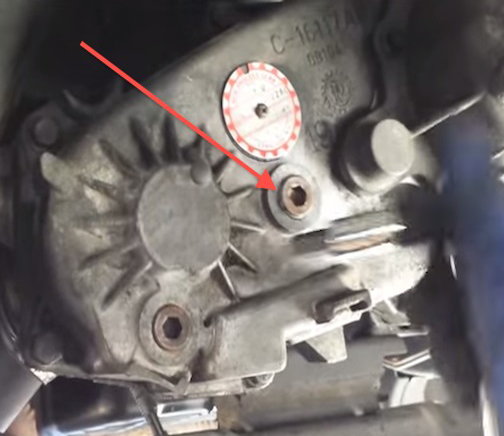
Figure 10. Remove the transfer case filler hole plug. 
Figure 11. Refill the transfer case with transmission fluid.
Common Questions
When should the fluids be changed?
- The factory recommendation for an oil change is every 6,000 miles.
- Flush and replace the radiator coolant every 96,000 miles.
- Check the power steering fluid level at every oil change, and top off or change as needed.
Common Issues
Overheating or No Heat At All
If your Ram truck is running a little hotter than you'd like or if the heater isn't pumping out enough heat, you may need to bleed (or "burp") your cooling system.
To bleed the system:
- Remove the radiator cap, and top off the radiator with equal parts water and antifreeze.
- Fill the coolant overflow tank about 1/2 to 3/4 full with the water/coolant mixture.
- Leaving the radiator cap off, run your engine to operating temperatures and until and radiator "burps." There should be a drop in coolant level as the system burps.
- Closely monitor your truck's temperature gauge throughout the bleeding process.
- Top off the radiator and overflow tank until no more bubbles are coming out of the radiator filler hole.
Related Discussions
- Burp Your Cooling System - DodgeForum.com
- Dodge Ram Fluid Capacities - DodgeForum.com
- What Spark Plug to Use in Your Truck - DodgeForum.com