Dodge Ram 1994-2008: Transmission Diagnostic Guide
Transmissions contain many moving parts that move fluid throughout the system. Gears are selected and released by servos and solenoids to select your desired gear ratio. Like the engine, transmissions require periodic maintenance for trouble-free operation.
This article applies to the Dodge Ram 2nd and 3rd generation (1994-2008).
The transmission is comprised of several planetary gear sets with friction bands and bearings. Fluid is pumped into the transmission by a hydraulic pump. Once pressurized, it can be used to actuate servos that compress and apply bands for gear selection. Solenoids are used to open and close fluid passages throughout the system. Transmissions are susceptible to wear, especially in the valve body. Clearance in this area are less than one thousandth of an inch, making it easy for dirt to create problems.
Materials Needed
- Basic tool set (sockets, ratchet, pliers, screwdriver)
- Pressure tester
- Flow meter
- Transmission fluid and filter
- Propane spray or soapy water
- Wheel chocks
- Large fan
- Paper towels
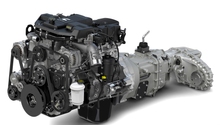
There are three different transmissions in your Dodge Ram, depending on the year and engine. These are the 42RLE, 45RFE, and the 545RFE. Each transmission is similar in design with the only differences between the 45RFE and 545RFE being an extra overdrive gear. Your Ram's owner's manual and service manual can be downloaded from the Ram website. Alternatively, you can provide a parts store or dealership your V.I.N. (vehicle identification number) to confirm the transmission on your Ram.
Always check your Ram for active and pending trouble codes. These usually save time by isolating the problem to a specific area. Engines codes can affect the transmissions operation, so be sure to record them as well.
During a test drive, take note of when the problem occurs. For example, does the problem only occur when you go wide open throttle, or will the truck not shift into overdrive. Gather any information you can during your drive in regard to noises, harsh shifting, and areas of vibration.
(Related Article: Transmission Options - DodgeForum.com)
Step 1 – Check the transmission fluid level/condition
One of the most common causes of transmission problems is due to contaminated fluid and low fluid level. When this occurs, solenoids cannot create enough pressure to move fluid throughout the system. The results are hard, erratic shifting or no shifting at all. It's important the fluid listed in your owner's manual is used.
Contaminated fluid is most often caused by excessive heat, which breaks down the fluids lubrication and cooling properties. Contaminated fluid is evident by its unusual dark brown color and burnt smell. Place a drop of fluid on a paper towel. If a dark spot forms where the fluid first contacted the towel, the fluid is dirty.
To check the fluid level, warm the engine to operating temperature. Move the transmission through every gear range, and then back to park. Check the transmission dipstick reading on a level surface. It should be at the HOT/FULL mark.
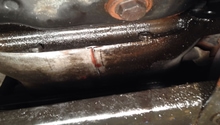
If you find your fluid level is low, check for leaks in and around the transmission. This includes the transmission cooler lines running forward to the radiator. If a leak if difficult to find, a fluorescent dye can be added. When a U.V. light is shined on the leak, the dyed fluid will glow.

Figure 1. A transmission fluid range temperature chart. 
Figure 2. A transmission fluid condition chart.
Step 2 – Perform a visual inspection
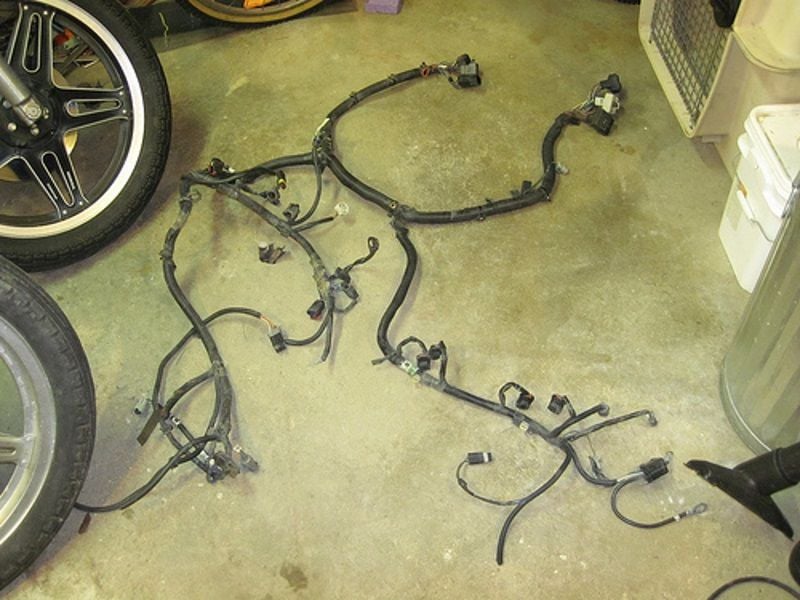
Because engine operation affects transmission operation, a detailed check of both is needed. Check along the intake piping for leaks, and along the exhaust for kinks or holes. Follow the wiring harness to the sensors and make sure the connectors are secured to the sensor. Look for any corrosion or tears in the wiring harness. Fluids leaking on a harness near a sensor can disrupt its signal.
Vacuum leaks can be checked with propane and soapy water. Spray propane along the intake and vacuum lines. If the engine RPMs increase, you are near a vacuum leak. Soapy water will bubble in the area of the leak.
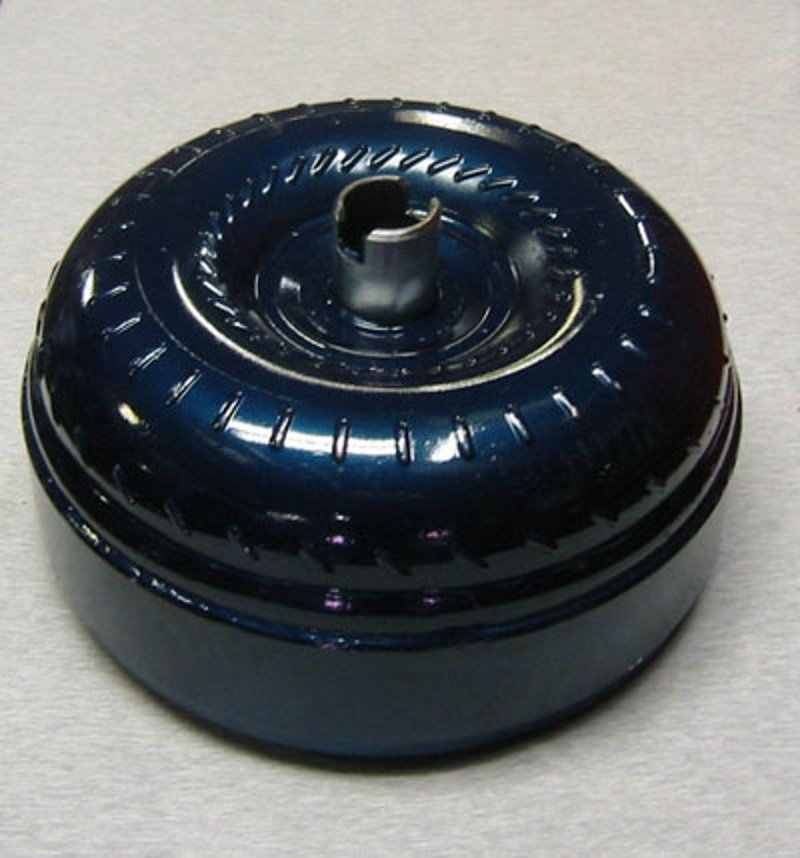
Step 3 – Perform a stall test
A stall test checks the operation of the torque converter and engine. With the engine at wide open throttle, place the transmission in gear and fully apply the brakes.
Check with the service information to see whether a stall test is recommended for your transmission because damage can result.
Make sure the fluid levels are correct and your truck is at operating temp before the test is conducted. Do not perform the stall test for more than five seconds. Give thirty seconds of cool down time between testing.
To perform a stall test:
- Place wheel chocks in front and behind the vehicle.
- Place a large fan in front of the radiator to cool the radiator and transmission fluid cooler.
- Firmly apply the emergency brake, depress the gas pedal, and place the vehicle into gear. You will eventually test all gear ranges.
- Gradually press the throttle to the floor and hold it for five seconds while firmly holding the brake pedal.
- Release the throttle and place the vehicle into neutral. Record the maximum engine speed.
- Raise the engine RPM to 1,500 for 30 seconds before testing the next gear range. This is the cool down time.
- Compare your results with the service information.
Step 4 – Perform a hydraulic pressure test
Consult the service manual for the location of the pressure port(s). They are usually found on the driver's side of the transmission with a bolt or plug threaded in place. As a general rule, pressure in reverse is usually the highest.
A factory compatible scan tool may be able to actuate the electronic pressure control solenoid and display the pressure reading on the screen.
Low line pressure can be a sign of a weak or worn front pump, or internal leaks in the transmission. High line pressure can indicate a failed E.P.C. solenoid.
Step 5 – Perform a cooler flow test
Place a flow meter in-line with the cooler circuit. Compare the results to service information. A low flow reading indicates poor pump performance, a restriction in the cooler, converter clutch problems, and worn spool valves in the valve body.
Step 6 – Inspect the transmission fluid pan
Remove the pan to change the fluid and replace the filter. On the bottom of the pan is a magnet. With a paper towel, rub the magnet to check for excessive amounts of clutch material and metal particles.
Replace the filter at the bottom of the valve body. Your particular truck may also be equipped with an external transmission fluid filter. You can find this information in your owner's manual or service information.
Related Discussions
- Transmission Limp Mode - DodgeForum.com
- Ram Transmission Issue - DodgeForum.com
- Common Issues with Ram - DodgeForum.com