Dodge Ram 1994-2001: How to Replace Transfer Case Shift Motor
The transfer case shift motor is a common problem area for certain Dodge Ram model years. But no matter the year or generation, when the shift motor goes out in your truck, a replacement should not be held off for long.
This article applies to the Dodge Ram 1500 2nd Generation (1994-2001).
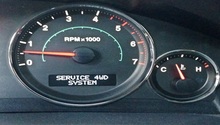
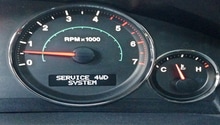
The transfer case is an important component of your 4WD Dodge Ram, receiving torque from your engine as well as transmission and distributing it to both the front and rear wheels when necessary. If the transfer case goes bad, your 4WD system will fail to engage and you'll be left with an all new 2WD truck that's suffering to climb over steep and rocky terrain. In most cases, if 4WD fails to engage, your truck's electronic transfer case shift motor is the likely culprit. In 2004 and 2005 Ram model years, the shift motor tends to fail sooner than with 2nd generation Dodge Rams.
If your truck automatically shifts into neutral when 4WD is engaged, has trouble finding shift positions, or there is excessive leaking underneath the transfer case shift motor, it most likely needs to be replaced and properly sealed. After pulling up the trouble code and confirming that a faulty shift motor is your problem, replacement is a very easy task.
Materials Needed
- Hydraulic floor jack and jack stands (optional)
- Ratchet and socket set
- Torque wrench
- Drip pan
- Replacement transfer case shift motor
Step 1 – Remove the old shift motor
- Disconnect the negative terminal (black) of the battery. Always do so when working with electronic truck components.
- Use floor jack as well as jack stands to raise and support the front end of your truck. Make sure to place the jack and jack stands under the appropriate jacking points. Raising your truck is not necessary, but will allow you to easily locate the shift motor.
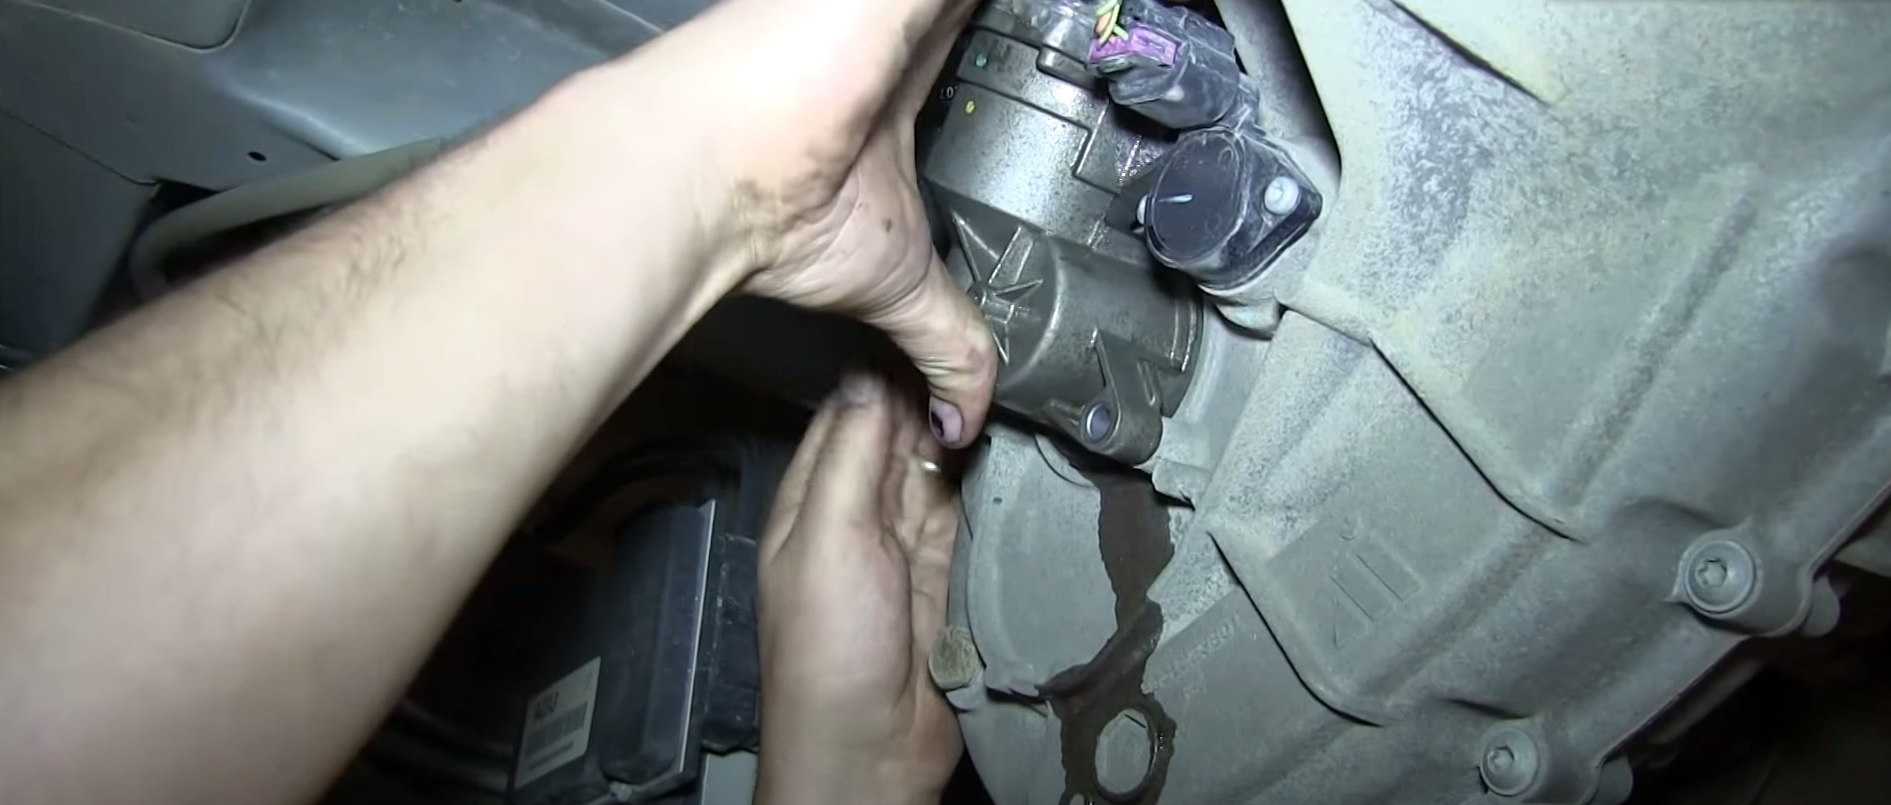
- The shift motor is located on the rear-facing side of the transfer case. Place a drip pan underneath the motor because some oil will leak out.
- Remove the three mounting bolts securing the shift motor to the transfer case.
- Then push the tab on the shift motor's wire harness connector and pull it out.

Step 2 – Install the new shift motor
- Place the new shift motor on its proper mounting location of the transfer case.
- Thread in the mounting bolts and tighten them to 30 to 35 ft-lbs.
- Plug in the wire harness connector.
- Lastly, check the transfer case fluid and top off as needed.
Pro Tip
Check the transfer case fluid level by unbolting the top oil filler plug. If the fluid is just below the top hole, the transfer case is full.
Related Discussions
- Transfer Case Shift Motor - DodgeForum.com
- Four Wheel Drive Not Engaging on 2nd Gen Ram - DodgeForum.com
- Electronic Shift Four Wheel Drive Acting Up - DodgeForum.com