Dodge Ram: How to Stop Coolant Leak
Even the smallest cooling system leak should not be ignored. Continue reading to find out how to resolve this problem.
This article applies to the Dodge Ram 2nd, 3rd, and 4th Generation (1994-Present).
If you are seeing the telltale signs of a coolant leak in the form of small puddles of antifreeze on your garage floor, don't ignore it. Although it can be quite maddening hunting for the source of the leak, it is something that needs to be done. You can either do it yourself or you can have a professional track it down. It is likely that the professional will have just as much trouble finding the source as you will, which means that he is going to throw parts at it at your expense. If you are lucky, he'll get it right the first time, but it will still cost you quite a significant sum of money having someone else do what you could have done yourself. Searching for the leak may even be more difficult than the repair once you find it. Muster up some patience and extra time to save yourself a lot of money by troubleshooting this annoying leak yourself.

Materials Needed
- Radiator pressure test kit (optional)
- White paper
- Teflon tape
- Vice grips or 8-point Hex key
- Penetrating oil
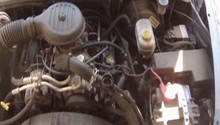
To aid you in your search, one of the best things you can do is get a very large white piece(s) of paper and place them on the ground under your engine as well as radiator. Make sure the whole area is covered. You will most likely find antifreeze, water, and oil. Where this has dripped, you can now concentrate your search efforts in that area.
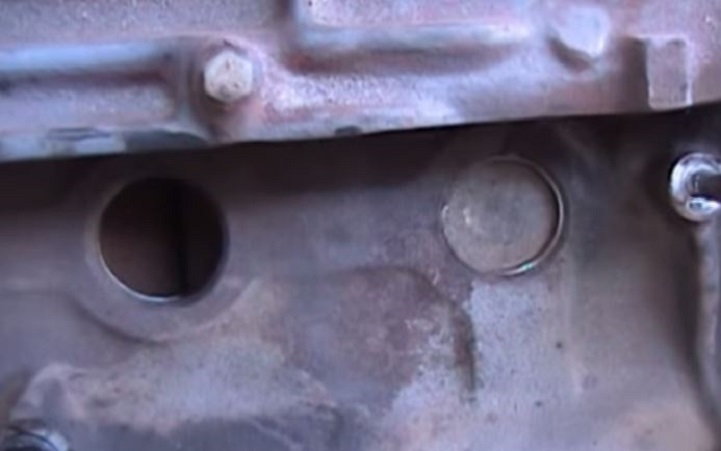
Step 1 – Check your freeze plugs
They might be corroded or completely rusted.
Improperly maintained cooling systems will cost more in the long run than the price of all the radiator flush and fills that you ignored combined. Do not neglect having the radiator flushed at the regular interval. The radiator fluid has rust inhibitors that will eventually break down over time, and as a result, things such as the freeze plugs will rust out and cause a leak. Using tap water instead of distilled in your radiator will also cause more rusting because of the minerals in tap water. These things combined with a general consensus that the early generation Dodge RAM trucks used a rather poor quality freeze plug that was prone to rusting. All things considered, a leak that is difficult to trace could very well likely be a rusted freeze plug. There are several, most in the front are found near the wheel wells and can be replaced rather easily. If your leak is coming more from the rear of the engine where the transmission is mounted, then, unfortunately, you'll need to drop the tranny to change out those plugs. This is a very costly professional repair.
Featured Video: How to Replace Freeze Plugs
(Related Article: How to Flush Your Radiator - DodgeForum.com)
If your freeze plugs are all good, then check your drain plugs.
Step 2 – Check your drain plugs
They might have come loose or gotten really rusty.
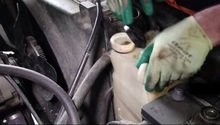
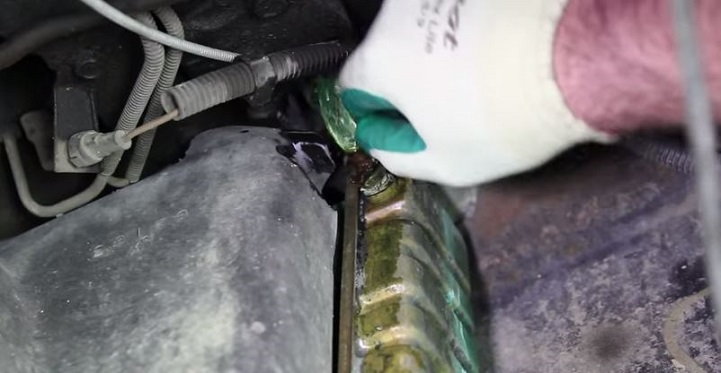
There are three drain plugs for the engine cooling system. These plugs are exposed to the elements on the bottom of the truck, and can become rusty as well as corroded over time.
- The first is actually the coolant petcock or drain valve on the lower end of the radiator itself. Double check this valve for leaks.
- The other two are on the bottom front of the engine block near the motor mounts, toward the center. These easily rust over. Take care that you don't round off the heads when you try to remove them. Use vice grips or an 8-point (only) Hex key to remove. Use penetrating oil. Use Teflon tape on the replacement bolts.
If these plugs aren't leaking, it's time for a pressure test.
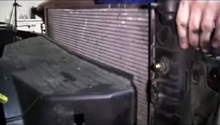
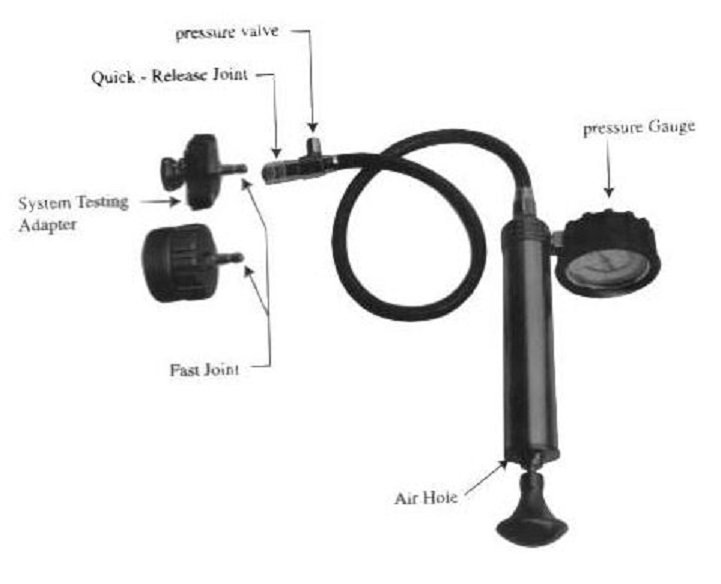
Step 3 – Perform a cooling system (radiator) pressure test
A compression test will help pinpoint the leak.
A simple pressure tester will help identify if the radiator is shot and needs replacement, or the compression test will help determine if you have blown any heads. This could be a costly and difficult repair; however, if the problem is a bad radiator, new ones are fairly inexpensive. Also, the replacement is very easy and straightforward to do yourself.
If you still cannot find the source of the leak even after these tests, it's time to start digging into the engine.
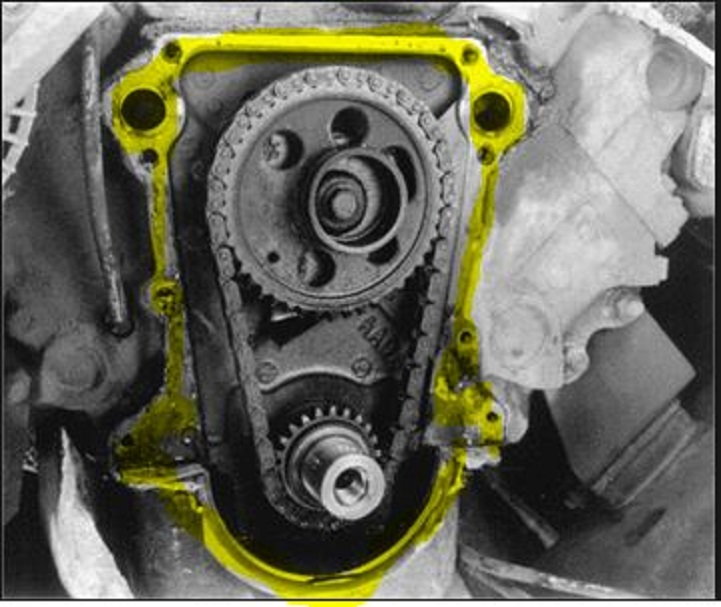
Step 4 – Check the timing chain cover gasket
A common cause of leakage that is almost never found.
The timing chain cover gasket is a common culprit when a stubborn leak won't show its ugly head. If you are not finding any coolant in the oil, consider yourself lucky; however, this is still not an easy fix. A pro is going to cost you a ton of money to tear down your engine to get to the timing chain, but you can do it on your own if you have the time and a little bit of mechanical aptitude. You will have to remove your belts, fan shroud, fan, alternator, A/C compressor and water pump to start in order to get to the timing chain. This cover has a gasket, which is prone to leakage over time because your timing chain is built to last much longer than the gasket.
Related Discussions
- Coolant Leak, Help Needed Please - DodgeForum.com
- The Most Aggravating Coolant Leak Ever - DodgeForum.com