Dodge Ram 1994-2008: Engine Smell Diagnostic
Your Dodge Ram isn't going to smell for no reason. Most of the time when you smell burning, fuel, or any unfamiliar smell that you're not used to smelling, it could mean your truck is having an issue. Here's how to diagnose all the different smells.
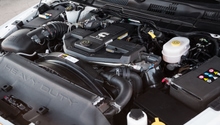
This article applies to the 2nd and 3rd generation Dodge Ram 1500 (1994-2008).
If you smell coolant or burning oil from under your hood, chances are there is a leak somewhere. Considering a leak, it could be easy to spot the puddle, pinpoint the origin of it and address the problem accordingly. For example, a leaking radiator is easy to detect, but sometimes there could be signs of leaking by the smell without an actual stain under the truck. This could happen when a part of your truck leaks on another part, causing the fluid to burn without showing any signs of leakage. Read on to learn what to do when you smell something under the hood of your Dodge Ram.
Materials Needed
- Flashlight
- Socket wrenches
- Box wrenches
- Drain pan
- Flat head screwdriver
- Pliers
- Sealant
- Coolant
- Razor blades
- Brake cleaner
- Shops towels
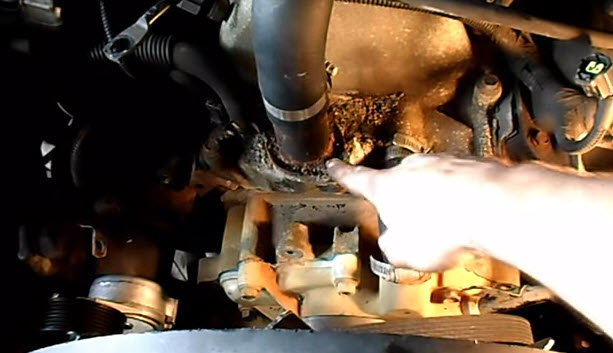
Step 1 – Inspect for leaks
The smell could be a leaking component.
Before tearing into replacing all possible gaskets, it's important to determine the source.
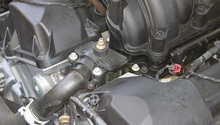
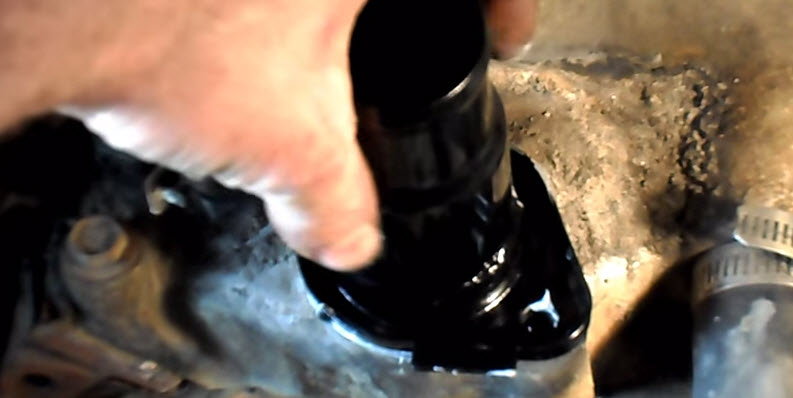
- Using the flashlight, view the areas around the intake manifold for pools of coolant.
- Observe the thermostat housing.
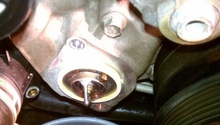
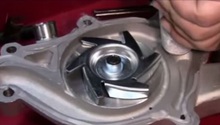
- Observe the belt areas near the water pump.
- Check the hoses and their clamps near the thermostat as well as water pump.
- Inspect the exhaust manifold area for dark spots that show evidence of burning oil.
- Inspect the valve cover areas and the PCV hoses.
Pro Tip
Over time, the bolts can loosen up under extreme heat and pressure.
If there weren't any leaks spotted, continue to Step 2.
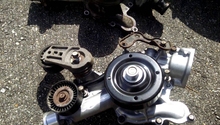
Step 2 – Replace thermostat housing gasket
New gaskets will help to keep things sealed and cool.
If you have determined the source of the coolant leak to be near the thermostat housing, it is wise to replace it altogether.
- Disconnect the negative (black) battery cable.
- Drain the coolant from the system via radiator petcock into the drain pan.
- Release the tautness on the belt tensioner and set belt off to the side.
- Disconnect the harnesses to the A/C compressor and alternator.
- Remove four 15mm bolts holding the A/C compressor in place and its related bracket.
- Remove the two 14mm bolts holding the alternator in place.
- Remove one 14mm bolt from the alternator pulley.
- Remove seven 13mm bolts holding the alternator bracket.
- Remove radiator hose from thermostat housing.
- Remove the two 13mm bolts for the thermostat housing.
- Remove the thermostat.
- Clean the mating surfaces thoroughly with razor blades.
- Re-install thermostat or install new one.
- Apply RTV sealant to surface of the new housing.
- Install new gasket.
- Re-install the housing with new gasket and secure bolts.
- Re-install the radiator hose and secure clamp.
- Re-install alternator bracket, alternator, and pulley.
- Re-install A/C compressor and bracket.
- Re-install harnesses.
- Tighten the radiator petcock and refill system with coolant.
If it's all sealed, move on to Step 3.
Featured Video: How to Replace Thermostat
Step 3 – Replace valve cover gaskets
Now that the thermostat is taken care of, check out the valve cover.
.Since the manifold runs extremely hot, the oil will basically disappear once burned off.
- Remove the PCV hose.
- Remove the oil cap.
- Remove the eight 11mm bolts and lift the valve cover off.
- Discard old gaskets and clean mating surfaces thoroughly.
- Apply RTV sealant on the new gasket.
- Re-install valve covers and secure bolts.
- Re-install the oil cap.
- Re-install the PCV hoses.
- Re-install any disconnected harnesses, brackets, compressors, etc.

Figure 3. Dirty old valve cover gaskets. 
Figure 4. Nice new valve cover gaskets.
Pro Tip
The valve cover bolt torque specs are 80 ft./lbs. Similar to replacing the thermostat housing, you may need to remove A/C compressor and related brackets for clearance.
Featured Video: How to Replace Rocker Cover Gaskets
Related Discussions
- Determining Source of Coolant Smell - DodgeForum.com
- Determining Source of Oil Smell - DodgeForum.com