Dodge Ram: How to Adjust Headlights
You won't need to shell out big bucks to have your headlights adjusted; simply follow these DIY instructions and you'll have them adjusted in about an hour.
This article applies to the Dodge Ram (1994-present).
If your headlights bother oncoming traffic, you'll want to have them adjusted. The process is easy, and you won't need to visit a local mechanic's shop or pay for any specialty tools. However, you will need access to a flat, vertical surface, such as a garage door or a wall, from which to work off of. Once you're parked and ready to go, with your materials in hand, this article will show you how to do the rest. All-in-all, expect to spend about an hour completing this project. You may need to make further adjustments in the future.

Materials Needed
- Masking tape
- Tape measure
- Socket wrench with 6" extension
Step 1 – Get in close proximity to your garage or a wall
Maneuver your Dodge Ram 1500 to within 10 feet of your garage or wall; the ground beneath your truck must be level. Pull the parking brake and disengage the engine, but keep your low beam lights on. With your tape measure and masking tape on hand, make a straight center line on your garage or wall, pinpointing the exact height and width of each headlight (left side and right side). You will end up with a "T" shape when you are done.
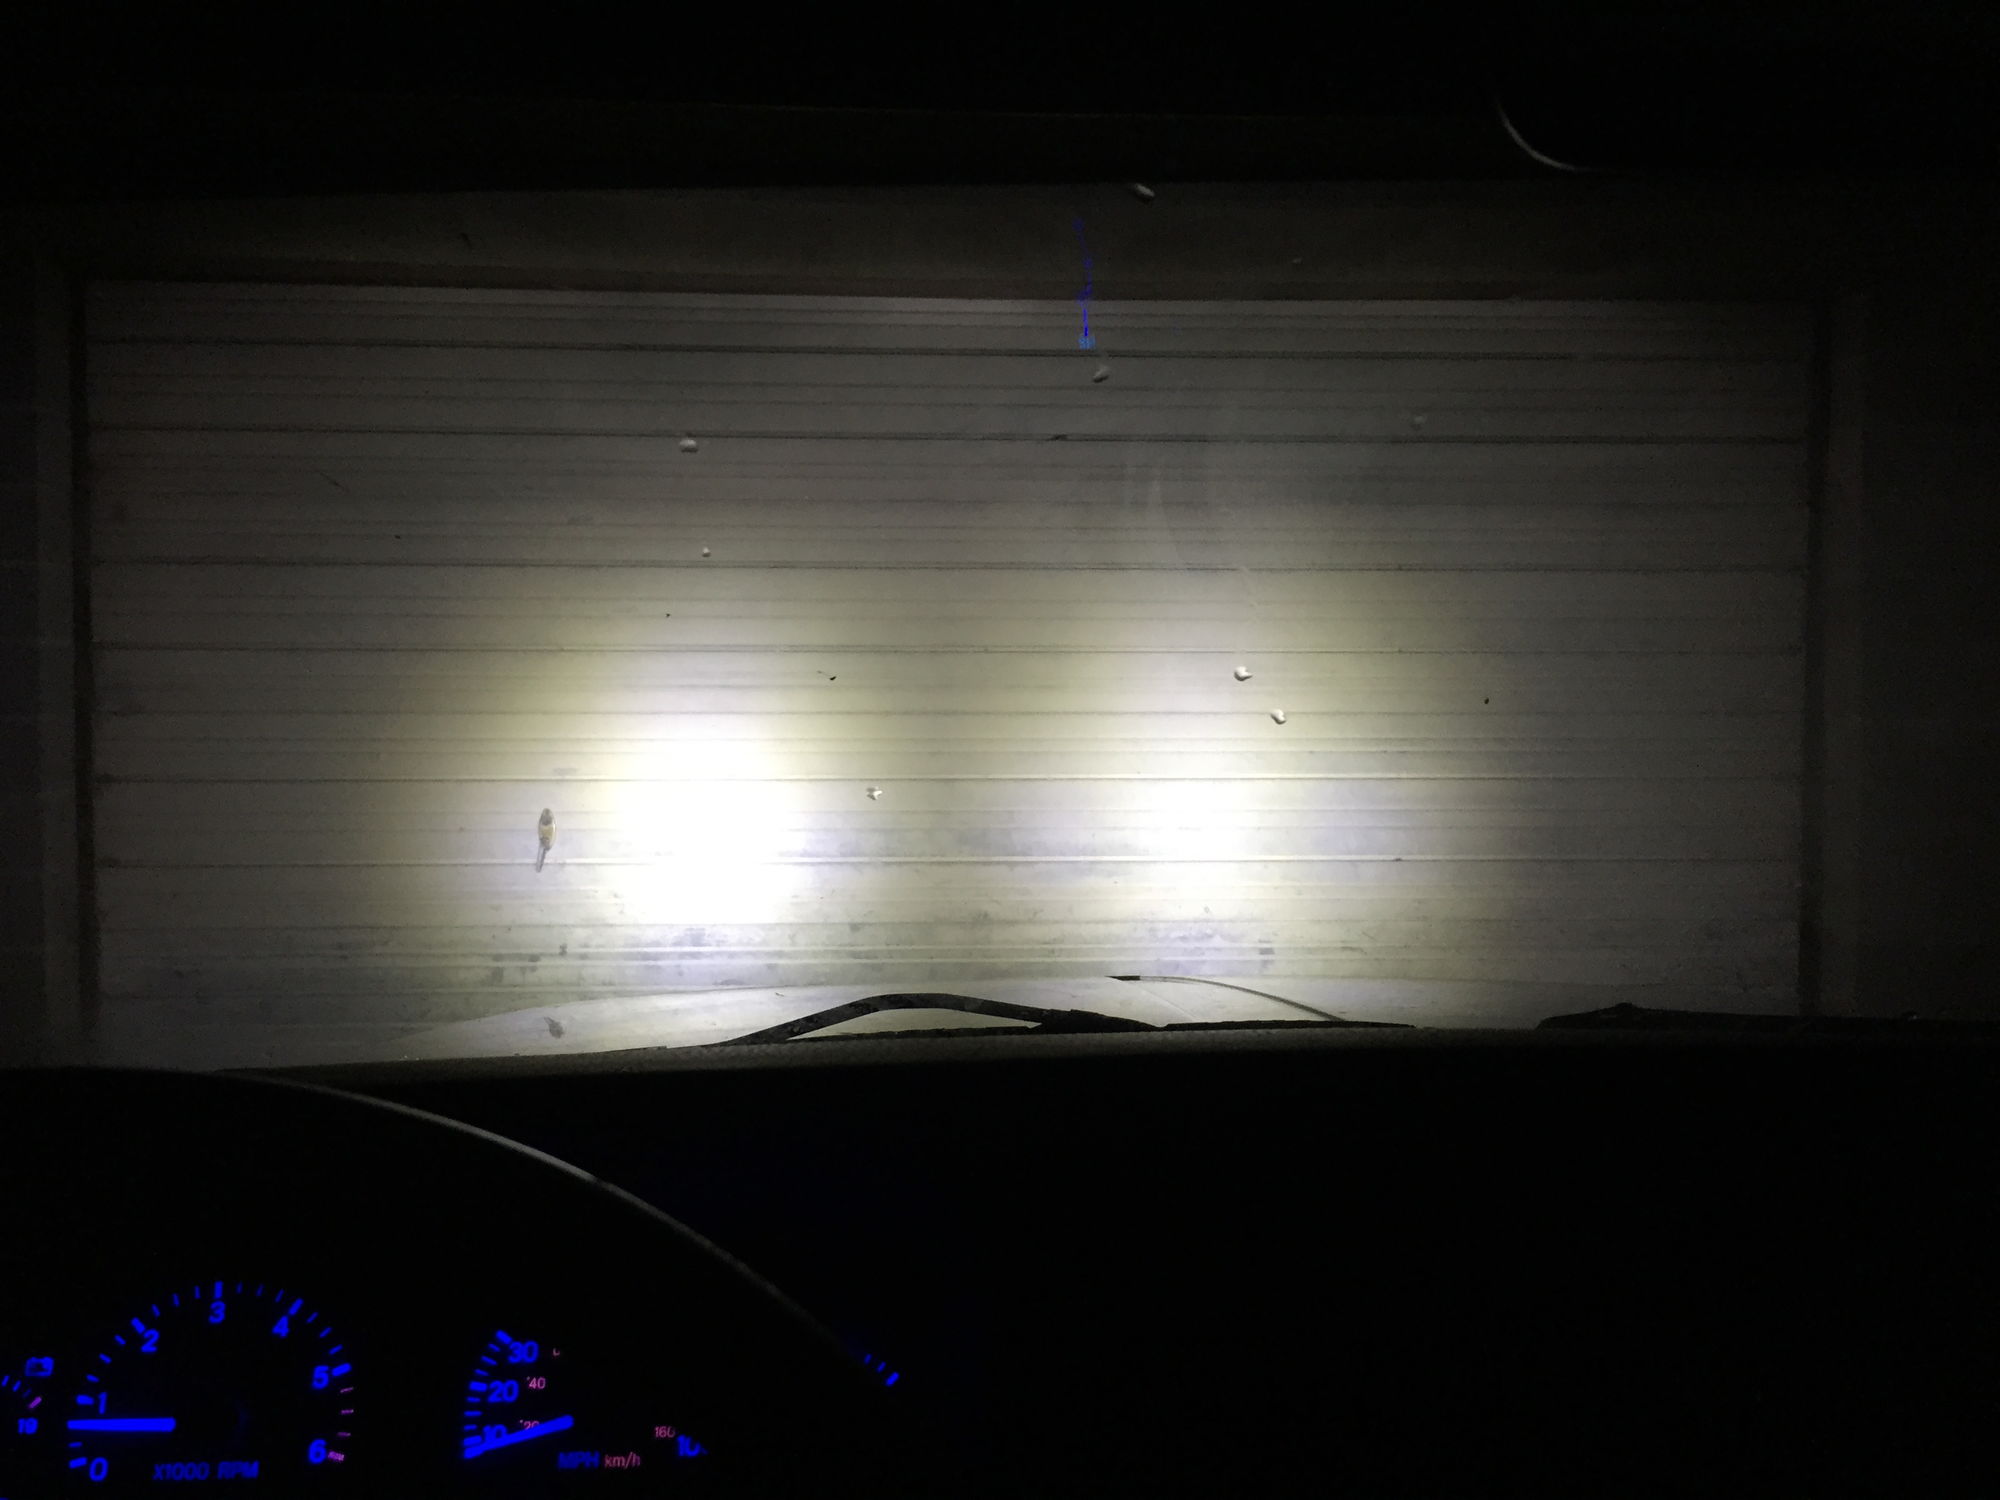
Step 2 – Put your truck in reverse
Continue in reverse until you reach approximately 24 feet from your garage or wall. Park your truck and hop out. Using a socket wrench with a 6mm extension, adjust the bolts on your headlights to begin the adjustment process.
- Turn the bolt that is closest to the side of your engine (versus the engine or grille) in a downward motion to lower your headlight, and turn the bolt that is closest to your engine in a clockwise or counterclockwise motion to turn guide your headlight left to right.
- Continue until you hit the marks you made in Step 1.
- You can stop once they match up.
- When you adjust your low beams, your high beams automatically move into the correct position, as well.
Pro Tip
There are three bolts connected to each headlight: one on the top, which might be blocked by the front fender, one in the corner to the far left of the assembly and one on the bottom of the assembly, near the center. There should be a final bolt that connects the entire assembly; do not adjust this one!
Step 3 – Visit your local dealer
If you have trouble adjusting the bolts on your headlights, or for some reason you find that you are needing to adjust your headlights more frequently than once per year due to changes that are occurring mechanically as you drive your truck, it's recommended that you stop by a local dealer or mechanic's shop to have your headlights checked. Be sure to make an appointment before stopping by the lot or garage of your choice for faster service.
Pro Tip
You might also want to refer to your owner's manual for additional tips and instructions. Check page 618. As well, if you've recently changed your bulbs, make sure you've installed them correctly. This could be your problem.
Related Discussion
- Headlight Adjustment - Dodgeforum.com