Dodge Ram 1994-2008: Why is My Truck Leaking Oil?
Is your truck leaking oil, but the leak is not easily detected?
This article applies to the Dodge Ram 2nd and 3rd Generation (1994-2008).
All vehicles burn engine oil during the combustion process. However, no vehicle should be rapidly "losing" oil. It is possible that you may have an oil leak in the system that could stem from either the oil pan, oil pan drain plug, valve cover, various seals, etc.

Note
The DIY Cost breakdown:
- For aluminum sheet if creating your own plenum plate: $25-45
- Standard plenum gasket: $15
- Rear main seal: $32
- Throttle body gasket $4
- Kit that contains all gaskets: $60
Materials Needed
- Ratchet wrench with various sockets
- Flat tip screwdriver
- Mallet
- Flashlight
- Pliers
- RTV sealant
- Drain Pan
- 1/4" aluminum sheet in varying size
- Grinder or other cutting tool
- Cardboard
- Engine oil and filter
- Jack and jack stands
Step 1 – Determine source of the leak
Since there are several areas that could be the cause of your leak, it is wise to narrow down the leak.
- Clean the areas under the oil pan and block with engine degreaser.
- Place cardboard underneath the vehicle to "catch" oil drips.
- Start the vehicle and let idle for some time to observe areas prone to leaking for obvious oil seepage.
Pro Tip
Some of the "not easily seen" areas for leaks are the plenum gasket for the air intake or the rear main seal. It could also be as simple as a loose filter or drain plug.
If no visual leaks are found but you are still burning excessive oil, proceed to Step 2.
Step 2 – Repair or replace plenum gasket
The intake manifold comprises of two pieces: the top is made of aluminum, while the bottom is made of steel. The gasket between them (plenum) expands and contracts as the temperatures rise and fall. Because of the different metals, it adds extra wear to this gasket, making it virtually useless after a short while. Thus, leaks are formed and you lose oil at a much more rapid rate. You can opt to replacing this gasket and all related gaskets at one time and/or by creating your own "aluminum" plenum gasket for longer lasting results. Some aftermarket companies also sell pre-cut aluminum gaskets.
- Remove the upper intake manifold with a socket wrench.
- Lay the old rubber molded gasket down on a piece of cardboard and trace its design.
- Cut the template out from the piece of cardboard.
- Lay the template onto your aluminum sheet, and use a cutting tool to cut the new plenum gasket.
- Install the "new" plenum gasket.
- Install new throttle body gasket.
- Secure the upper intake manifold and throttle body.
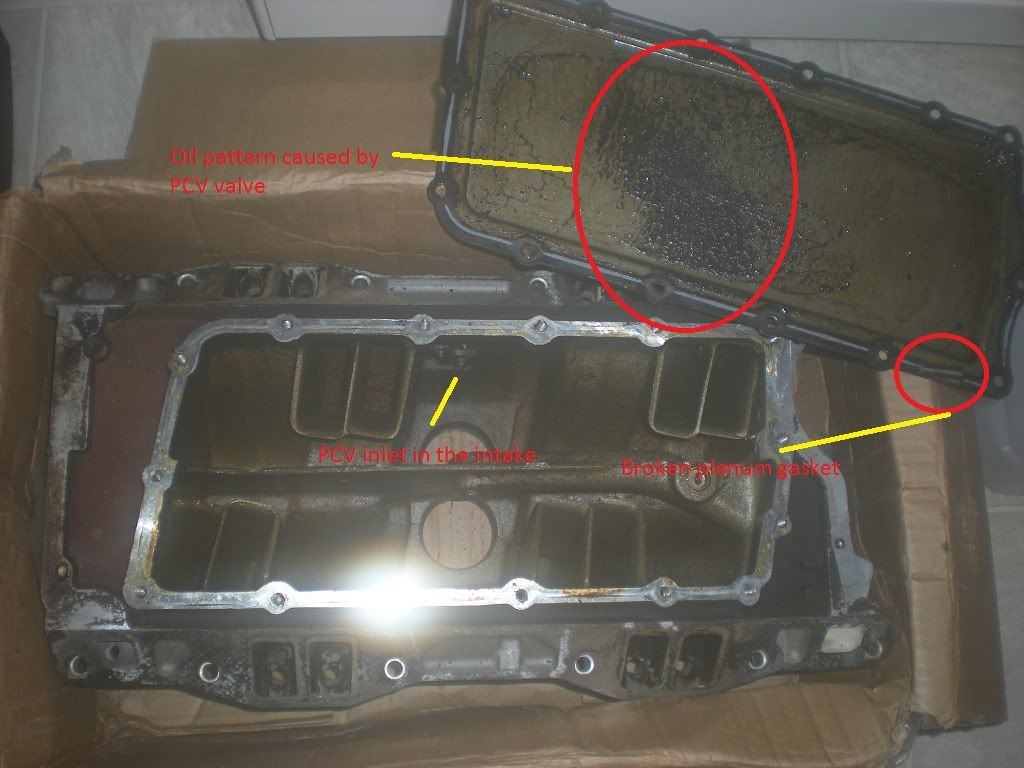
Figure 2. Intake manifold disassembled, gasket highlighted. 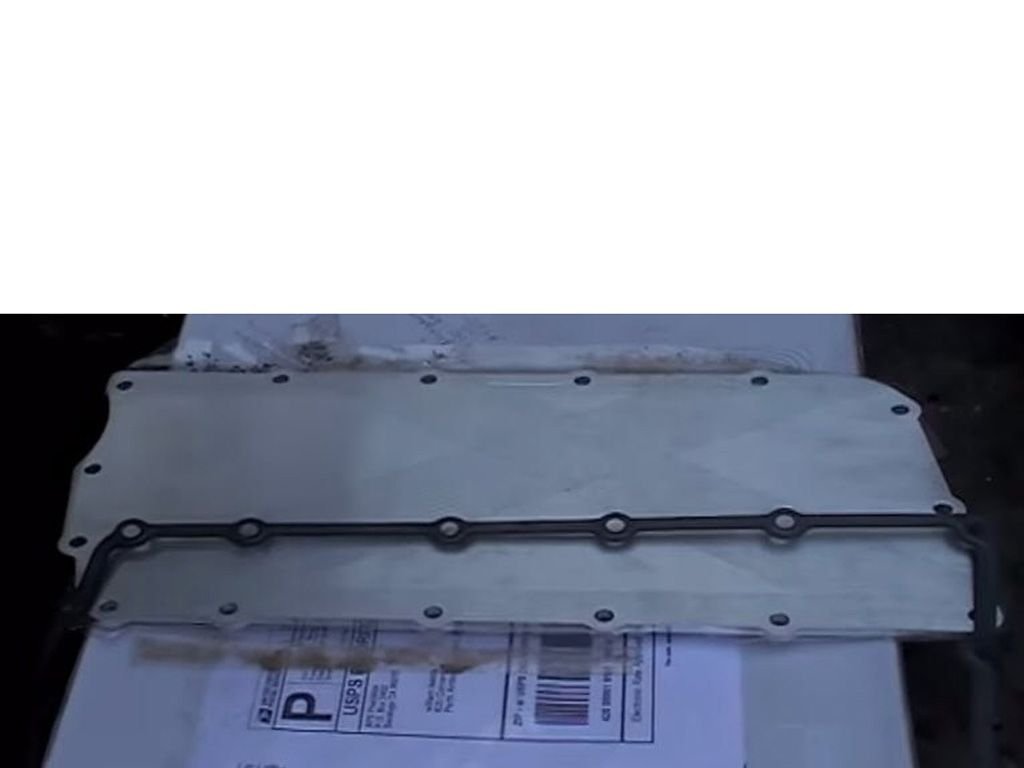
Figure 3. Fresh gasket.
Pro Tip
For more clearance, the throttle body should also be removed. Don't forget to replace its gasket when re-installing. If you are creating your own plate, you'll need to take consideration that the hardware used to hold the "old" gasket will work for yours. You can always buy new hardware to keep everything fresh, however.
Featured Video: Dodge Ram Intake Plenum Repair
If after replacing the plenum gasket you find that their are still leaks, proceed to Step 3.
Step 3 – Replace rear main seal
The rear main seal is a gasket at the rear of the engine, and pancaked between the transmission housing. Depending on how your engine and transmission is configured, a weak rear main seal can leak both engine oil and transmission gear oil.
Over time, these seals can get worn and begin to leak. When they do, they will leave signs all over your driveway and starve the motor of oil every so often.
- Disconnect the battery's negative (black) terminal.
- Secure the vehicle on jack stands.
- Drain the oil and replace the drain plug.
- Remove the oil dipstick.
- Secure the engine hoist to the motor to raise it 3-4" for clearance.
- Remove the starter.
- Remove all the bolts from the oil pan.
- Remove the oil pump by removing two bolts.
- Remove the main bearing cap.
- Replace the lower part of rear main seal (1st half).
- Slide the upper part of rear main seal on to the crank (2nd half).
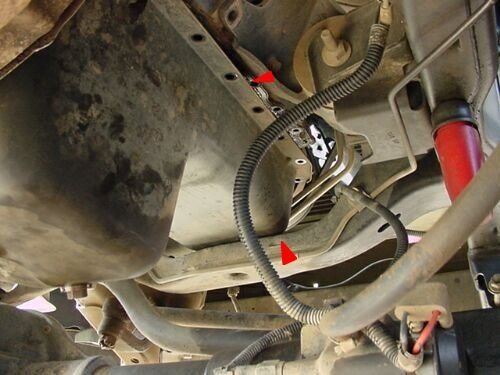
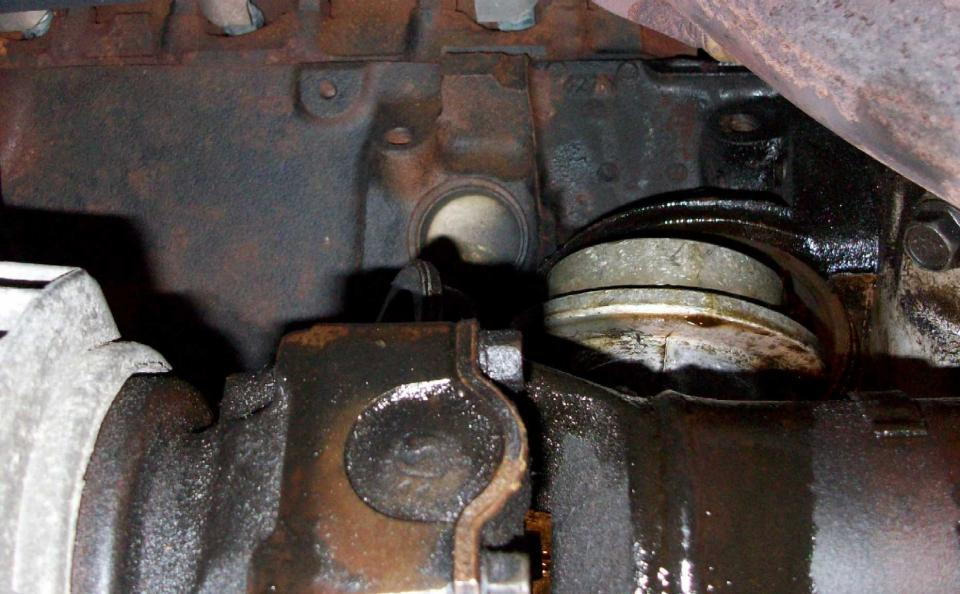
Figure 4. Oil pan coming off. 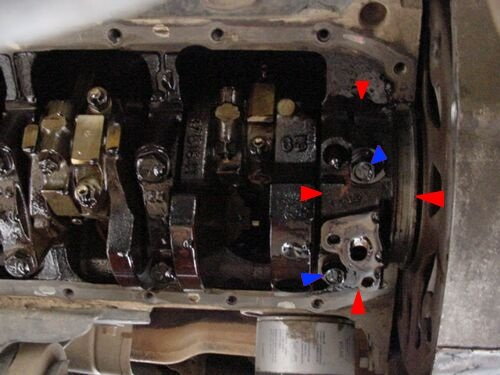
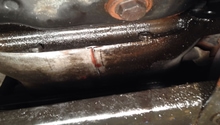
Figure 5. Bearing and seal, pinched between crankshaft and transmission bell housing. 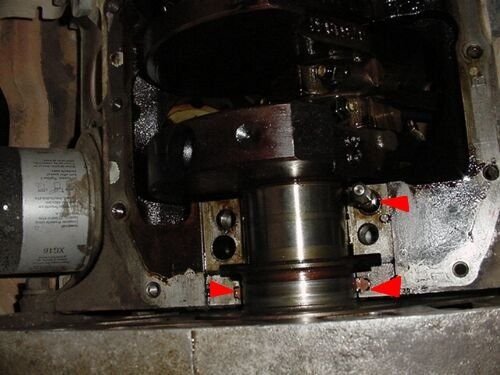
Figure 6. Rear main bearing. 
Figure 7. Damaged rear main seal.
Pro Tip
When replacing the upper part of the main seal, you will need to take care in not scratching the crank. Using a flat tip screwdriver with a mallet will help the old seal separate from the crank. Using pliers thereafter, will ease guiding the old seal off the crank.
Related Discussions
- Oil Filter Leak - DodgeForum.com
- Plenum Related Discussion - DodgeForum.com
- Was Leaking Oil, This Fixed It - DodgeForum.com
- Rear Main Seal Oil Leak - DodgeForum.com
- Oil Leak - DodgeForum.com