Dodge Ram 1994-2008: How to Replace Ball Joints
Driving with worn out ball joints will create an uncomfortable ride, but most of all, it can be extremely unsafe. Read this guide to find out more.
This article applies to the Dodge Ram 2nd and 3rd generation (1994-2008).
The ball joints in your Ram truck are designed to allow suspension and steering components move freely, and with reduced friction, wear and tear will occur. Eventually, the ball joints will render useless due to high mileage. Replacing the ball joints is a straightforward fix, but it requires the removal of multiple components and parts, as well as job-specific tools. If you are unsure of this repair job, you can visit your dealership or repair shop.

Materials Needed
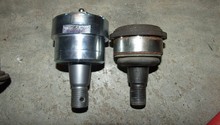
- New lower and upper ball joints
- Floor jack and jack stands
- Hammer
- Flat head screwdriver
- Ball joint removal tool (can be rented from local parts store)
- 13/16" and 15/16" wrench
- 3/8" Allen wrench
- Needle nose pliers
- Ball joint "pickle" fork (usually comes with the aforementioned ball joint removal kit)
Step 1 – Jack truck up
Start by loosening up the wheel nuts on the wheel to be removed. Then attach the floor jack to the appropriate jacking point and lift the truck up. Fully remove the wheel nuts and wheel. Then secure the truck by using jack stands.
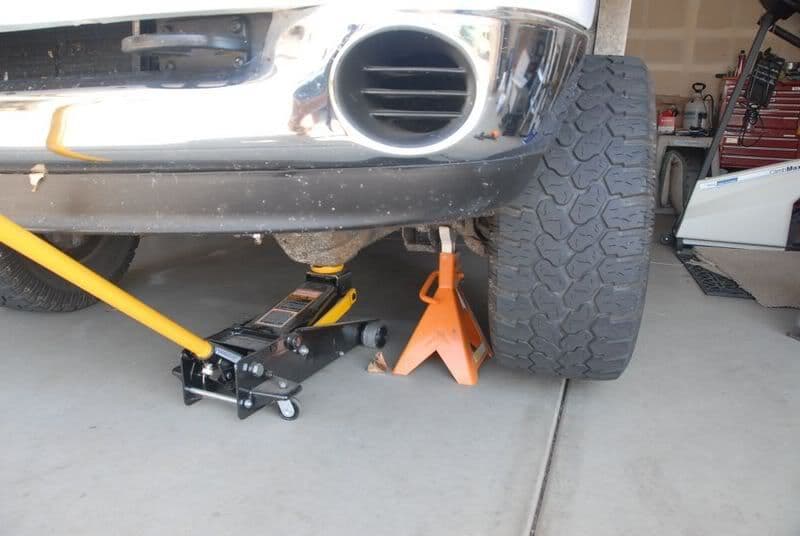
(Related Article: How to Jack Up Your Truck - DodgeForum.com)
Step 2 – Remove brake assembly
Before accessing the ball joints, you must get the caliper and rotor out of the way. Start by using the 3/8" Allen wrench to undo the two master bolts on the brake caliper, then retrieve the caliper and let it rest without it hanging off the brake line. Then use the flat head screwdriver to pop off the center cap, use the needle nose pliers to pull off the cotter pin, and lastly, use the 15/16" wrench to undo the center axle nut. With those removed, the rotor should slide off easily.
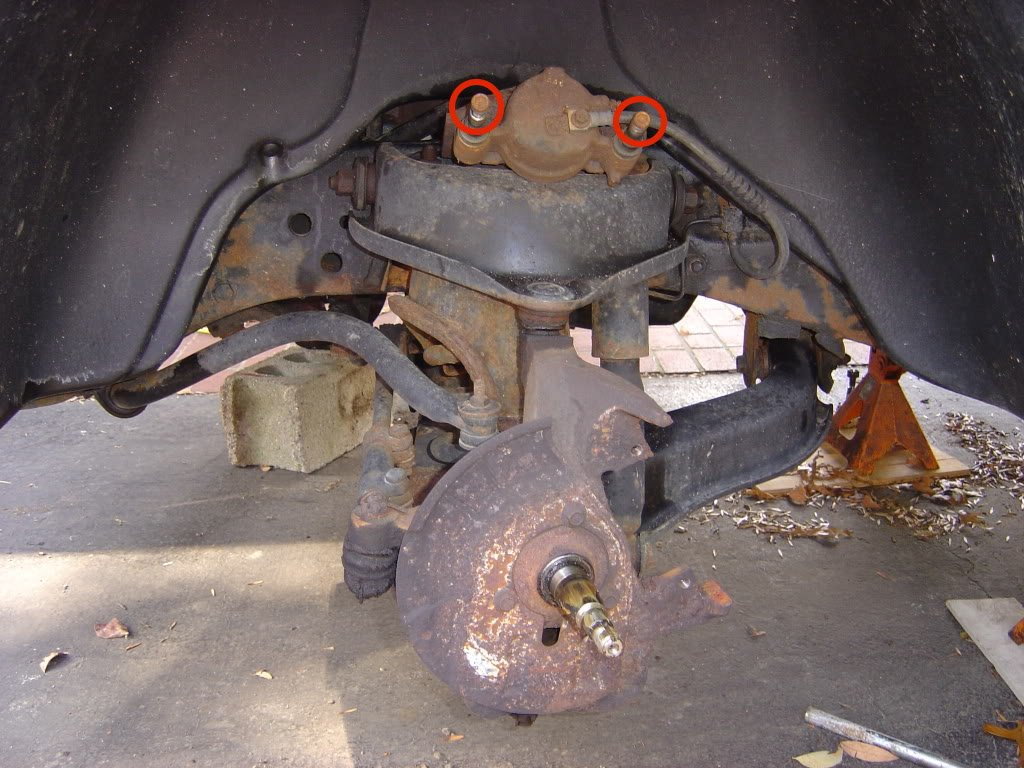
Figure 2. Caliper bolts circled, and rotor removed. 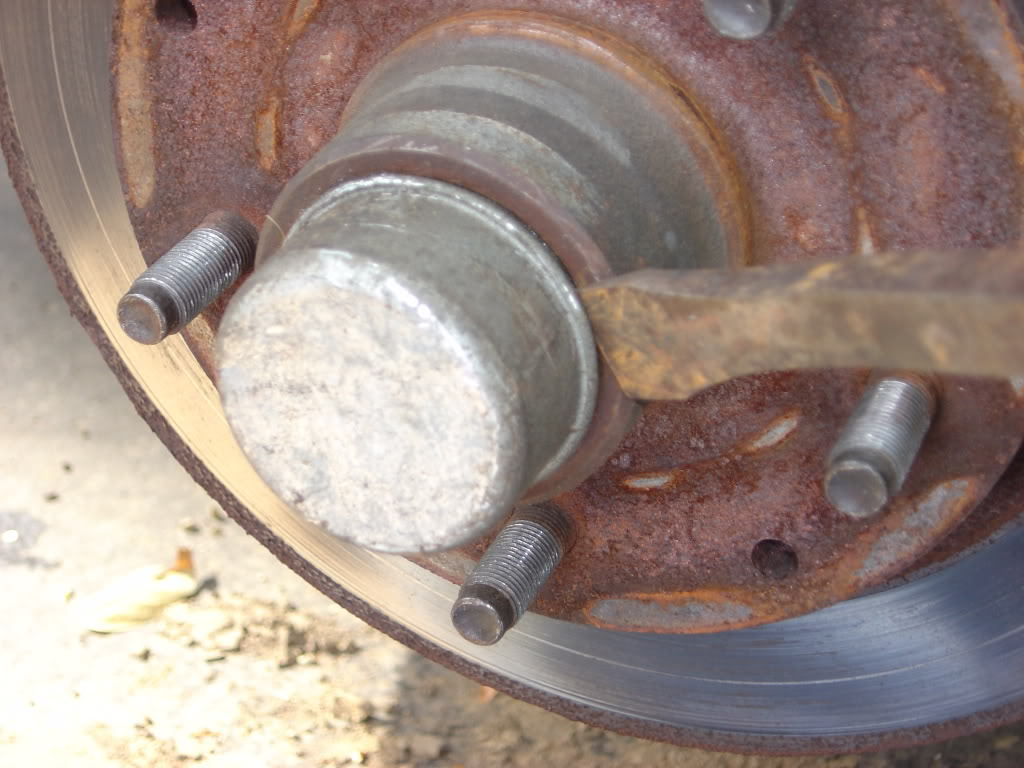
Figure 3. Pop off center cap. 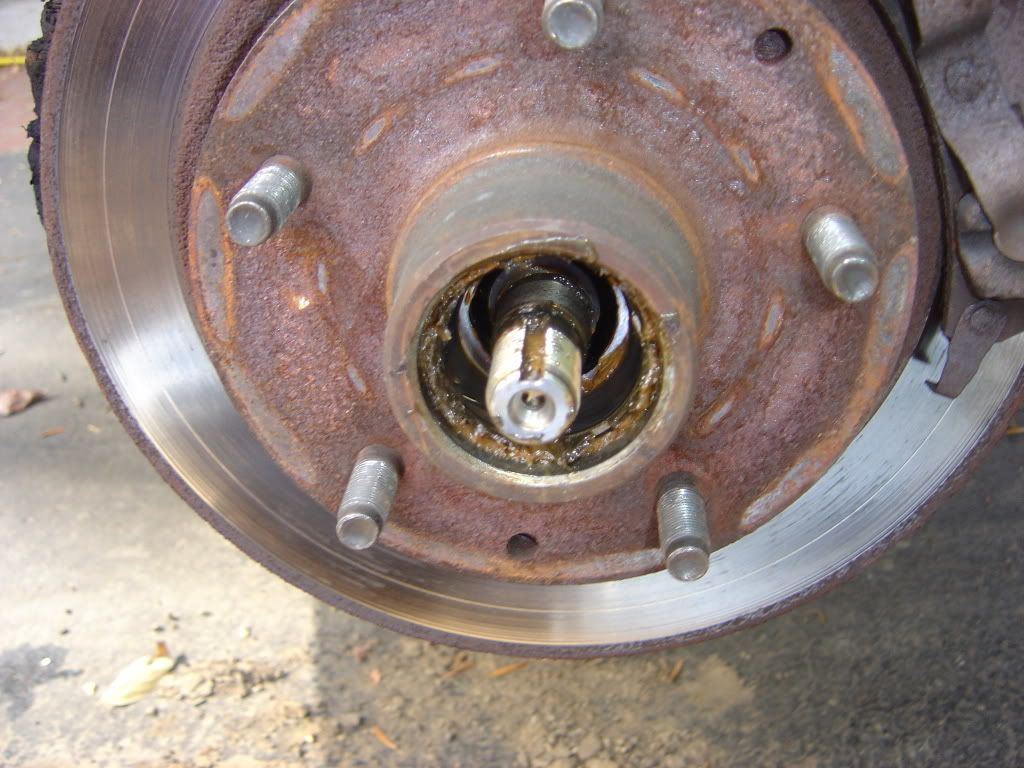
Figure 4. Cap, pin, and center nut have been removed.
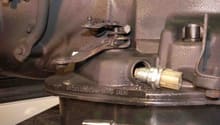
Step 3 – Remove upper joint
Use the 13/16" wrench to undo the nut located below the upper ball joint, and then proceed to apply a little pressure from below the control arm with the floor jack; this will make sure parts slowly come off in a safe manner. Then use the ball joint fork to pop the joint out.
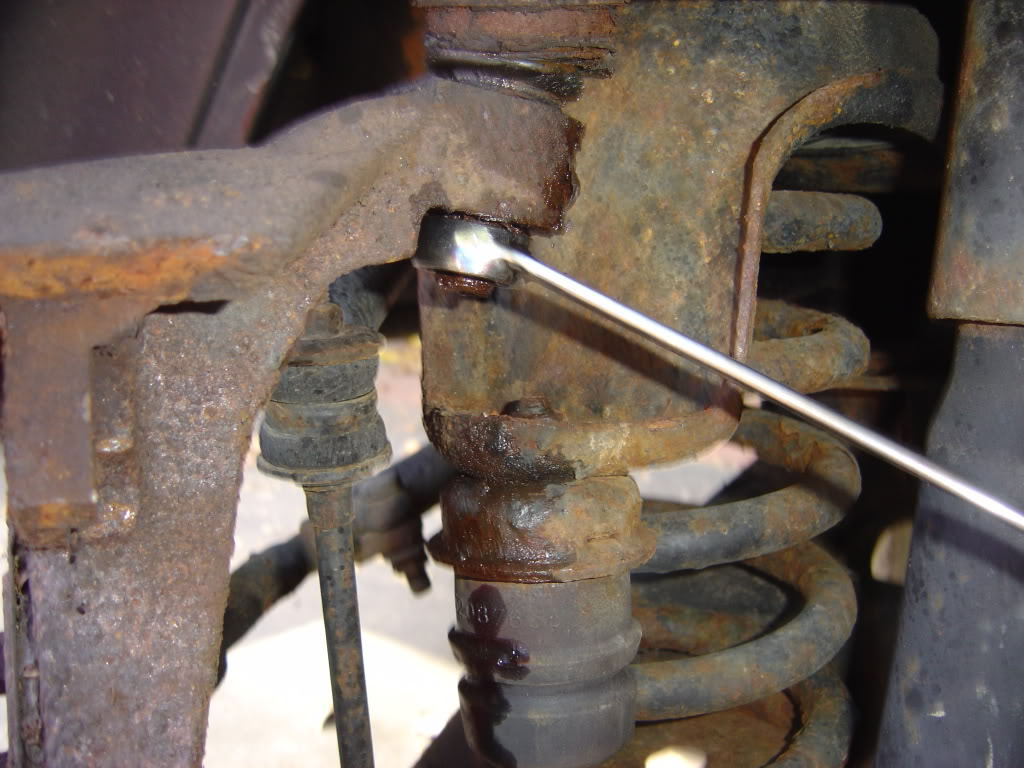
Figure 5. Undo the castle nut on the upper joint. 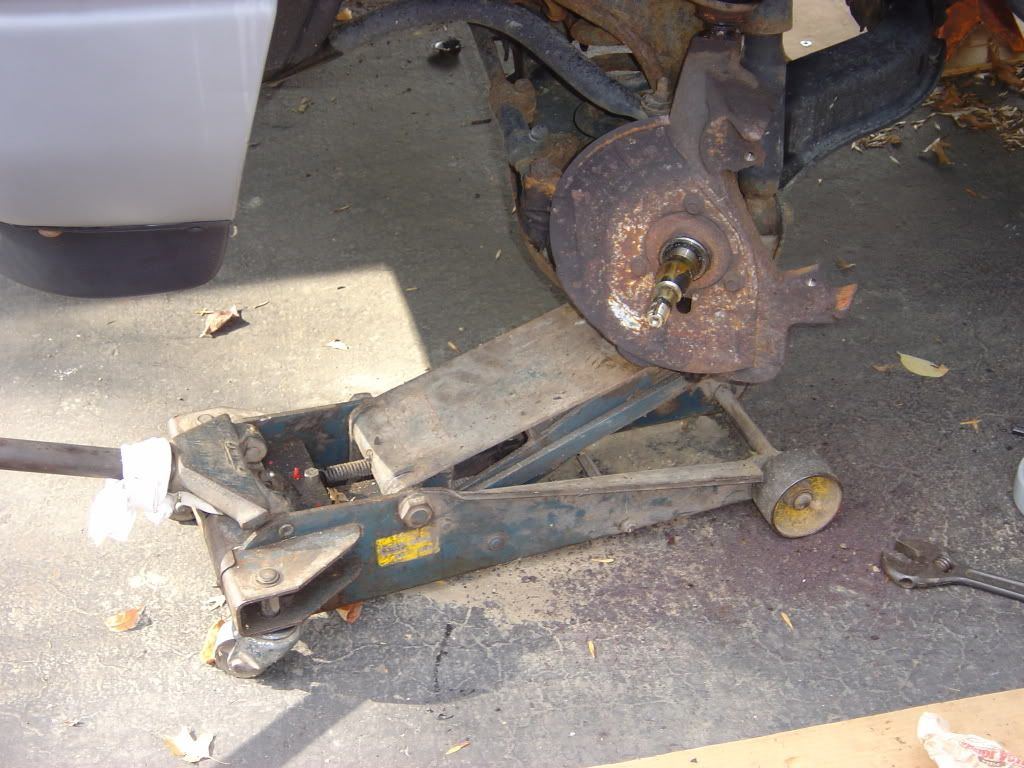
Figure 6. Apply upwards pressure with floor jack. 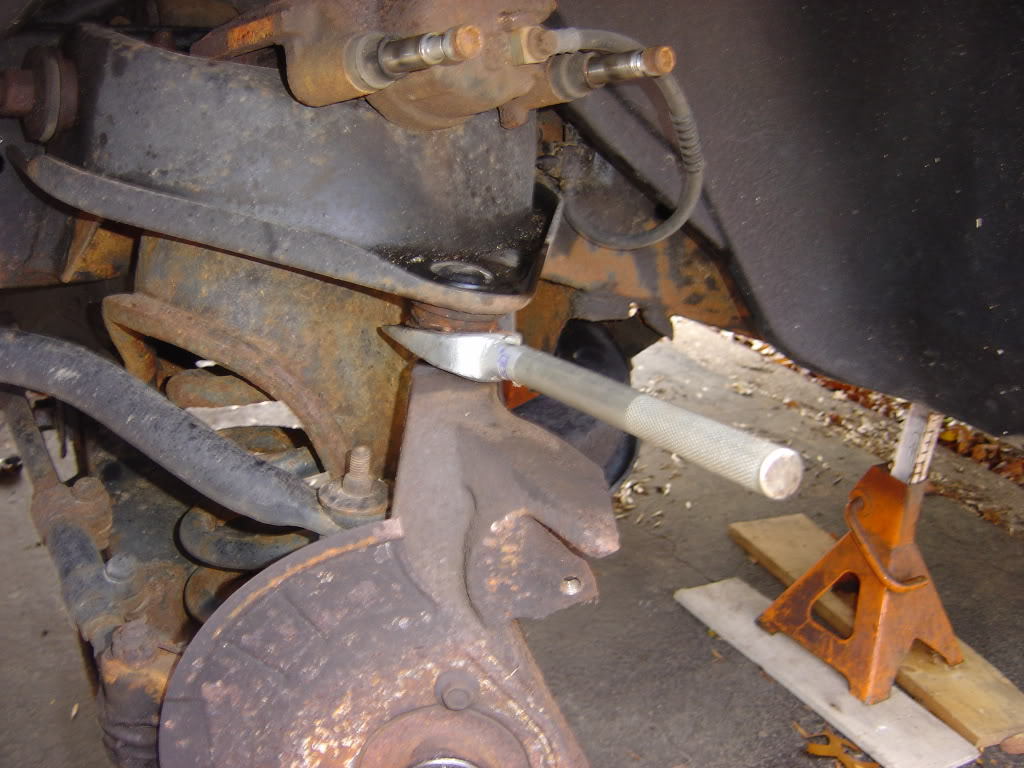
Figure 7. Pop joint out.
Step 4 – Remove lower joint
Start by using the needle nose pliers to pull the cotter pin out the lower joint castle nut, and then the 3/16" wrench to remove the castle nut. Follow to use the ball joint fork to pop the old joint out of place, or use the ball joint press if it's too tight.
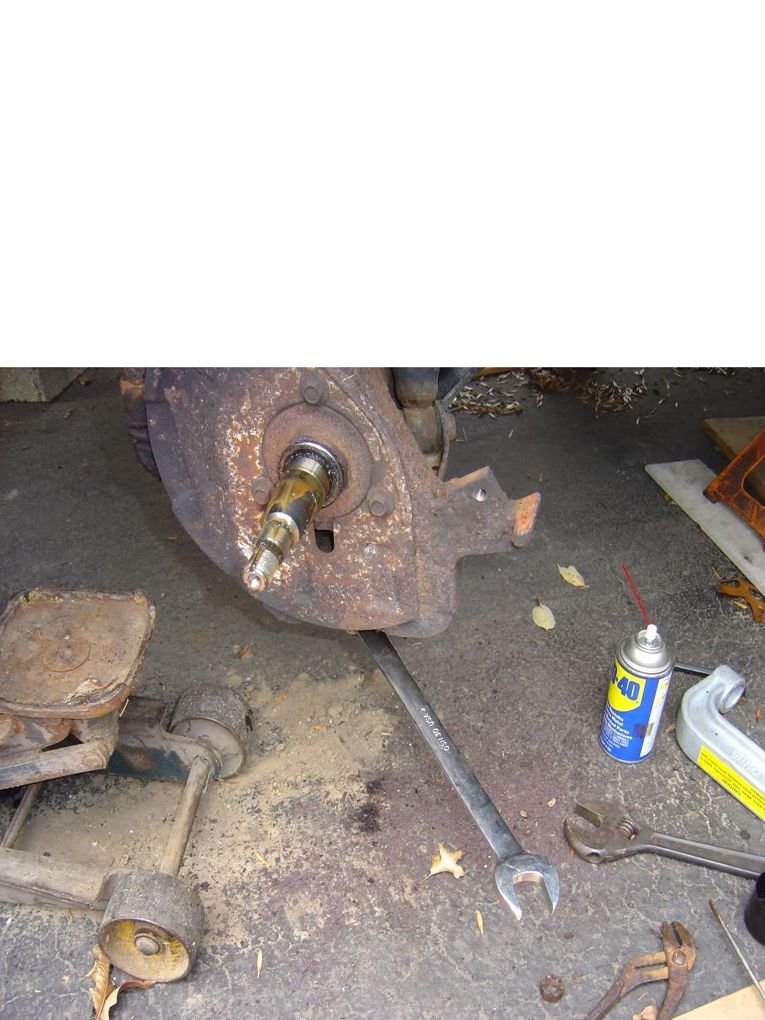
Figure 8. Use wrench to undo lower castle nut. 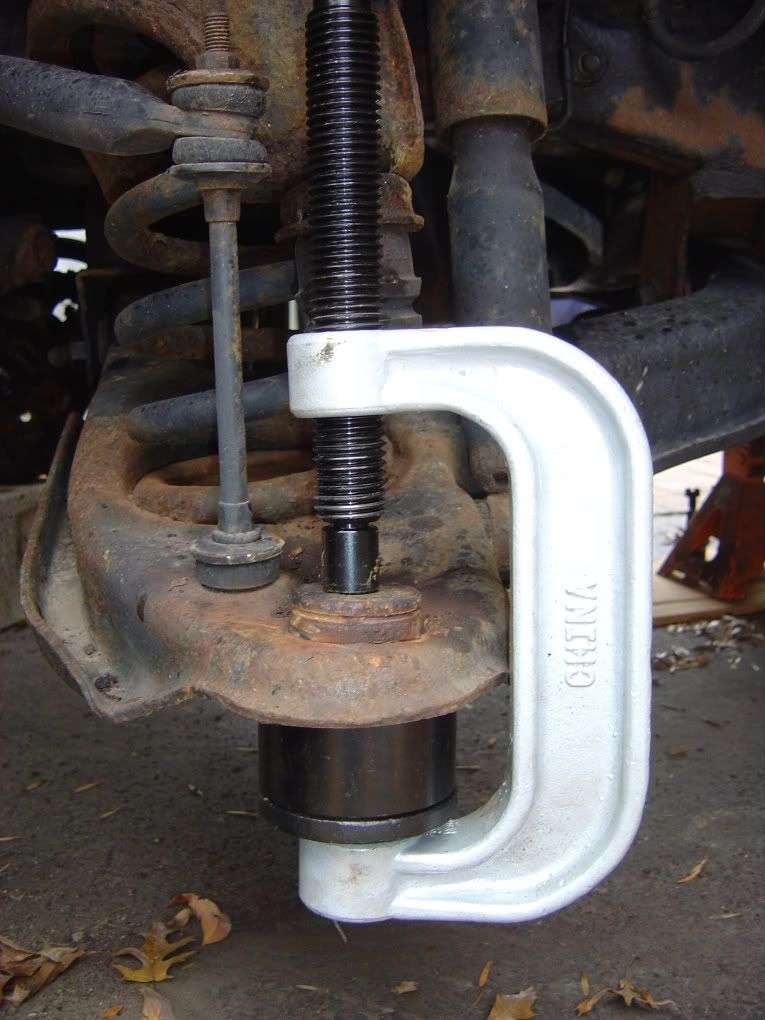
Figure 9. Use ball joint press to pop old lower joint out.
Pro Tip
Removing the spindle may make things easier to work with, but it is not necessary.
Step 5 – Install new ball joints
The installation of the new ball joints can be performed in exact reverse order as they were removed. Follow these steps:
- Use the press to insert new lower ball joint.
- Replace lower castle nut.
- Replace cotter pin.
- Use press to insert new upper ball joint.
- Replace upper castle nut.
- Replace cotter pin.
- Insert brake rotor.
- Replace center nut.
- Replace cotter pin.
- Replace brake caliper and two main bolts.
- Mount wheel back on and lower truck to the ground.
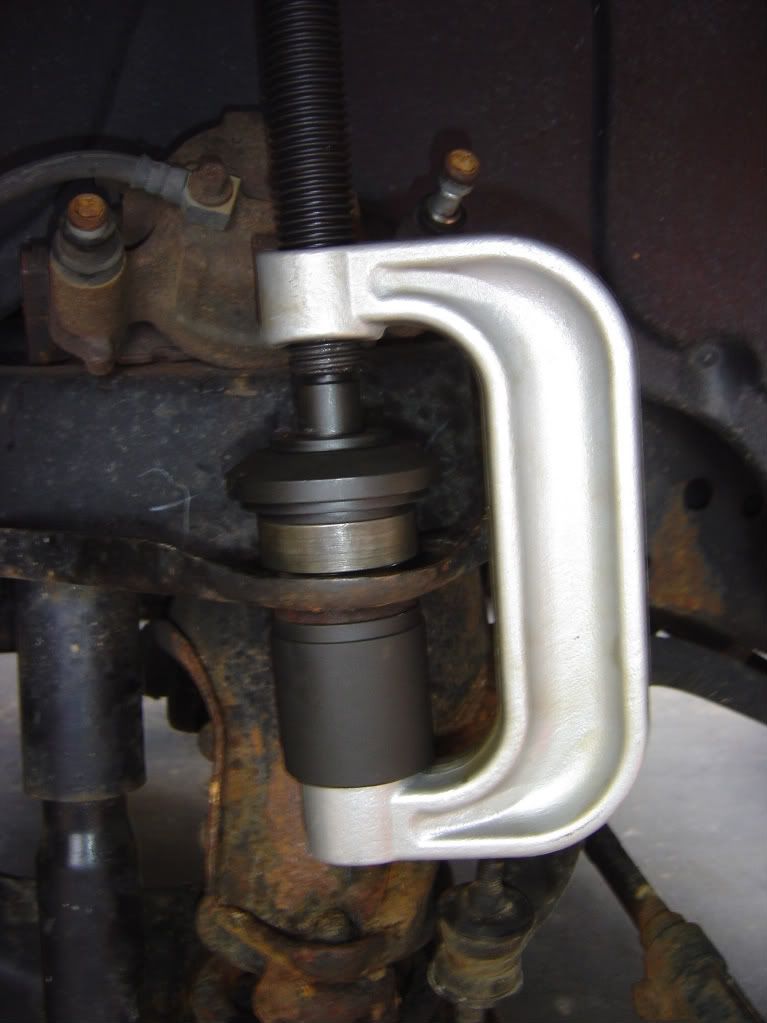
Figure 10. Using ball joint press to mount upper joint. 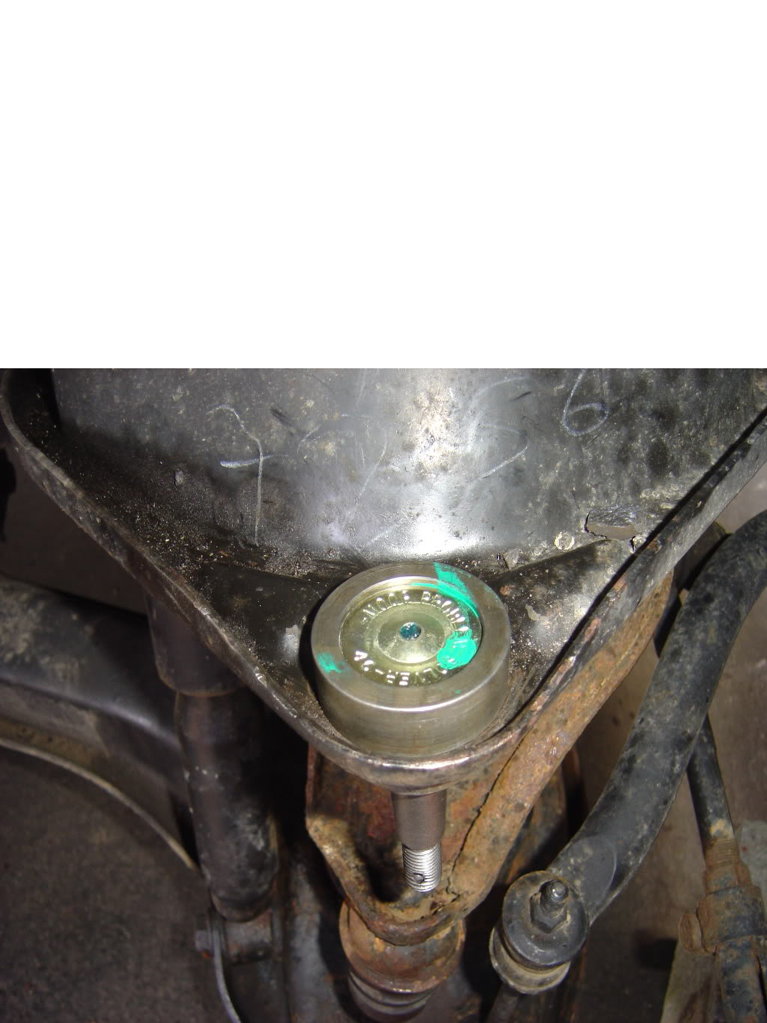
Figure 11. New joints in place.
Featured Video: Ball Joint Replacement
Related Discussions
- DIY Ball Joint Replacement - DodgeForum.com
- Ball Joint Press, 2nd Gen Ram - DodgeForum.com
- Ball Joint Stuck, Need Help - DodgeForum.com
- Warning: Don't Use Cheap Ball Joints - DodgeForum.com
- Opinions on XRF Ball Joints - DodgeForum.com