Dodge Ram 1994-2008: How to Install Sound Deadeners
Are you interested in a more quiet, enjoyable ride? The solution is a lot cheaper than you may expect if you do the work yourself. Here is how to install sound deadening for your Dodge Ram.
This article applies to the Dodge Ram (1994-2008).
The Dodge Ram cabin is spacious and comfortable, but sometimes those roads can get too rough and create a noisy ride. Sound deadening is the process of taking a special material that installs between the cabin trim and body of the vehicle. It cuts out most vibrations that make it through the stock deadening material and makes even the noisiest trucks feel like top luxury brands. Although its a tedious process, you can lay deadening material and save yourself thousands of dollars. Much of the cost is due to the process of stripping the cabin down to its bare bones. So for those of you interested in having a quiet ride without spending thousands, use the following instructions to install deadening material into your Dodge Ram.

Materials Needed
- Trim pry tool
- Phillips screwdriver
- Deadening material
- Measuring tape
- Soap and water
- Scraper
- Metric socket set
- Expanding foam
- Adhesive remover
These instructions will cover the basic deadening process for doors and a headliner.
Step 1 – Remove the trim pieces
For whatever part of the truck you are deadening, the trim piece will need to be removed. Trim pieces consist of door panels, plastic pillars and headliners. Each trim piece has a specific way to be removed.
- The door panels require its Phillips screws to be removed, along with the plastic clips located around the panel.

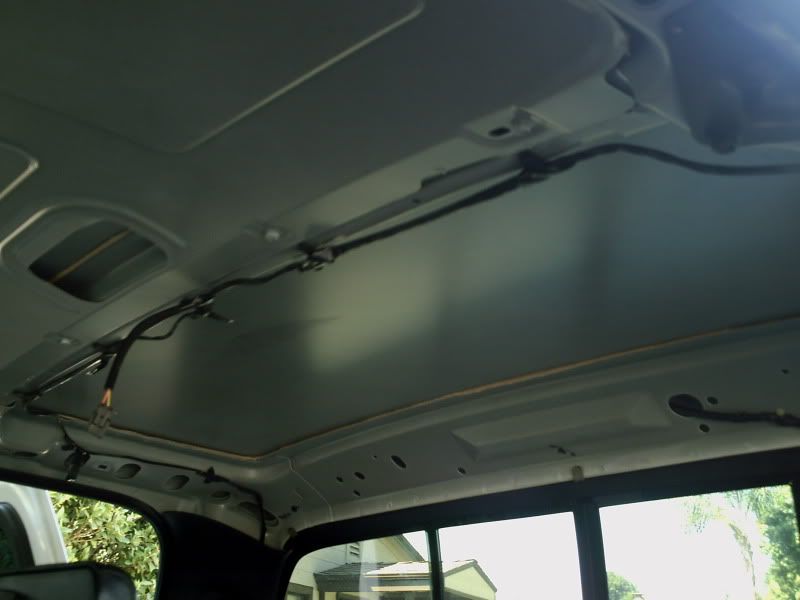
- The headliner is held in place with several screws; loosen them and remove the sun visors and dome light covers. Then lift each pillar and pry off the headliner.
Step 2 – Remove the old deadening material
These next three steps focus mainly on the door panels. For those of you interested in the headliner, proceed to Step 5.
Take each panel off, flip them over and locate the old deadening material. Use a plastic scraper with some adhesive remover to remove the old deadening material of the panel.

Figure 3. Locate the old deadening material. 
Figure 4. Scrape off and clean the old door panel.
Step 3 – Install the deadening material on the door panel
- Once the door panel is cleaned off, start measuring the surface for the deadening material.
- Cut the deadening material into the right size.
- Stick the deadening material onto the rear of the door panel.

Step 4 – Replace the moisture guard
Behind the door panel is a large white piece of foam, which is used to prevent moisture from entering the cabin.
- Remove the door handle nuts.
- Remove the wire harness clips from the door.
- Use a pry tool to carefully remove the moisture guard from the door.
- Measure, cut and install the deadening material onto the door.

Figure 6. Remove the door handle nuts. 
Figure 7. Install the deadening material onto the door, along with the wire clips and handle.
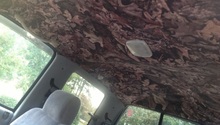
Step 5 – Install the deadening material on the roof
The roof follows the same process as the doors in regard to laying the deadening material.
- Use measuring tape to measure each piece of deadening material and cut them into shape.
- Once each piece is the right size, begin to stick them onto the roof of the cabin.
For the smaller holes, use some expanding foam to fill them up and get rid of even the smallest vibrations.
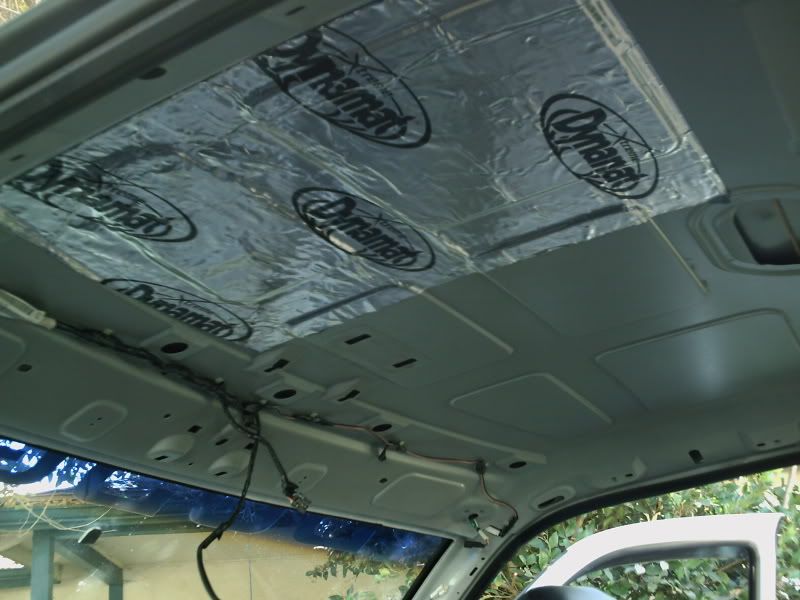
Figure 8. Carefully lay each peace of deadening material. 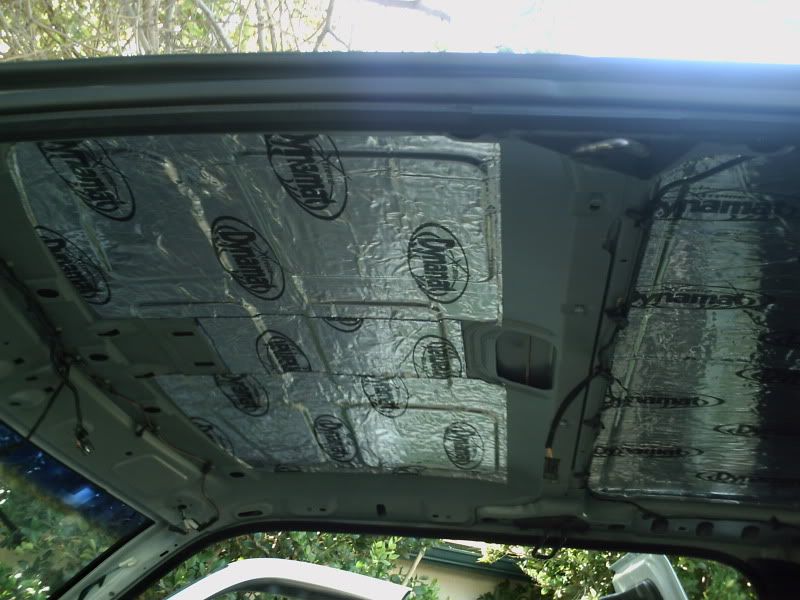
Figure 9. Cover as much of the roof as possible. 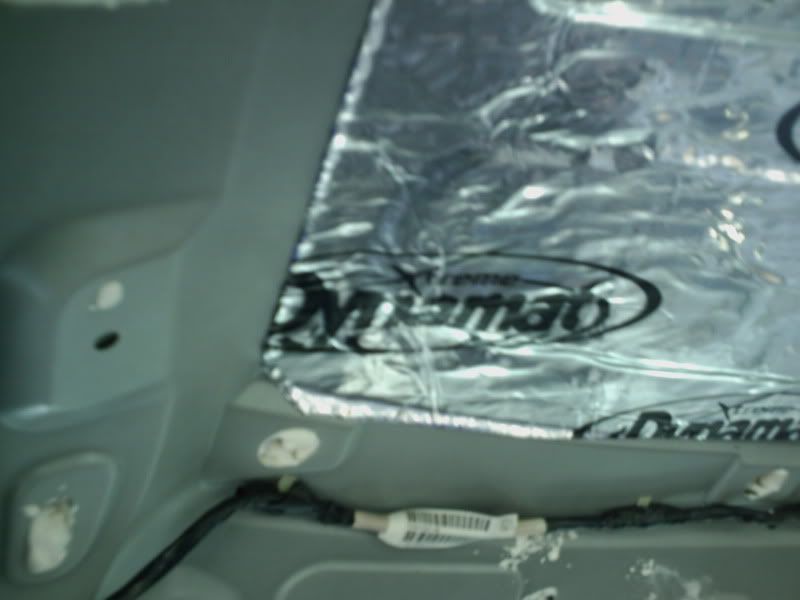
Figure 10. Use expanding foam to fill the smaller holes.
Step 6 – Re-install the door panels and headliner
- The panels will go on like normal.
- Clip the door panel in place and tighten down the three Phillips mounting screws.
- Re-install the headliner, along with the sun visors and dome light covers.
- Re-install the front, rear and side pillars.
- Re-install the roof handles.
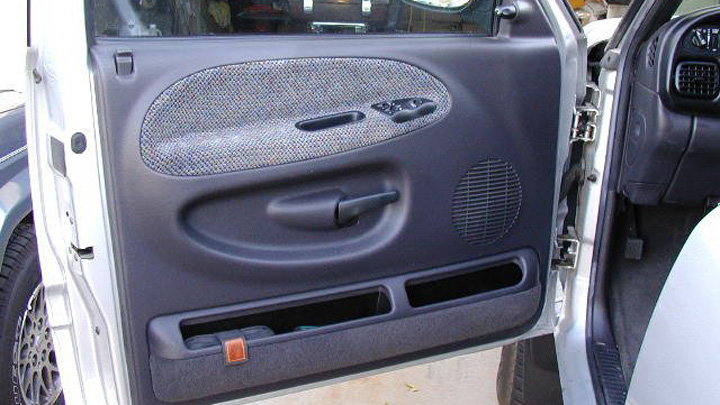
Figure 11. Re-install the door panel. 
Figure 12. Install the headliner.
Featured Video: Install Sound Deadener on Doors
Related Discussion
- Headliner Fun - Dodgeforum.com