Dodge Ram 2009-Present: How to Install a Trailer Hitch
Here's a step-by-step guide on how to properly install a trailer hitch to your Dodge Ram.
This article applies to the 4th generation Dodge Ram (2009-Present).
If your Ram truck doesn't have a trailer hitch installed, you're going to need one if you plan on towing anything. The hitch is responsible for keeping thousands of pounds of truck attached to thousands of pounds of whatever you're towing. But for all this responsibility, the hitch itself is fairly inexpensive and simple to install. Continue reading to learn how it is done.
The Curt hitch (#13333) was specifically engineered to fit 4th generation Dodge Ram trucks, and is one of the most popular hitches on the market today. It is a Class III hitch with a towing capacity of 6,000 pounds, and its 2x2-inch receiver tube can accept tow accessories for hauling bike racks, cargo carriers, or a ball mount that will tow traders as well as campers.
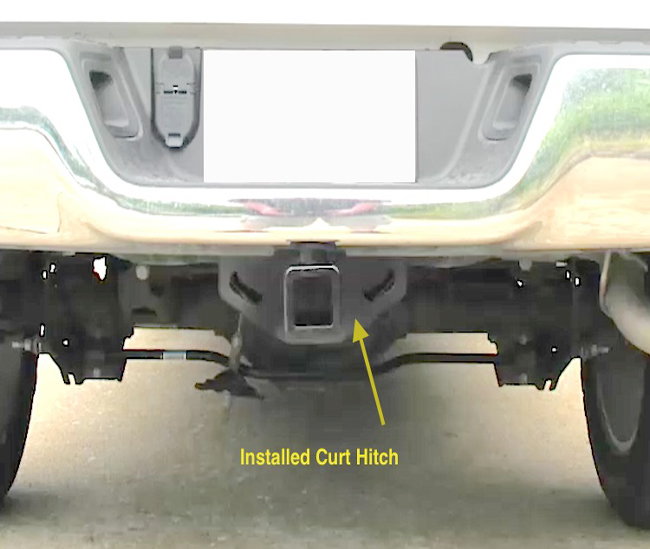
Figure 1. Installed Curt trailer hitch. 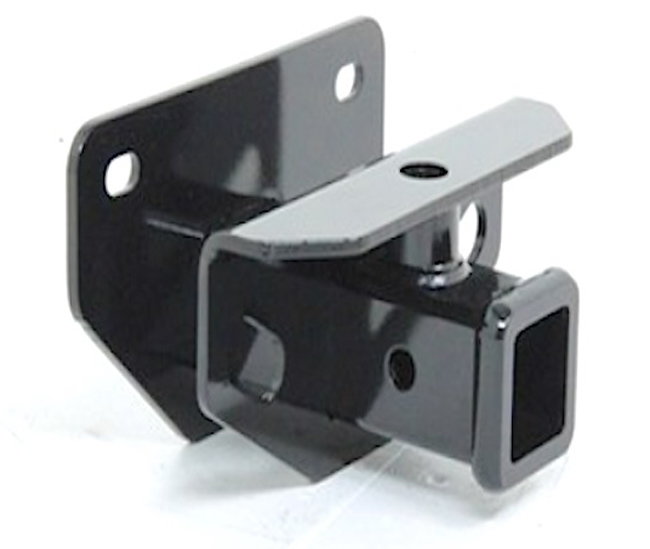
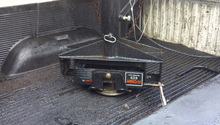
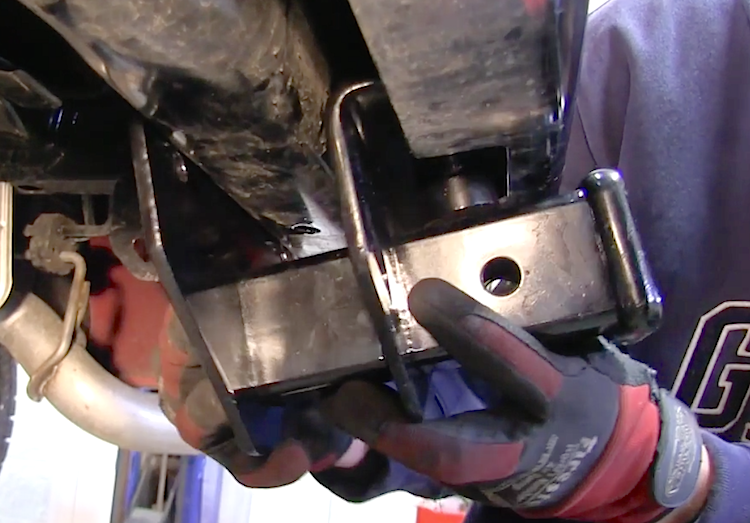
Figure 2. Trailer hitch bracket. 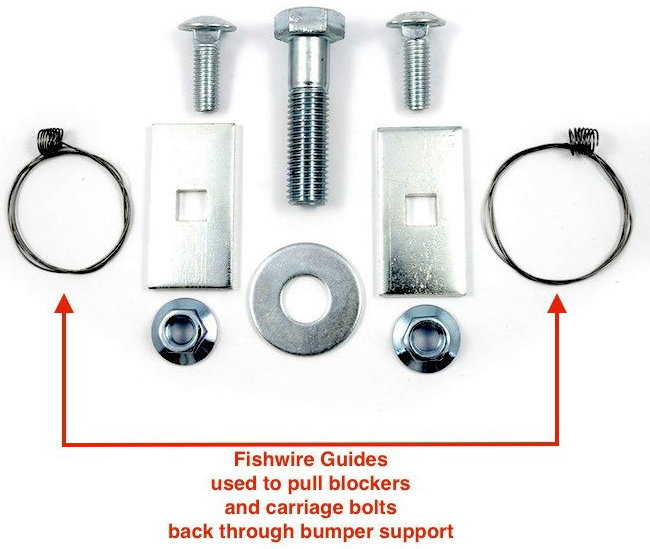
Figure 3. Trailer hitch installation hardware.

Materials Needed
- 3/4" deep socket
- 1/2" Hex socket
- Ratchet and extension
- Torque wrench
- Flat head screwdriver (optional)
- Impact wrench (optional)

Step 1 – Prepare for the installation
- The clearance heights for this hitch are 2" from the bolt hole to the edge of the bumper, and 19" from the top of the hitch to the ground. This is important to know when considering the installation of accessories and extensions for your hitch.
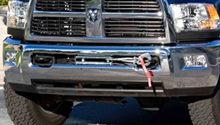
- Remove the spare tire. This will allow you more room when you have to bolt on the hitch.
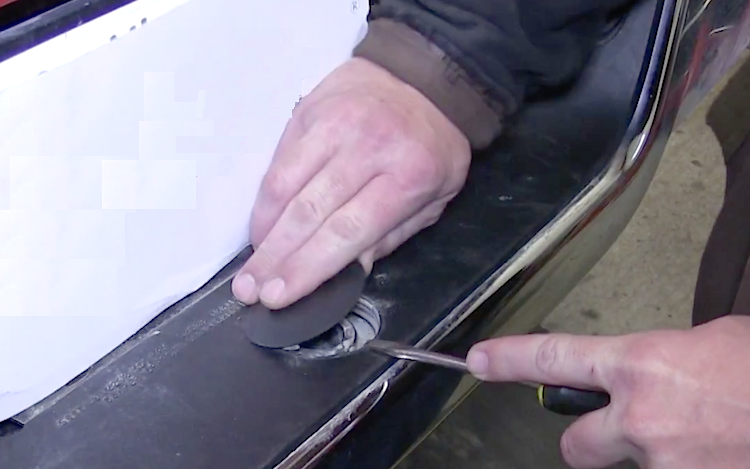
- Remove the ball mount cap in the center of the rear bumper. You can pry it off with a flat head screwdriver or push it out from underneath.
Step 2 – Position and secure the hitch bracket
- Slide the hitch under the bumper and behind the bumper support, which looks like a tube-shaped piece.
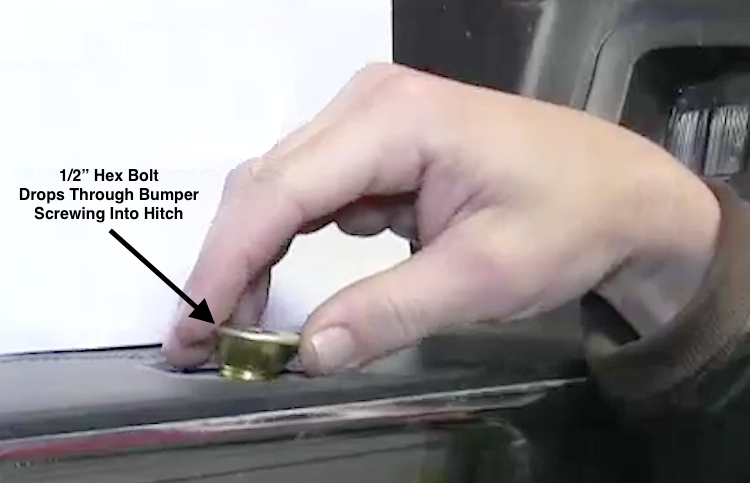
- Holding the hitch in place under the bumper, drop the 1/2" Hex bolt down into the ball mount and into the hitch.
- Hand-tighten the Hex bolt to keep the hitch in place.
Step 3 – Insert carriage bolts and secure the hitch
- Line up the hitch bracket to the holes in the bumper support tube.
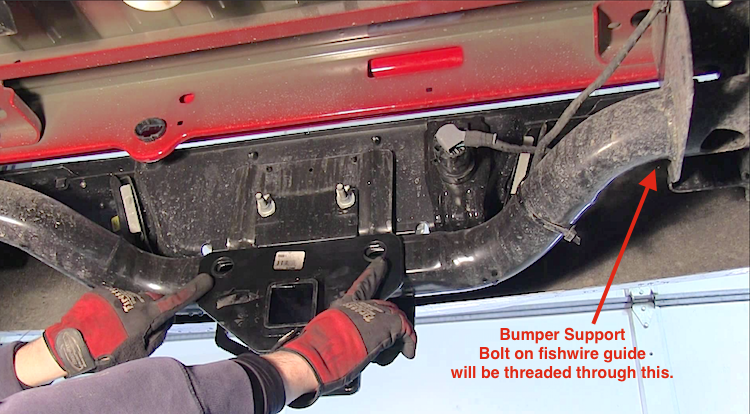
- Guide the coiled end of the wire through the bolt holes in bracket and bumper support.
- Feed the wire into the bumper support until the coiled end comes out through the end of the support tube.
- Once the coiled wire appears, place a blocking plate on the wire and thread one of the carriage bolts into the wire.
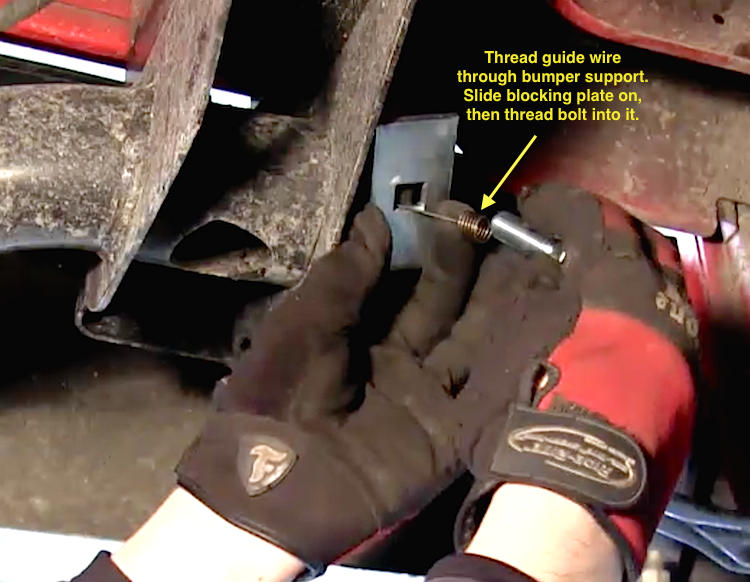
- Slowly pull the guide wire out from the hole it entered. The carriage bolt threaded on the wire will move into place as the threaded end of the bolt comes out of the hole.
- Remove the wire from the bolt, and be careful not to let the bolt slip back into the bumper support.

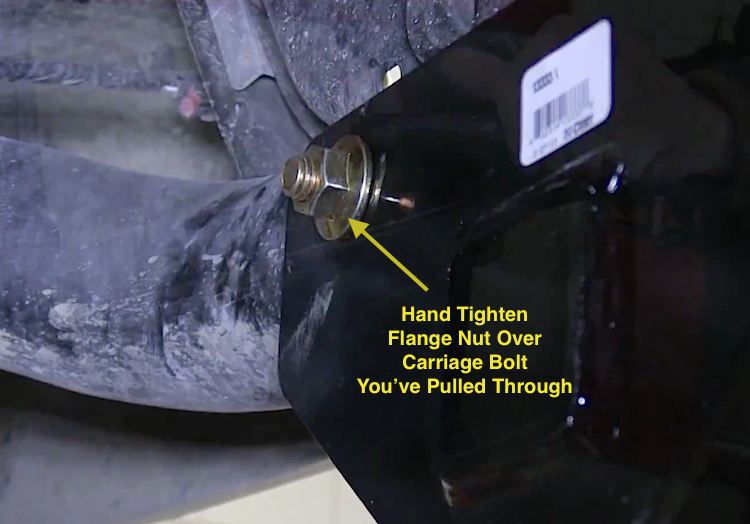
- Press the thread of the bolt sideways to prevent it from falling back in, and hand-tighten a 1/2" flange nut onto the bolt.
- Repeat the guide wire procedure for the other carriage bolt, threading it in from the opposite end of the bumper support.
- Tighten all three bolts (two carriage bolts in the bumper support and one Hex bolt inserted into the ball mount) using a socket, ratchet, and extension (or impact gun).
- Use a torque wrench to tighten all bolts to factory specs.

Related Discussion and Site
- What Hitch Drop Do I Need - DodgeForum.com
-
Trailer Installation Video- eTrailer.com