Dodge Ram 2002-2008: How to Paint Radio Bezel Trim
Sometimes trim pieces turn old and ugly with daily wear and tear. Here is what you can do to bring them back to life.
This article applies to the Dodge Ram (2002-2008).
Most components and parts in your Ram truck get worn out with time and mileage even when you take the utmost care of them, and the interior trim is no exception to this. The radio panel in the Dodge ram can get scratched, dented or just worn out in general due to everyday use, and while it won't interfere with any of your truck's functions, it certainly doesn't look good. Here is a step by step guide on how to bring it back to life, and customize it by painting yourself.

Materials Needed
- 20mm socket or bit
- Ratchet wrench or driver
- One can of adhesive spray, paint and clear coat
- 400 and 1000 grit sand paper
- Painter's tape
- Various wet and dry rags
Step 1 – Remove dash panel
In order to access the radio bezel, you must first remove a few panels to gain access to it. Start by using the 20mm socket and wrench to remove the two 20mm bolts under the dash. Then locate and remove the screw under the A/C vent. Once these screws are out, you can start pulling the dash panel off gently from the left side to the right side. Be careful not too pull too hard, as you have to disconnect the wiring connectors in the back first. Then finish removing the panel.
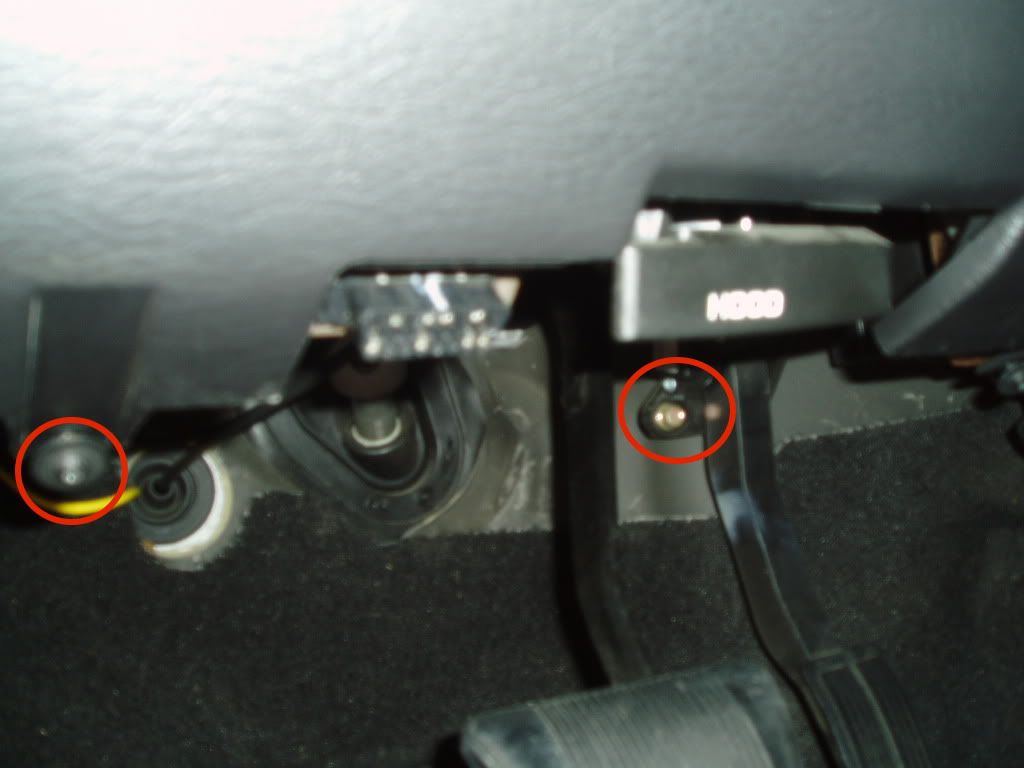
Figure 1. Remove these bolts. 
Figure 2. Undo the bolt below the vent. 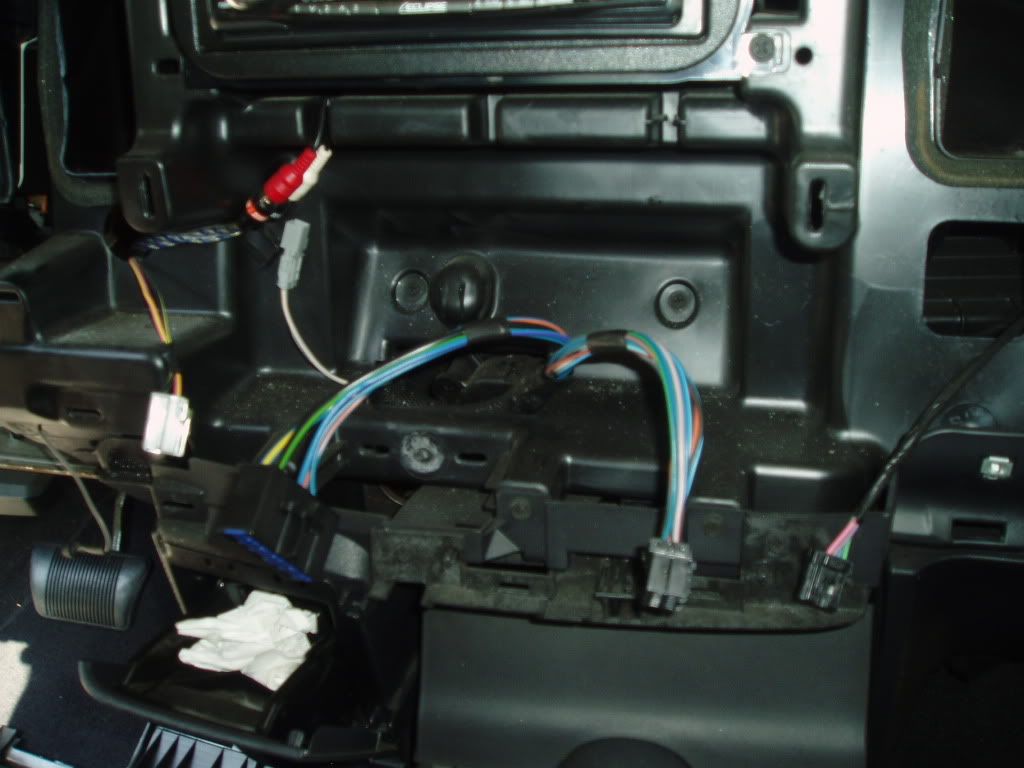
Figure 3. Un-clip the stereo and A/C connectors.
Step 2 – Prep bezel
In order to get a good quality finished product, you can't just start painting it right away. You must first lay the Bezel facing up on a flat surface, then use a damp towel to clean any dust or grime on it. Then use a soft dry towel to wipe it off. Now use the painter's tape to cover the surrounding area that you wish not to paint. Take the 400 grit sand paper to consistently sand the desired area that will be painted. Always make sure to apply equal force and be smooth while sanding. Then clean Bezel again after sanding.

Figure 4. Use tape to cover the side areas. 
Figure 5. Sand the desired painting area.
Step 3 – Spray bezel
First spray the Bezel with three coats of adhesive promoter, and wait ten minutes in between each coat. Then spray the Bezel evenly with two coats of the desired color paint, once again waiting ten minutes in between coats. Then you may use the 1000 grit sand paper to do light sanding for smoothness if necessary. Then apply a third and final coat of paint, and wait ten minutes. Lastly, apply three even coats of clear coat, again waiting ten minutes in between coats.

Step 4 – Install bezel
After waiting at least one hour and a half for the paint and clear coat to dry, you may install the bezel back. Work in reverse order to attach everything as before. Follow these steps:
- Plug in the stereo and A/C connectors.
- Remount dash panels.
- Replace A/C vent screw.
- Replace the two screws below dash.
Related Discussion
- Paint Ram Truck Radio Bezel DIY - Dodgeforum.com