Dodge Ram: How to Repair Scratches and Paint Chips
As your Dodge Ram ages, be sure to mask old scratches using a scratch repair pen.
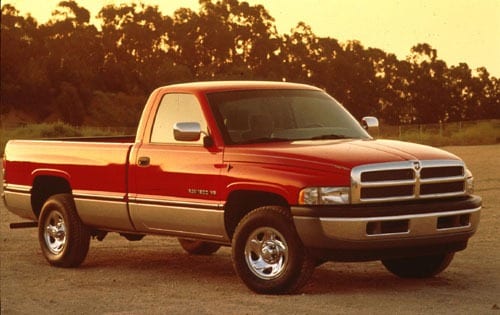
This article applies to the Dodge Truck (1994-present).
You won't need professional detailing expertise and you won't break the bank completing this DIY project. You will need several high quality detailing and scratch removal or color repair kit/products, which you can find at your local auto parts store or online retailer for cheap. Once you complete this job, you can rest assured the previous scratches will remain completely covered. If you need to touch up an area again in the future, or turn your attention to a new unsightly spot, simply follow the same easy-to-complete instructions.

Materials Needed
- High-quality drying towel
- High-quality wash mitt
- High-quality car soap
- Two buckets; one with clean water and one with soapy water
- Scratch repair kit/pen product
- Buffer
- Car polish
- Sandpaper (optional)
- Wax or sealant (optional)
- Microfiber cloth
Step 1 – Clean paint to a contaminant-free finish
Before you can repair scratches and paint chips on your Dodge Ram, you will first need to scrub away old wax residue, dirt and other contaminants. It's recommended that you use the two-bucket washing method when washing your truck. You won't need to clean your entire truck, but you will need to dampen the area of paint that is scratched using a dampened high-quality wash mitt. Some repair kits might instruct you to clean your paint using a Q-tip or applicator stick dampened with rubbing alcohol, so read the instructions carefully. Park your truck in a shaded area, if it is not already.

Pro Tip
It's recommended that you use the two-bucket washing system, even when cleaning a small spot on your paint.
Step 2 – Repair the scratches, one at a time
With your truck parked in a shaded area away from moving traffic, grab your repair pen or color repair kit, kits come complete with an easy-to use applicator. Apply an even layer of paint to the scratch. Move slowly until the scratch is completely covered, which might take up to several minutes. Do not rush this step; progress from one end of the scratch to the next, repeating as needed until the panel is spruced up.
- Move your vehicle out into the sun.
- Allow two hours for the curing process to complete or as directed by the manufacturer of your product.
- Buff the panel to a smooth, even, professional-looking finish using a high-quality polish and microfiber cloth; be careful of the paint, though.
- Finish the job by sealing or waxing your paint.

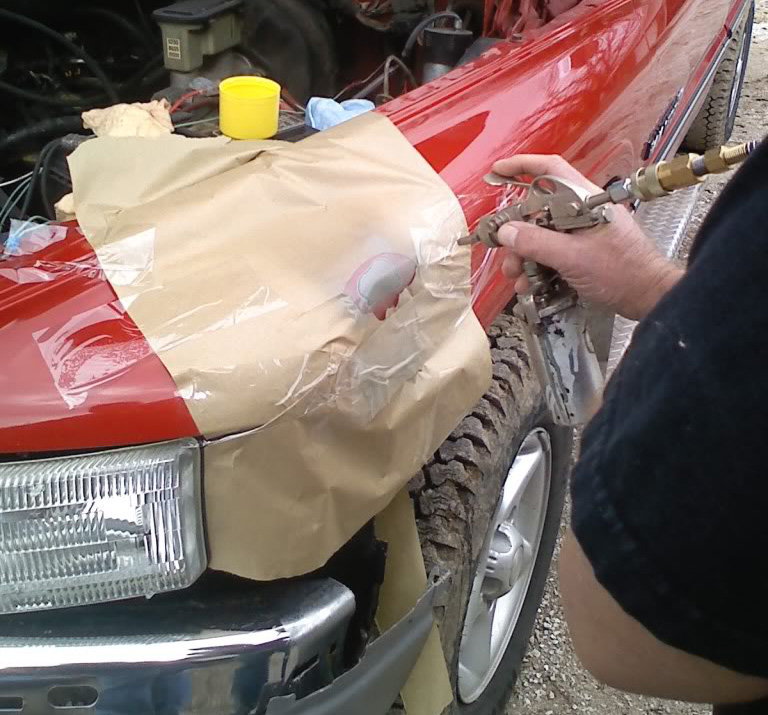
For larger areas of damage, you might need to sand out any pieces of raised metal. Once this is done, apply a light coat of primer. Next, spray the damaged area with several coats of paint; it's recommended that you section off the area you are repairing to minimize damage to other areas of paint due to runoff.
- Apply several coats as needed.
- Allow paint to cure per manufacturer's instructions.
- It's recommended that you apply a wax and sealant once the paint has cured.
Pro Tip
Always take your time when working with paint. For deep scratches and paint peels, you might need to sand down hard, exposed edges using soft-grit sandpaper, and then progressing to hard-grit sandpaper as you progress. Always start from the smoothest finish possible.
Step 3 – Pay for a high-quality clear coat (optional)
Scratch removal pens are designed for small jobs. If your paint contains large areas of damage, it's recommended that you visit your local Dodge dealership for professional touch up and paint repair service. Depending on the level of damage, you might pay $200 to $500.
Pro Tip
The dealer will match your paints for a high-quality, professional finish.
Featured Video: Smart Pen Scratch Remover Dodge Ram
Related Discussion
- Scratched Body Paint Options - Dodgeforum.com