Dodge Ram 2002-2008: How to Clean, Re-Calibrate, or Replace Throttle Position Sensor (TPS)
The engine computer uses the throttle position sensor to read the position of the throttle plate while it's being moved by your foot via a cable. An electrical glitch in the sensor can relay false readings to the computer and cause your air/fuel ratio to become inaccurate, which is accompanied with poor throttle response.
This article applies to the Dodge Ram 3rd Generation (2002-2008).
The throttle position sensor is mounted on the side of the engine throttle body. It has a three-wire potentiometer, meaning it varies its resistance based upon its position. The engine computer supplies the sensor with a steady reference voltage of five volts through one wire, and receives a signal from 0.5 volts (closed throttle) to 4.5 volts (open throttle) from the potentiometer as the throttle is moved. The electrical contacts inside are susceptible to dirt, heat, and vibration. Over time, carbon buildup on the contacts will lead to high resistance in the circuit, creating drivability problems. Damage to the sensor or the associated wiring can be felt as engine hesitation, stumbling, and even misfires. Dodge developed a calibration procedure for the throttle position sensor that may restore proper operation to your Ram.
After the 2003 model year, Dodge Rams with the 5.7 Hemi engine began using "drive-by-wire" electronic throttle control. This article does not apply to those trucks.

Materials Needed
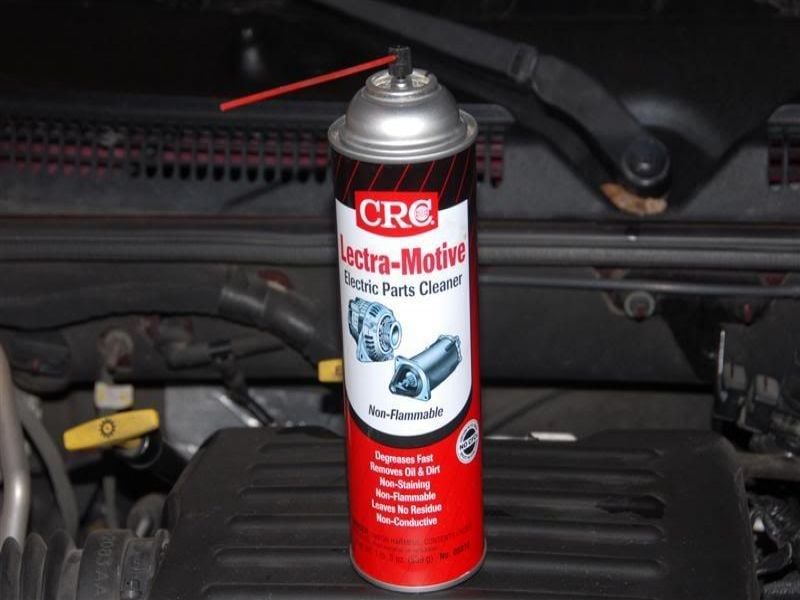
- Electronic Component Cleaner (CRC)
- Drill with a 1/8" drill bit
- Torx bits (T10-T30)
- Electrical tape
- Clear RTV silicone
Option 1 – Re-calibrating the sensor
Step 1 – Re-calibrate sensor
Before replacing the sensor, try the calibration procedure:
- Insert key into the ignition and turn the key to the "on" (not start) position.
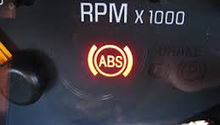
- Wait for all of the warning lights to go out. The check engine light may remain on.
- Slowly depress the accelerator pedal all the way to the floor.
- Slowly release the accelerator pedal until it's all the way back up.
- Turn the ignition key to "off".
- Start the engine.
You can also find this procedure in your Ram's service manual.
If the calibration does not help you, you can try cleaning or replacing the sensor.
Option 2 – Cleaning or replacing
Step 1 – Remove the throttle position sensor from the throttle body
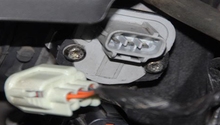
First, disconnect the electric connector from the sensor. You will need to squeeze the bottom side of the connector while pulling it away from the sensor to make it release.
There are two Torx head screws holding the sensor to the throttle body. Carefully pull the sensor out of the throttle body once these screws are removed.
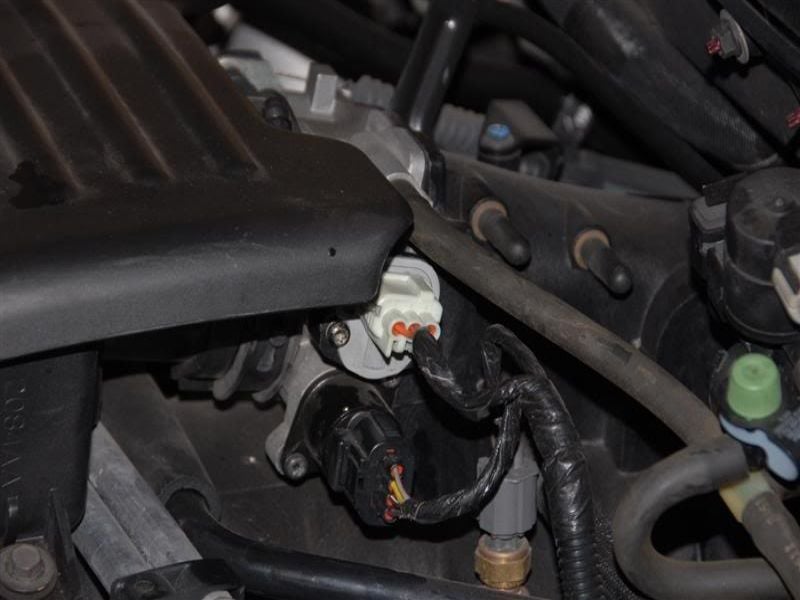
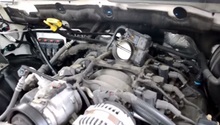
Figure 1. The throttle position sensor is directly above the idle air control valve. 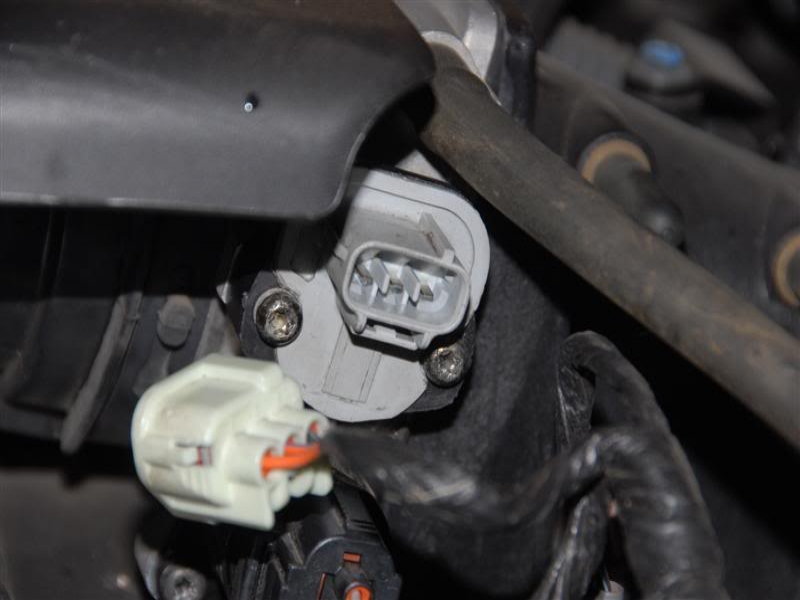
Figure 2. Once the connector is removed, the Torx screws are easy to reach.
Pro Tip
Many tool manufacturers make mini ratchets that can be purchased with Torx bits to make this process easier.
Step 2 – Drill a small hole into the sensor
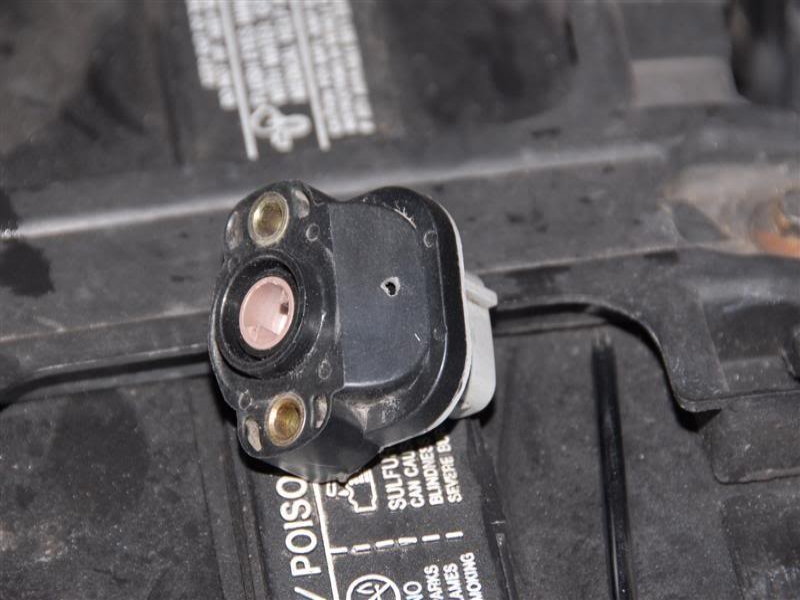
Using a 1/8" drill bit, make a small hole on the inner side of the sensor. This is best made at the center of the angled surface. Use light pressure while drilling, or you will risk damaging the sensor.
Step 3 – Clean the sensor
Using CRC (Electronic Component Cleaner) or equivalent, clean the sensor by spraying the cleaner into the drilled hole. As you spray, rotate the sensor shaft (pink circular component) to ensure the electrical contacts has been reached. Dry the sensor by using compressed air in a light pressure, or let it air dry.
Step 4 – Seal and re-install the sensor
Once the sensor has dried, cover the hole with a small piece of electric tape. Coat the outside of the electrical tape face as well as edges with clear RTV silicone to ensure a water and dirt tight seal.
Re-install the sensor onto the throttle body and tighten down the two Torx screws. These screws do not require much torque. Then re-connect the electrical connector. You may want to retry the calibration procedure once this is complete (Option 1).
If you are installing a new sensor instead, your sensor may come with a new gasket or O-ring specific to your model year.

Figure 5. Covering the hole in the sensor with electrical tape. 
Figure 6. A tube of clear RTV silicone.
Featured Video: How to Replace TPS on Dodge Ram
Related Discussions
- DIY to Clean and Fix TPS - DodgeForum.com
- Can't Find a TPS For My Truck - DodgeForum.com
- Cleaned TPS and IAC, Wow! - DodgeForum.com
- Where to Buy New TPS - DodgeForum.com
- How to Recalibrate TPS - DodgeForum.com