Dodge Ram 1994-2008: How to Check and Replace Transmission Fluid
Does your vehicle jerk a lot between gears? The automatic transmission fluid has a longer service interval than engine oil, so people tend to forget about it. Servicing your transmission will keep it running happily for many miles.
This article applies to the Dodge Ram 2nd and 3rd generation (1994-2008).
Your vehicle's transmission is responsible for putting the wheels in motion. Without it, your vehicle would be unable to move on its own power. It's also an integral mechanical component that contains several complex mechanisms within it, which are subject to extensive wear and abuse. Proper maintenance of your transmission can yield years of smooth shifting. But, if neglected, the adverse effects could leave you stranded. For most vehicles, a simple fluid flush can be performed. For third generation Dodge Ram trucks, you have to consider replacing the filter as part of your procedure.
Materials Needed
- Drain Pan
- Funnel
- 1/2" socket wrench with extensions
- Flat tip screwdriver
- 3/8" rubber hose
- 19mm Crescent wrench
- Breaker bar
- T25 Torx bits
Step 1 – Drain transmission
The transmission transfer case and pan need to be drained before the pan is removed to change out the filters.
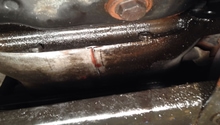
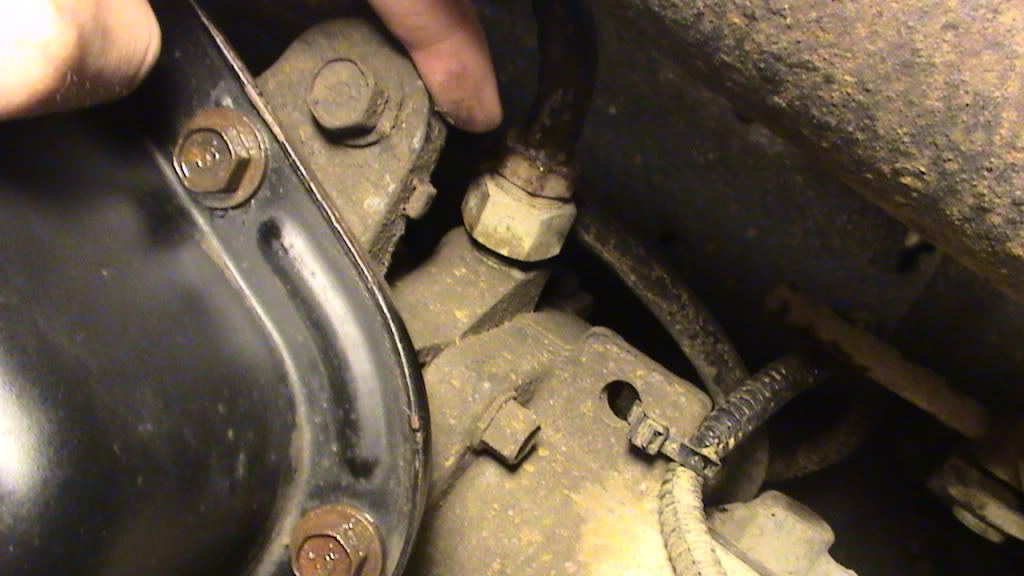
- Disconnect the return line on the bottom of the transmission using a wrench.
- Connect 3/8" hose to the outlet and other end to drain pan.
- Start the car and shift into neutral.
- Repeat this step carefully until no further fluid comes out.
Note
This procedure is done a few times until there is no fluid left for the filter to suck up. Don't run the car too long when letting the system drain. Total system takes 17 quarts.
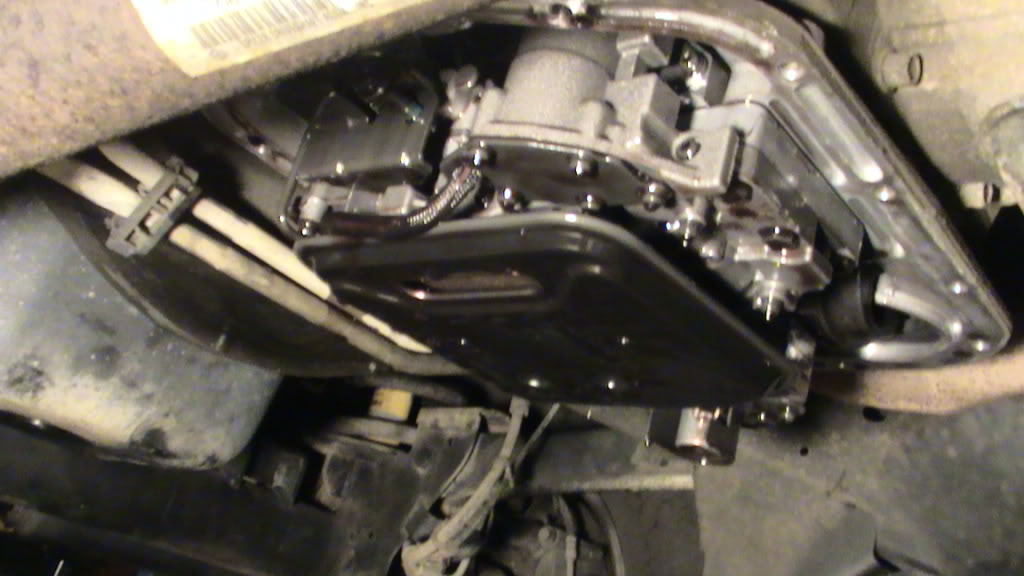
Step 2 – Remove pan
Now that a majority of the fluid has been removed, the pan can be dropped.
- Use 1/2" socket to remove all bolts.
- Bring the pan down slowly to avoid extra spillage.
Pro Tip
You can remove the bolts on three out of the four sides of the pan to drain some more of the fluid before complete removal.
Step 3 – Remove filter(s)
Now that the pan is off and the filter is exposed, it can be removed.
- Use T25 Torx bit to remove two screws for each filter.
- Replace the filter(s).
- Re-install the pan.
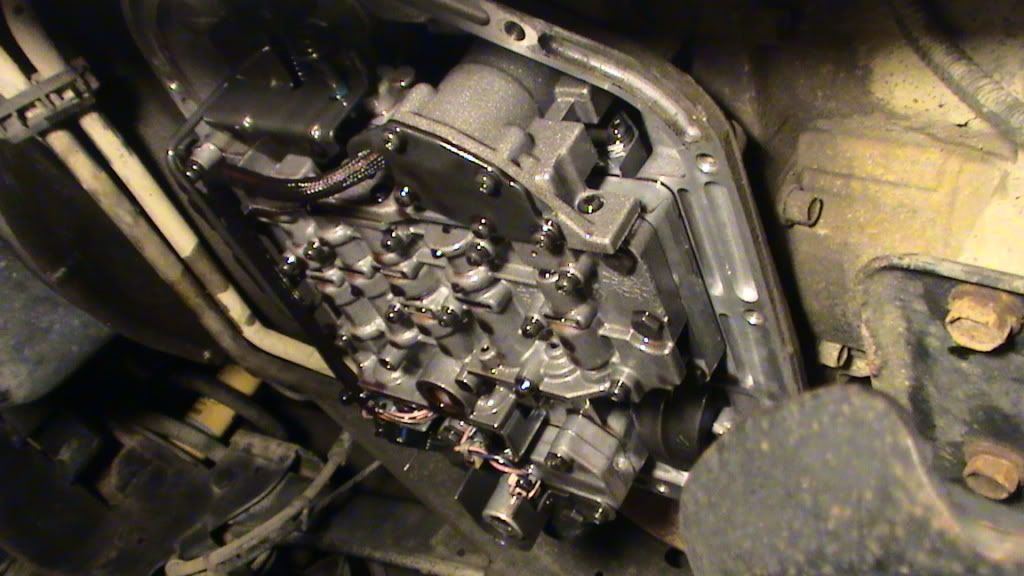
Figure 3. Transmission filter removed. 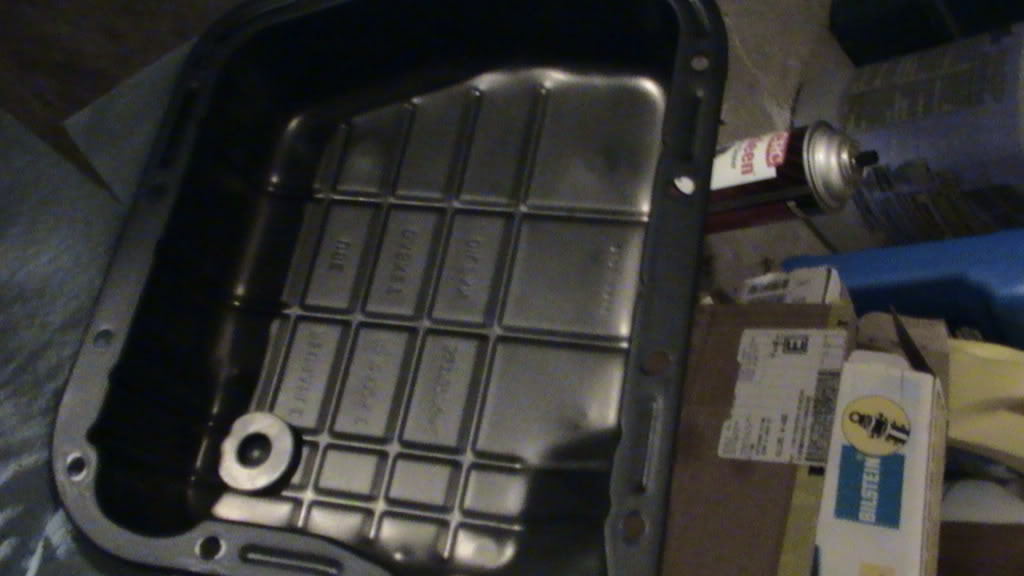
Figure 4. Oil pan cleaned with new gasket installed.
Pro Tip
Before re-installing the pan, this is a good time to thoroughly clean the inside of the pan.
Step 4 – Refill fluid
Now that the system is free of all old fluid, new filter(s) have been replaced, and pan is back on, fluid should be filled and check continuously.
- Fill fresh fluid and check the dipstick.
- Start the truck and shift into neutral to pump the fluid through the filter.
- Put the truck in park and check the fluid again.
- Repeat until the fluid level is at the "warm" mark.

Related Discussions
- Dodge Ram 3rd Gen Service & Maintenance Fluid Specs - DodgeForum.com
- DIY: Transmission Fluid Flush - DodgeForum.com
- DIY: Transmission Fluid/Filter - DodgeForum.com