Dodge Ram: How to Black Out Headlights
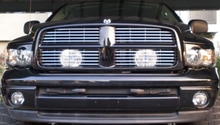
Blacking out your headlights is one of the cooler mods you can do to your truck to give it one mean look.
This article applies to the Dodge Ram (1994-present).
So you thought that being the proud owner of a Dodge truck would be all that was necessary for a good life. Then you got bit by the modding bug. There are almost limitless ways that you can modify your truck to make it stand out from the pack to make it uniquely your own. One of the most impressive modifications that you can do to your truck is black out the headlights. This will really make the front end pop to life. Doing this mod yourself will make you proud as well as communicate a bold statement that you are one talented DIYer. Not only can this mod be done in your own garage, it will save you some big bucks from having it done by a pro. If you don't feel comfortable taking on this project yourself, you can purchase pre-painted or blacked out headlights ready to install. These will be more expensive than doing it yourself, costing $200-300, but still cheaper than taking your truck to a professional to do the work for you.

Materials Needed
- Special headlight paint
- Oven
- Waterproof glue and silicone
- Flat blade screwdriver, chisel, or clip removal tool
- Shop rags
- Dremel tool with rotary bit
- Ratchet and 10 mm socket with long extension
- Oven mitt or gloves
This article will focus on doing the job entirely on your own.
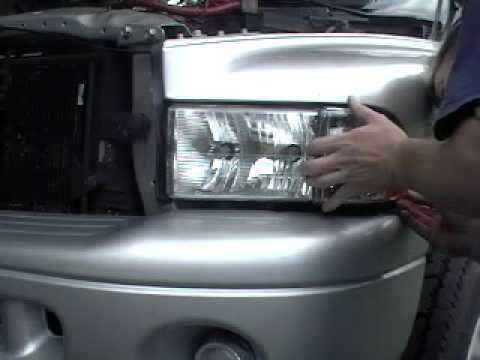
Step 1 – Remove the entire headlight housing
Open the hood and remove the three clips that hold the rubber gasket in place around the front inside of the headlamps. A flat blade screw driver, a chisel or a clip removal tool, if you have it, is necessary. Be sure to wrap any metal tool with a shop rag to avoid scratching your paint.
- From the underside of the turn signal, insert a Phillips head screwdriver to remove the one screw holding it in place.
- You can then pop the housing out for the turn signal, and un-clip the wiring harness. Use moderate and even pressure to pull out the housing.
- There are three bolts to remove on the front, side and bottom of the headlight housing. The bolts are 10 mm and it you'll need to use an extension to remove them, unless you are also removing the entire bumper cover. That makes the job slightly easier, but is not necessary. Just take care not to scratch the paint on the bumper cover.
- There is one more pin behind the light holding the housing in place. Pop that pin out and the headlight assembly will come out, but with a little persuasion. You'll likely need to tilt the light down and wiggle it a little to get it out.
- Un-clip the wiring harness from the back of the light for the high and low beams. Later models will have one housing for the headlamps as well as the turn signals and will be removed in a very similar fashion.
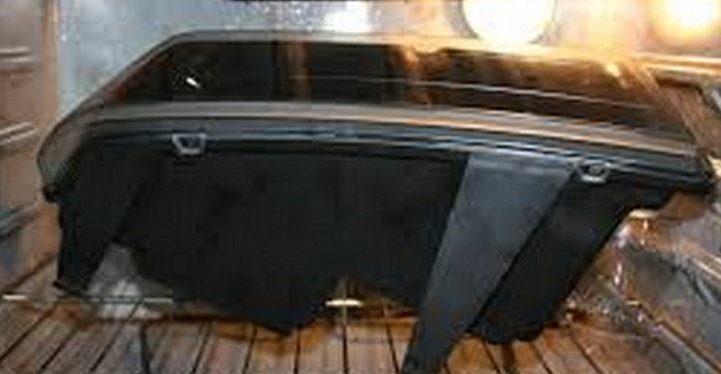
Step 2 – Bake the headlights
Preheat the oven to 250-275 degrees. Remove the lights and all the wiring.
- Place the housing in the oven, only one housing at a time, and bake for about 10-15 minutes. You'll have to do this several times as the sealing glue will not completely liquefy, but just become pliable.
- Wear protective gloves or use an oven mitt to remove the headlight from the oven. Use a flat head screw driver or chisel to pry one corner up. It may take a little effort, but if you are struggling too much, you'll need to bake it little longer. The glue will re-harden really fast, so don't expect to pop the entire lens off in one pass. Pry a little off, bake a little longer, and pry a little more off. Repeat this process until you are able to fully remove the entire cover. Repeat this for the others.
Pro Tip
It's best to use an oven in a well-ventilated environment such as your open garage. If using the oven in your kitchen, turn on the kitchen fan for ventilation.
Step 3 – Sand the edges of both pieces of the assembly
There will be glue residue on both edges of the housing as well as the lens cover.
Use either sandpaper, a scraper or a Dremel tool to make the edges as smooth as possible. Remove as much as you can. You will need to have a completely tight fit and sealed system when you replace them.
Pro Tip
The sealer will not completely turn to liquid when it's heated. You'll need to work with it when it is pliable and do quite a bit of grinding to get it all off the edges of the headlight housing.
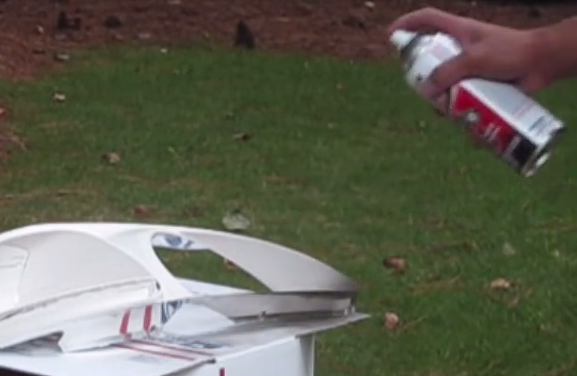
Step 4 – Paint the interior of the light box with black headlight paint
You can buy special headlight paint, or a spray paint for plastics in black satin. Some owners choose to sand up the chrome with wet sandpaper to help with the paint adhesion, but this is an optional step.
- Use several coats instead of one heavy coat.
- After each coat, you can bake them in the oven at 170 degrees for approximately five minutes to help speed the drying process to get ready for the next coat. About three coats should do it.
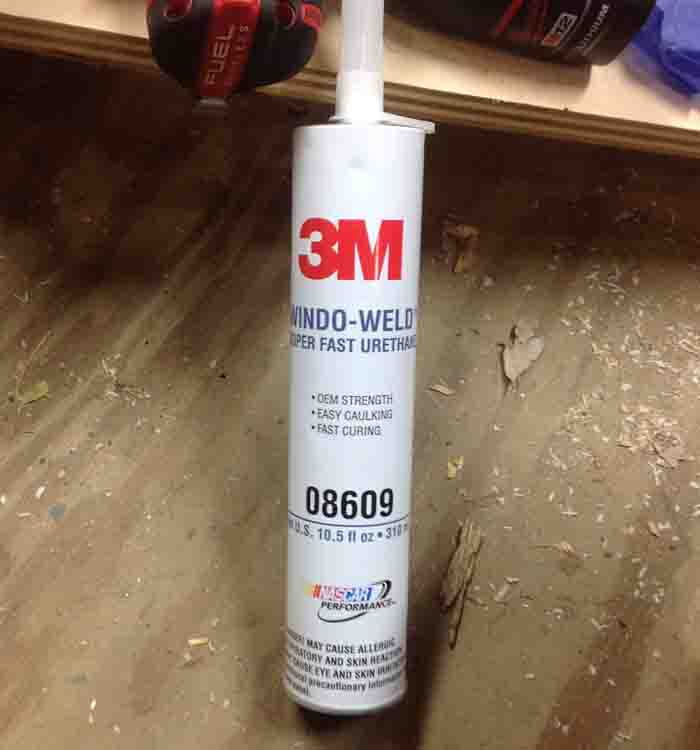
Step 5 – Seal the lens back onto the housing
Use a high-quality waterproof sealant around the edges of the housing where you scraped off the old residue. Black 3M Window Weld is a great product to use, but it is strong and fairly toxic stuff. If you aren't using rubber gloves, be sure to use mineral spirits to clean any off your hands after the job is done.
- Make sure your paint is completely dry before re-attaching the lens and housing.
- Replace the light bulbs and wires if you are using the originals; otherwise, if you purchased HID bulbs and connections, follow the manufacturer's instructions on installing them.
- Let the sealant set and cure over night before reinstalling them onto your truck.
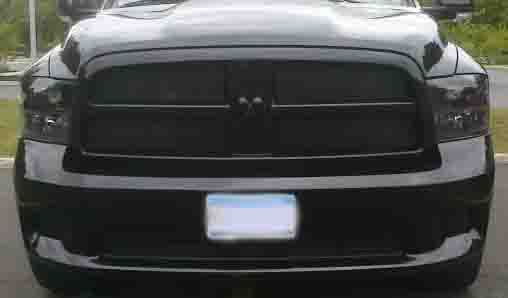
Step 6 – Re-install your new blackouts
Re-install the headlights onto your truck after the sealant is cured properly. Enjoy the new look of your truck.
Related Discussions and Video
- Painting Headlights - Dodgeforum.com
- Black Out the Tail Lights - Dodgeforum.com
- Painted Headlights on My '09 - Dodgeforum.com
- Blacking Out the RAM - Dodgeforum.com
- Tinting headlights? - Dodgeforum.com
- Headlight Housing Removal and Install - Dodgeforum.com
- How to Install and Replace Headlight - Youtube.com