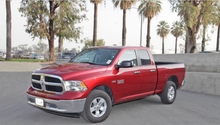
Dodge Ram 2009-Present: How to Replace Brake Pads, Calipers, and Rotors
The brakes on the Dodge Ram work very hard, and since it's all about the friction in the brake system, periodic maintenance is much needed. Here's how to replace your brake pads, calipers, and rotors in the comfort of your own garage.
This article applies to the Dodge Ram 1500 (2009-Present).
Truck brakes usually get to see higher levels of use and wear than many normal cars. Trucks tend to weigh more than your average vehicle; this means that the brakes have a lot more weight to halt than a regular economy sedan. They also tend to get used in extreme conditions over your average vehicle. Many Dodge Rams haul trailers and extra weight, or are used for work. Even though the brake system is designed tougher than the average sedan, it doesn't mean that they are maintenance free. It only means you need to ensure that they are kept in good, working condition so they can keep providing you with the extra braking power that your workhorse of a truck demands.
We'll discuss in this article how to change out those brake pads, rotors and calipers for some new ones. The brake calipers usually last a lot longer than the pads and the rotors, and that's due to the fact that they are not involved in the actual friction. However, sometimes they fail and need replacement. So, read on to learn how.
Materials Needed
- Jack
- Jack stands
- Millimeter socket sizes 12mm-22mm
- Standard socket sizes 7/16" - 7/8"
- Ratchet
- Millimeter wrenches sizes 10mm-15mm
- Brake bleeder (vacuum, power, or willing assistant)
- Large C-clamp
- Mallet
- Brake system safe grease
- DOT 3 or DOT 4 brake fluid
- Brake system cleaner
Never change the brakes on just one side of the truck. If you are going to change the front brakes you must change both sides. If you are going to change the rear brakes you also must change both sides. If you only change one side, then you will get uneven braking performance from your brakes, and this could make your truck very difficult to control.
Step 1 – Elevate vehicle off the ground
Loosen the lug nuts on the wheels you will be changing the brake components on, raise the truck, and then secure it with jack stands on level ground.

(Related Article: How to Jack Up Your Truck - DodgeForum.com)
Step 2 – Remove wheels
Now that you have the vehicle elevated off the ground, you can remove the wheels. This will give you access to the brakes.
Step 3 – Depress piston on brake caliper
Before doing anything else, take the time now to depress the piston on the brake caliper. This is a good time to do this because it is still being held in place, also because this will make it easier to remove once you have loosened the bolts holding it onto the brake caliper mounting bracket. You can do this by using a large C-clamp, placing the fixed part of the clamp on the back of the caliper, and then placing the round padded part of the C-Clamp on the front of the caliper mounting bracket. Then slowly turn the screw on the C-clamp and you will begin to see the brake caliper moving. As you are doing this, check on the level in the brake master cylinder reservoir to make sure that the fluid is not overflowing.
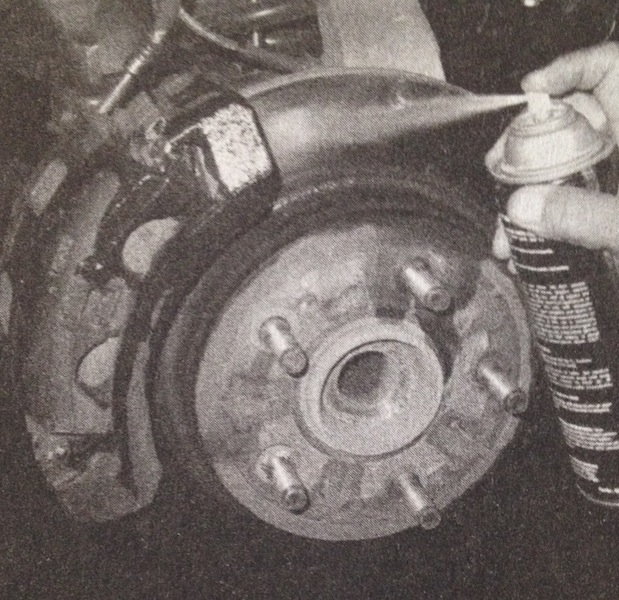
Step 4 – Wash down brakes
Now that you have depressed the piston on the brake caliper, you can use your brake system cleaner and wash down the brake assembly. This will help to get all the loose brake dust and road grime away from where you will be working. Make sure to place some sort of drip or catch can under the brake assembly to catch the debris as it washes down.
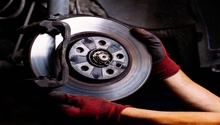
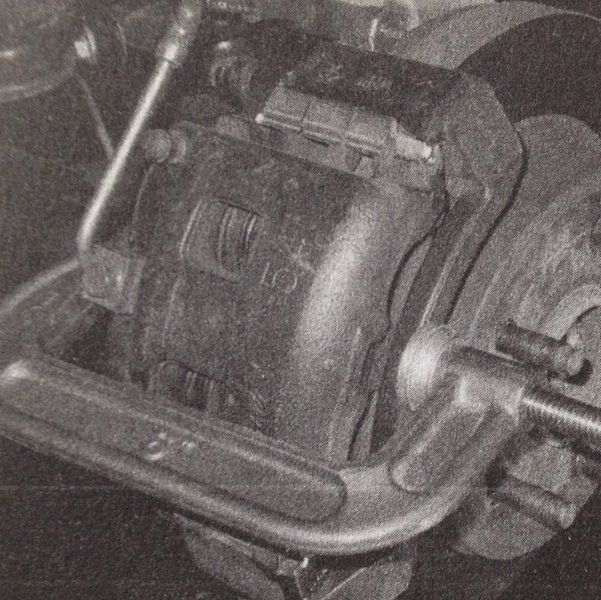
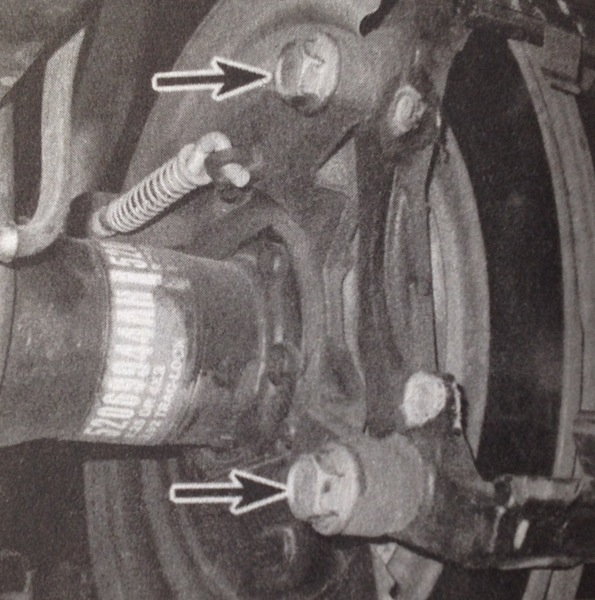
Step 5 – Remove brake caliper
The brake caliper is held onto the mounting bracket by two bolts. Loosening these bolts will allow you to remove the caliper. You might need a backing wrench on these bolts to fully loosen them. After you have completely removed the bolts, you will want to move the caliper out of the way. You can hang it on a suspension piece with a wire hangar, or if you are going to be replacing the caliper, now would be the time to loosen the banjo bolt that holds the brake line onto the caliper. After you have loosened the banjo bolt, you can set the caliper aside.
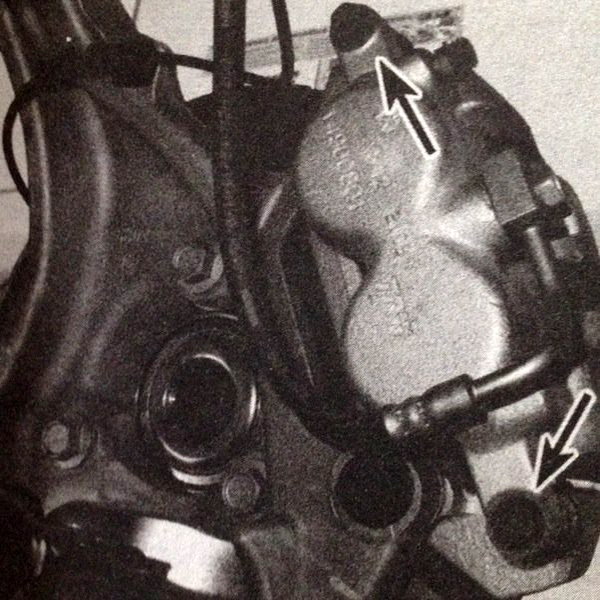
Figure 5. Location of brake caliper mounting bolts. 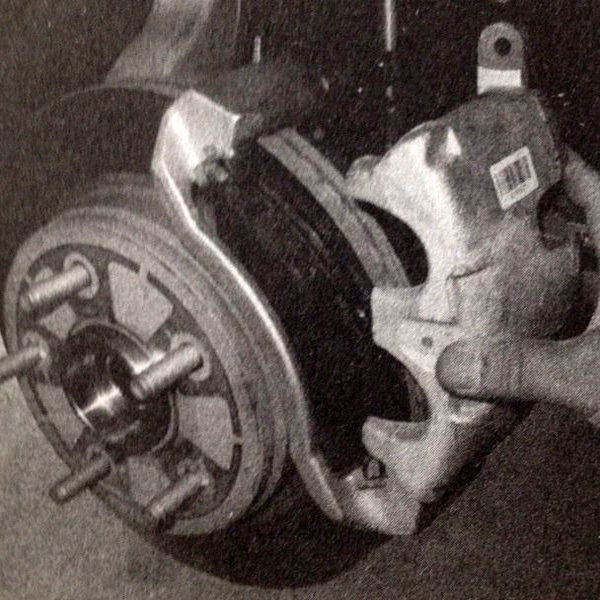
Figure 6. Remove brake caliper.
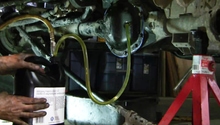
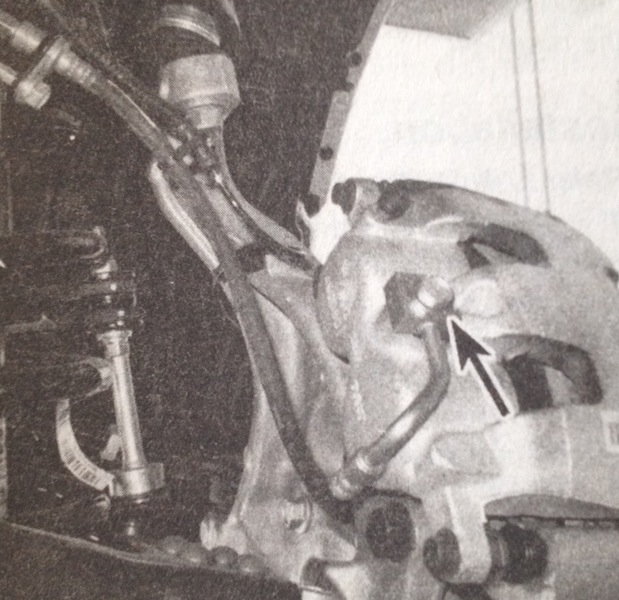
Step 6 – Loosen banjo bolt on caliper (only if replacing brake caliper)
As stated in the previous step, now would be the time to loosen the banjo bolt that attaches the brake line to the brake caliper. If you do this, fluid will leak out, so be aware of that. Also, doing this will allow air to enter the brake system and will require you to bleed the brakes when you are finished, so only do it if you really have to.
Pro Tip
Brake fluid is corrosive. So be sure to wear gloves, and avoid fluid making contact with the paint of the car, as it will eat away at it.
Step 7 – Remove brake pads
Now that the caliper is out of the way, you will see that the brake pads are exposed and sitting within channels in the caliper mounting bracket. You can remove this by sliding them outwards. After removing them, you will also notice that there were small pieces of metal that the pads were sitting in and are separate from the caliper mounting bracket. Most new pads will come with replacement pieces, so you can discard these.
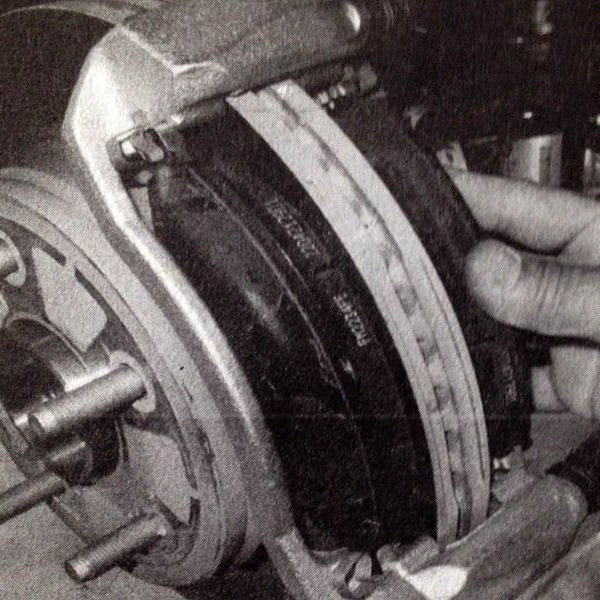
Figure 8. Remove inner brake pad. 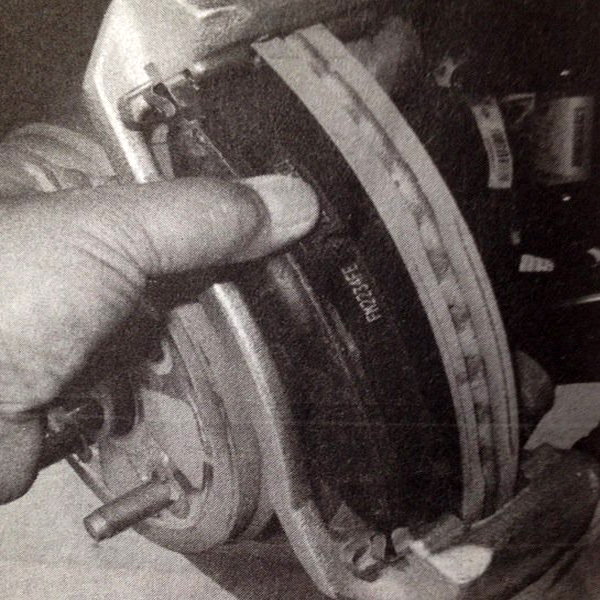
Figure 9. Remove outer brake pad.
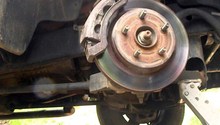
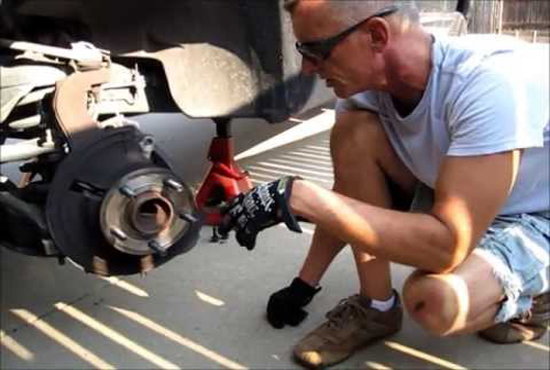
Step 8 – Remove brake rotor
Now that the brake pads have been removed, you can remove the brake rotor. The only thing holding the brake rotor in place is the brake caliper mounting bracket. The brake caliper mounting is secured to the steering arm. Removing these two bolts will allow you to remove the brake caliper mounting bracket. Remove the brake rotor by pulling it out. Some brake rotors might be stubborn. To convince them to come off, you can tap them with a mallet for a few times.
Step 9 – Install new brake parts
Installation is the reverse of removal.
- Install new brake rotor.
- Install brake caliper mounting bracket and bolts.
- Install anti-rattle clips.
- Install brake pads.
- Attach brake caliper banjo bolt (if removed to install new caliper).
- Slide caliper into place over brake pads.
- Install bolts that secure caliper to caliper mounting bracket.
- Bleed brakes (If brake line was loosened).
- Install wheels.
- Place vehicle back on ground.
- Before driving the vehicle, make sure to pump the brakes to allow the piston in the caliper to seat against the new brake pads.
- Finally, test drive.
Related Discussion and Site
- DIY Brake Pads - DodgeForum.com
- Front Brake Pad Replacement Guide - PaulsTravelPictures.com