
Dodge Ram 2002-2008: How to Install HID Headlights
Modern HID kits are mostly just simple plug-and-play systems. The 3rd gen Ram offers a few difficulties, but nothing the average DIYer can't overcome. Keep reading to learn how to install HID headlights.
This article applies to the Dodge Ram (2002-2008).
HID headlights can be a great upgrade to improve light output and reduce energy consumption. There are tons of kits on the market to retrofit your truck to the newer tech, but there are some issues to overcome.
Modern vehicles, like the third gen Ram, use CANBUS wiring systems rather than traditional point-to-point. What this means is that the body computer is looking for very specific voltage values from the headlights, and switching them from halogen to HID will change those values. The computer will assume there is a fault, display the "Lamp Out" indicator, and reduce voltage to the lights, resulting in flickering. All of this can be gotten around with the right equipment.

Materials Needed
- Ratchet and socket set
- Various extensions
- Zip ties/double-sided tape/industrial Velcro
- HID headlight kit
- 50w 6ohm resistors (optional)
Step 1 – Piece together a full system
There are several ways to overcome the issues of a CANBUS system. The easiest is to just buy a kit that already compensates, then just plug-and-play. These cost more, of course, but for some it's worth eliminating the hassle. For those who would rather save the money and piece together the parts they need, a set of four 50w 6ohm resistors will be needed to trick the computer into thinking the standard headlights are present. A relay harness will also be needed, but these are available with most kits (make sure to verify when you order).
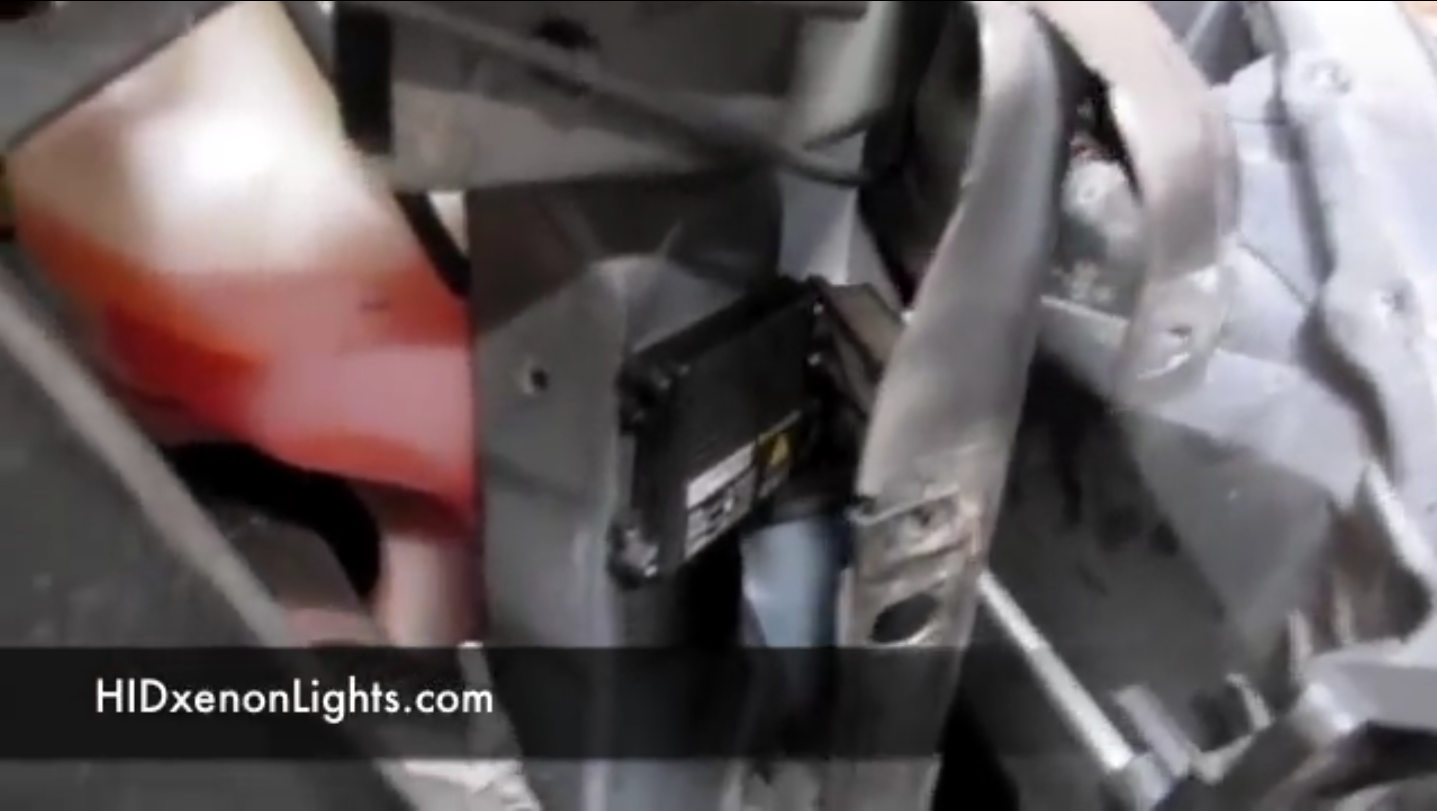
Step 2 – Mount the ballast
The ballasts need to be mounted somewhere near the headlights so they can plug into the HID bulbs. They are generally small and light weight, and can be mounted simply using industrial Velcro, zip ties, or double-sided tape. You can pick any location you like, as long as it's within wire range of the bulbs and out of danger.
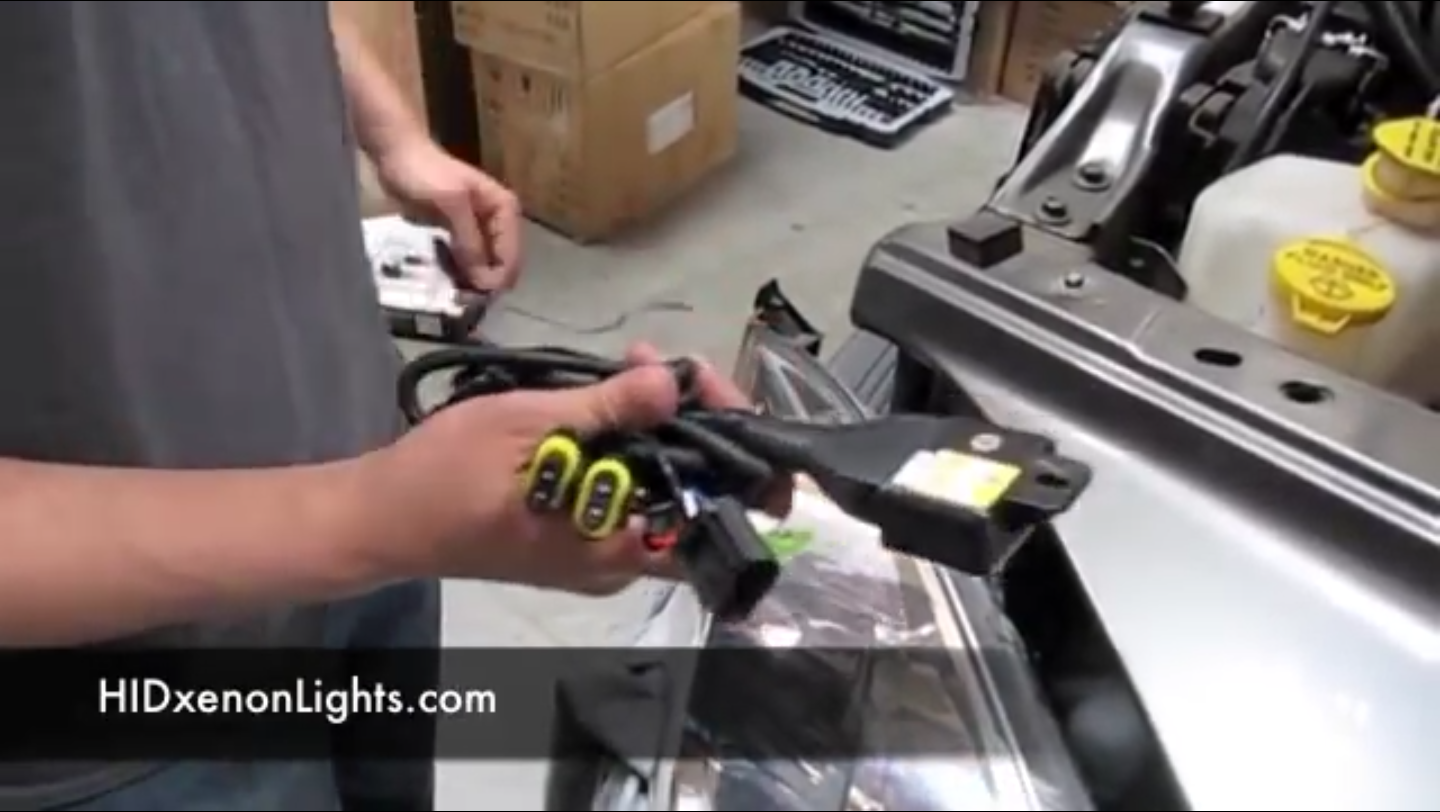
Step 3 – Install the bulbs
Remove the headlight housings and remove the stock bulb. The HID bulbs will mount in exactly the same way.
Plug the standard headlight harness into the female connector on the relay harness and the output to the ballast. You will also need to mount the ground to the body, and attach the positive wire directly to the battery. You may need to extend the wires to reach. Keep in mind: the relay harness only needs to be installed on one headlight to trick the computer.
Plug the ballast into the bulb, and don't forget the small high beam actuator wire. Once both sides are all plugged in, give them a test, and you are done!
(Related Article: How to Replace Headlights and Fog Lights - Dodgeforum.com)
Featured Video: Dodge Ram HID Kit Install
Related Discussions
- HID Headlights - Dodgeforum.com
- Got *HID* Problems? Check in Here... - Dodgeforum.com


