Dodge Ram 1994-2008: Why is My Battery Not Charging?
When you repeatedly end up with a dead battery, you know that something is wrong. Read this article to perform a step-by-step diagnostic to fixing your battery problems.
This article applies to the Dodge Ram (1994-2008).
A dead battery can be caused by any number of things. Regardless of the cause, it is an annoyance. Unless you like being late to work, it's something that needs to be repaired, and fast. This article will help you determine what exactly is the source of the drain. When testing the electrical equipment in your truck, it's best to have a multi-meter on hand.
Step 1 – Check to make sure nothing is running off the battery
One way to check if something is running off the battery is to hook up a multi-meter to the battery cables and check for the amount of amps it's putting out while the engine is off. There should only be a tiny output (no more than 0.02 amps) from the battery which is used to save your radio clock memory. If it's much higher than that, there is probably something running directly off the battery.
Make sure that no lights or electronics are staying on while the engine is off. Check for any aftermarket installations as it could be possible that someone spliced into an unswitched cable. If you find any bad hook-ups, disconnect them and see if that lowers the amp output from the battery.
If there aren't any bad connections drawing power, continue on to Step 2.
Step 2 – Check the condition of the battery
It is possible that you just have a bad battery, but you won't know for sure until you've had it properly tested. Go to a local battery shop and have them do a load test on your battery. This will check if the battery is functioning under a heavy load. Also use your multi-meter to make sure there are 12 volts in the battery.
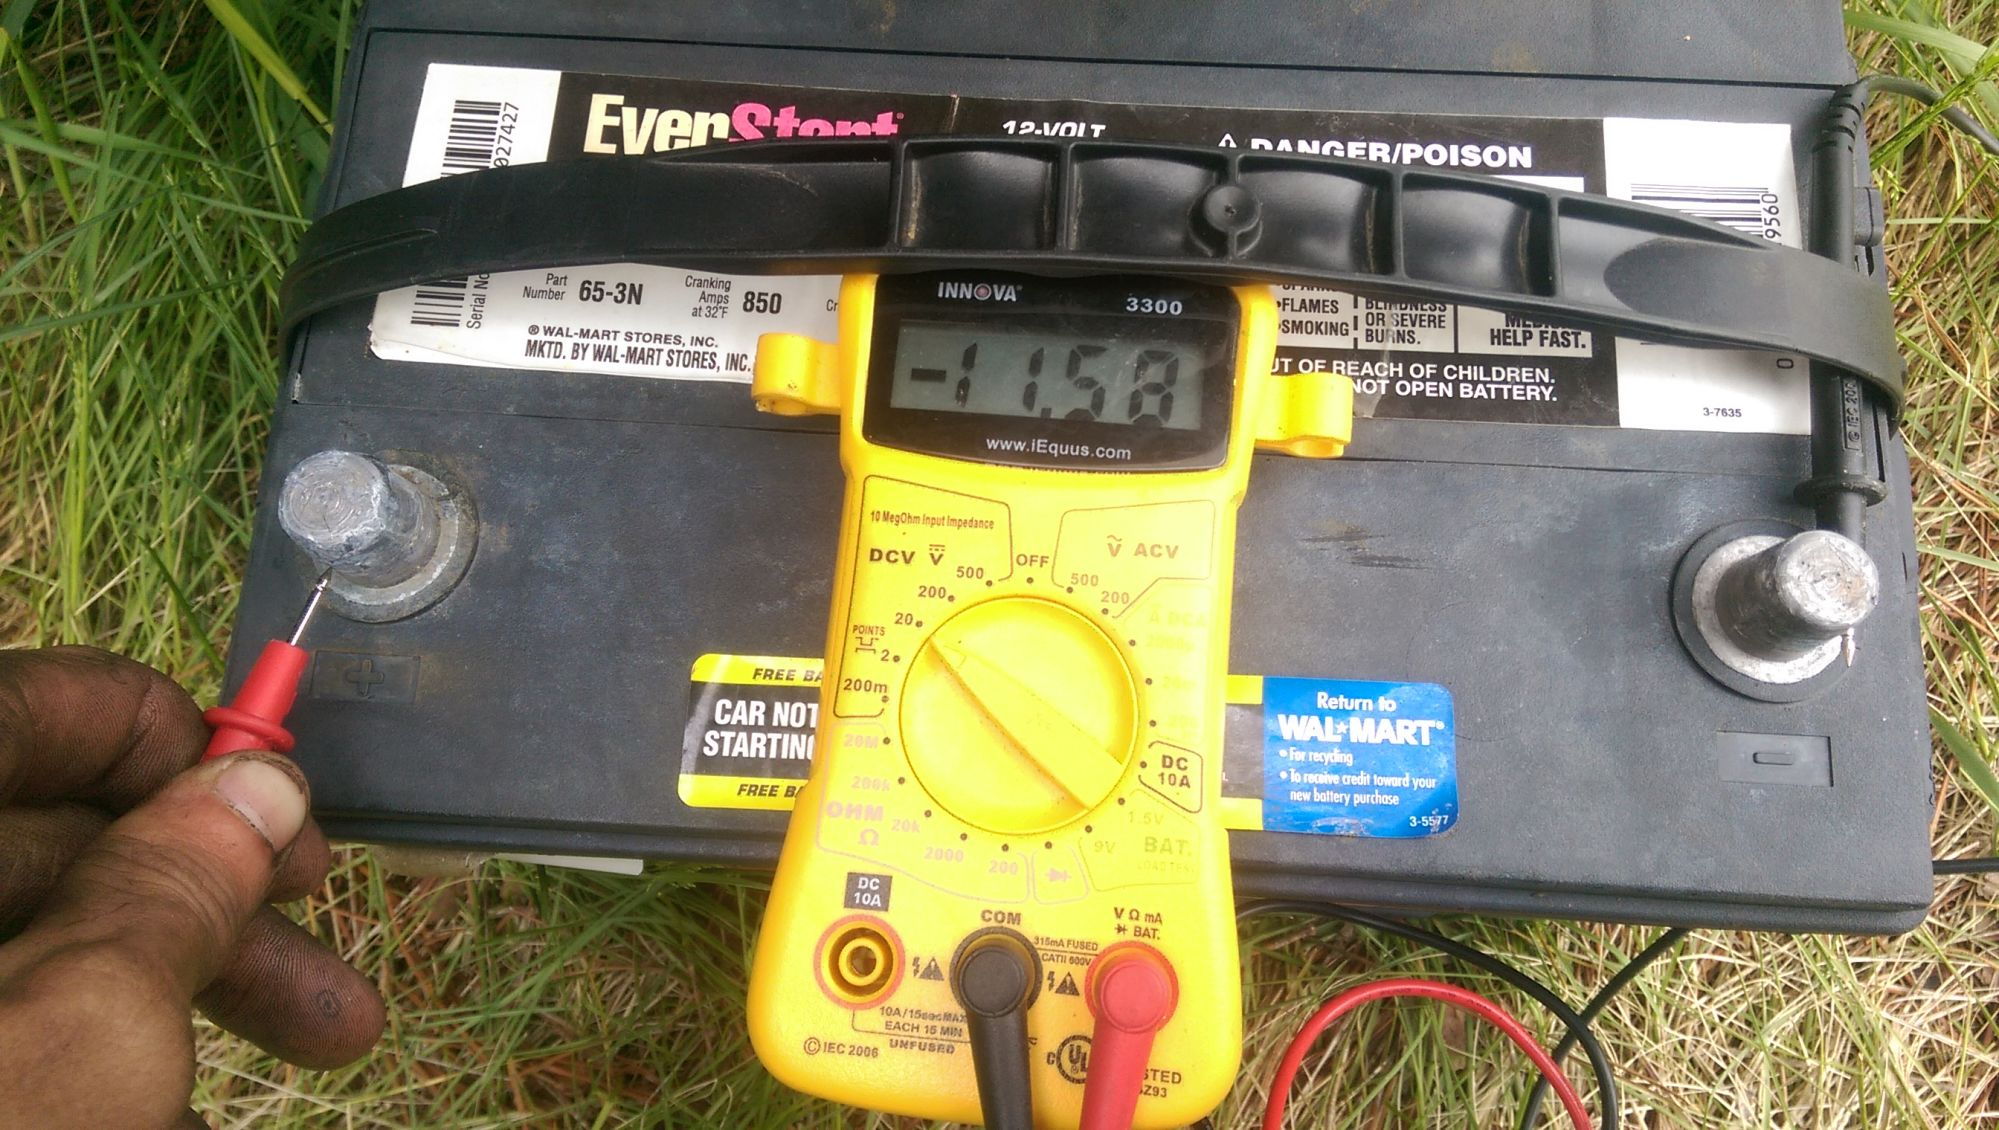
If the battery has good voltage, then continue to Step 3.
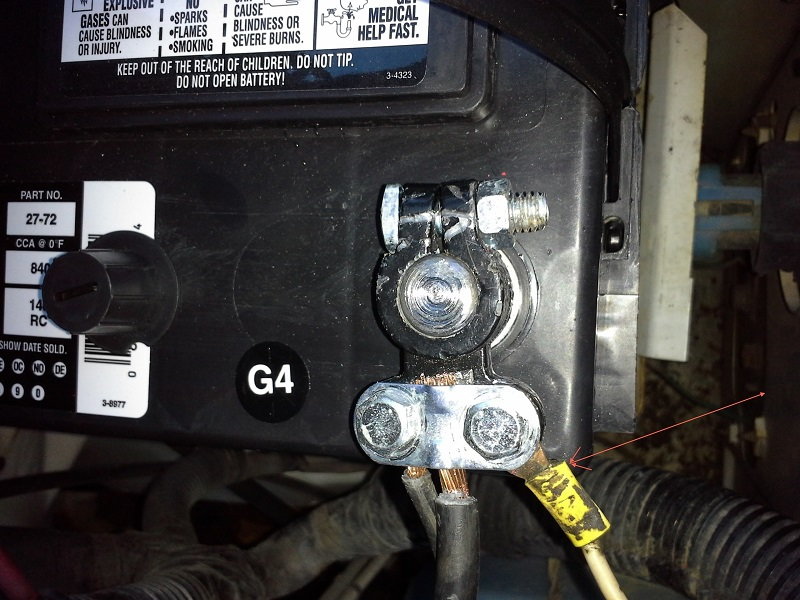
Step 3 – Check the cables
Sometimes, cables can get corroded and cause a drain on the battery. Take a look at the positive and negative cables connected to the battery. Use battery cleaner on the terminals to clean up any corrosion. Next check the ground connections to make sure that they are properly grounded to the truck's chassis and that they are free of any rust or corrosion. Check for any damage along the wires. It's possible for a crimped wire to have its connection severed.
It's common practice to use sandpaper on the metal connections to clean them up. Remove any metal connections or grounds. Scuff them up and ensure that they are shiny and clean. Then, re-install.
If all the cables look good and there is no damage, read on to Step 4.
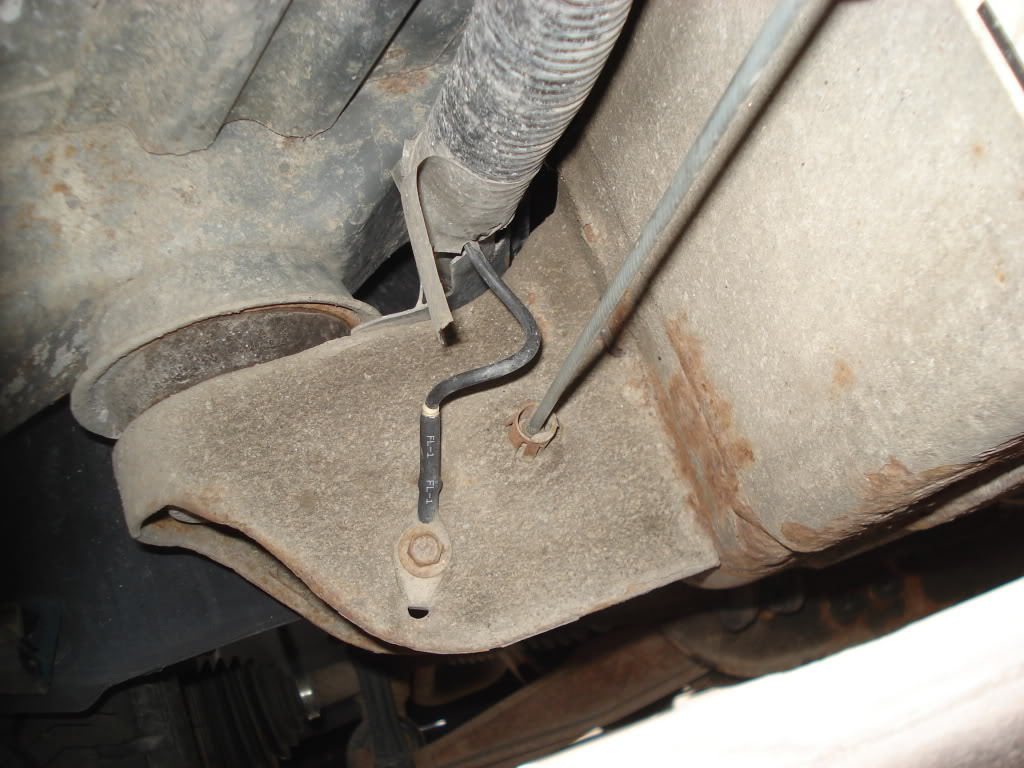
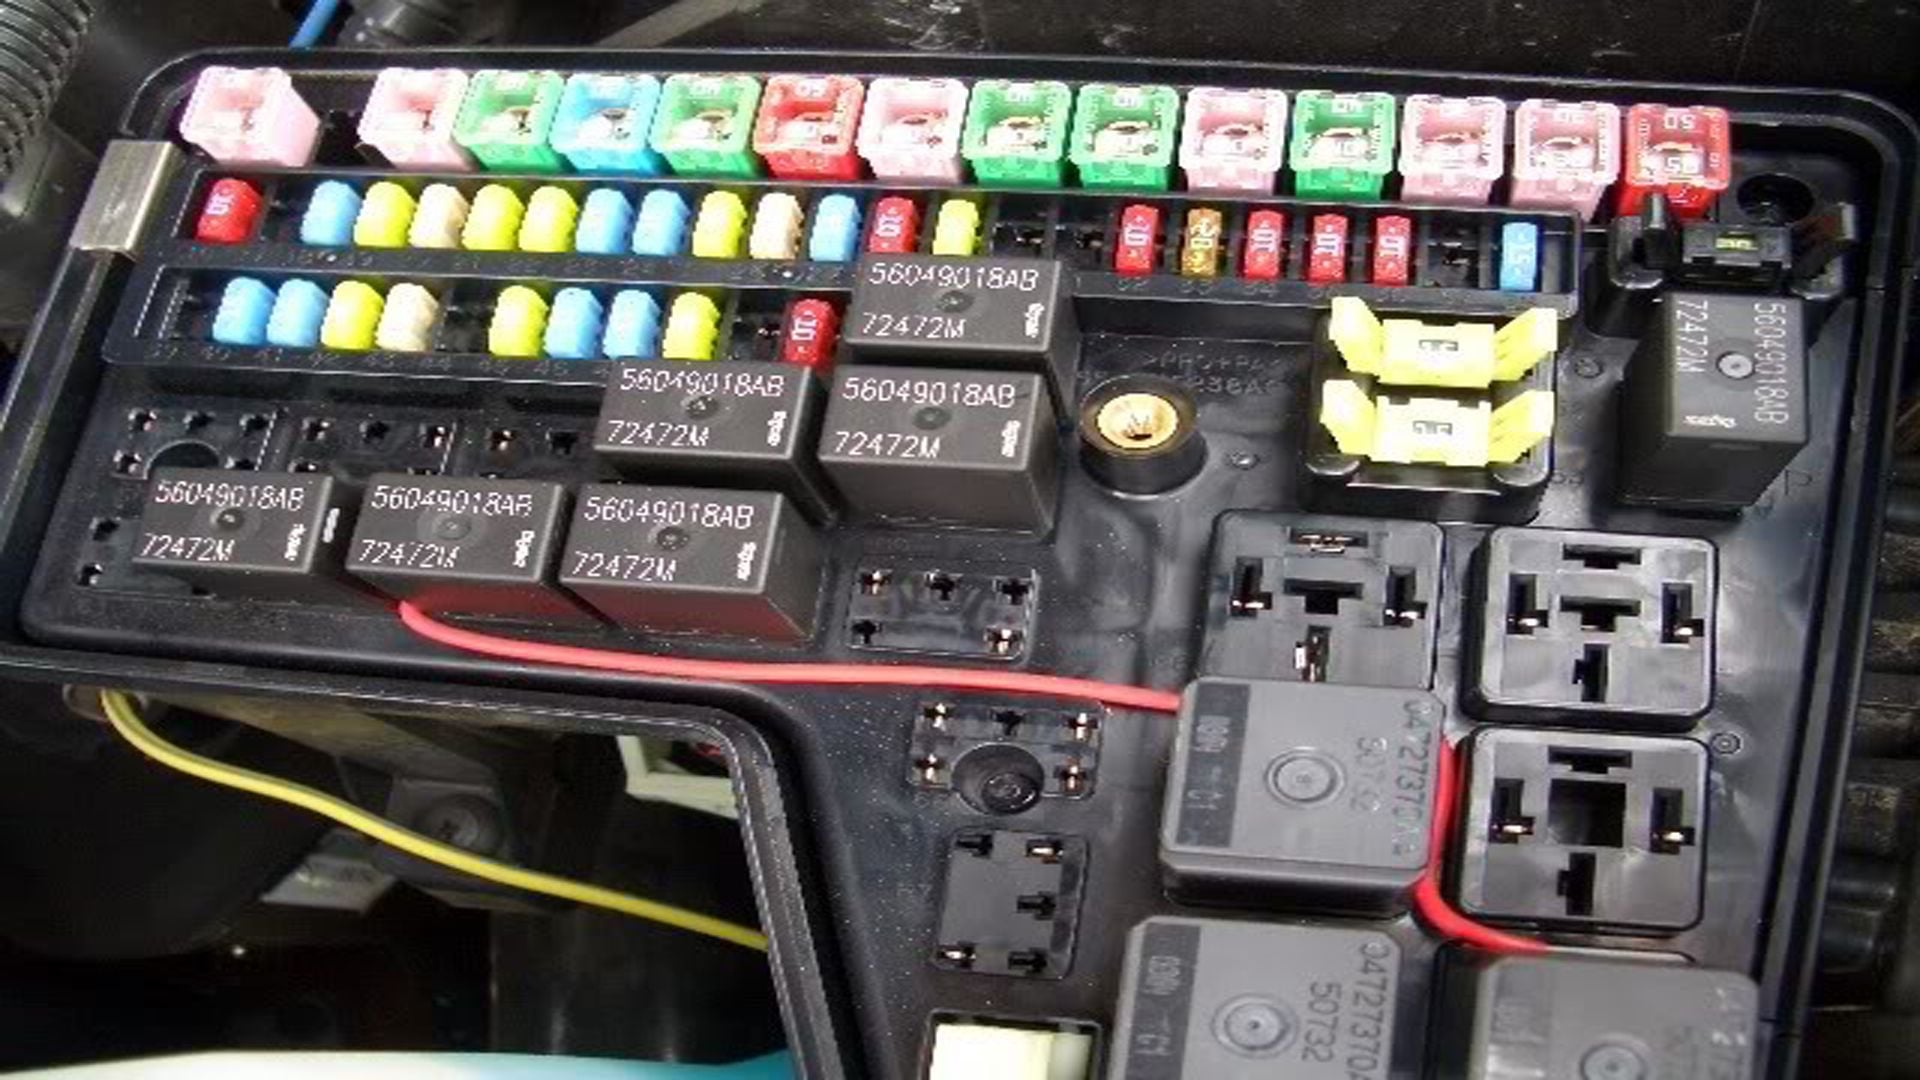
Step 4 – Check the fuses
Make sure that there are no unnecessary fuses installed. Begin with the radio fuse first. If it's not drawing the same number of amps as what's coming from the battery, then you'll have to check the other fuses. If you find a fuse that's getting powered when the engine is off, pull the fuse and recheck the battery to see if that's what's been draining your battery. Unless the fuse is vital to the truck's operation, you should leave it out and see how your battery does over the next couple of days.
If the fuses all check out, move on to Step 5.
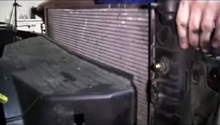
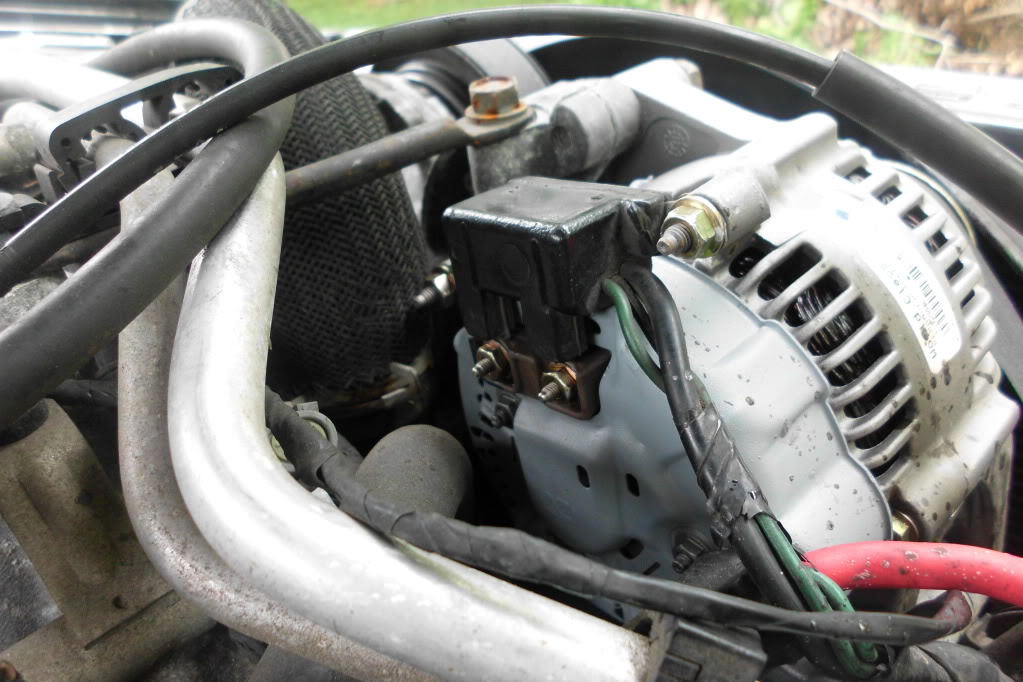
Step 5 – Check the alternator
If nothing is actively draining your battery, then it's likely that your battery isn't getting enough charge from the alternator. Try checking the battery after the engine has been revved for a bit. It should be getting close to 14 volts when the alternator is charging it. If it's any less, then you know that it's not getting a charge and that the alternator has gone bad.
Related Discussions
- Strange Battery Drain - DodgeForum.com
- 03 Hemi Ram Not Charging - DodgeForum.com
- Voltage/Charging Issues on Dodge Ram 2500 - DodgeForum.com
- Need a Solution to Alternator/Battery Problem - DodgeForum.com
- 05 Dodge Ram 1500 Battery Drain Issue - DodgeForum.com
- Batteries Completely Dead Multiple Times - DodgeForum.com