Dodge Ram 1994-2001: How to Replace Front Axle 4WD Actuator
If your Ram truck won't shift in or out of 4WD, the front axle actuator is the most likely culprit. Fortunately, this component is easy to replace.
This article applies to the 2nd Generation Dodge Ram (1994-2001).
The 4WD front axle actuator in your Dodge Ram is what engages the front axles when you switch into 4WD. These are failure prone and can either leave you without 4WD when you need it, or stuck in 4WD when you don't. It's especially important to replace the actuator as soon as possible if your truck is stuck in 4WD, as you can end up doing more damage driving it around in conditions that don't require it.

Materials Needed
- New Dodge Ram front axle 4WD actuator
- Ratchet with 7/16" socket
- Drain pan
- Flat head screwdriver
- Hammer
- Drive-on ramps (optional)
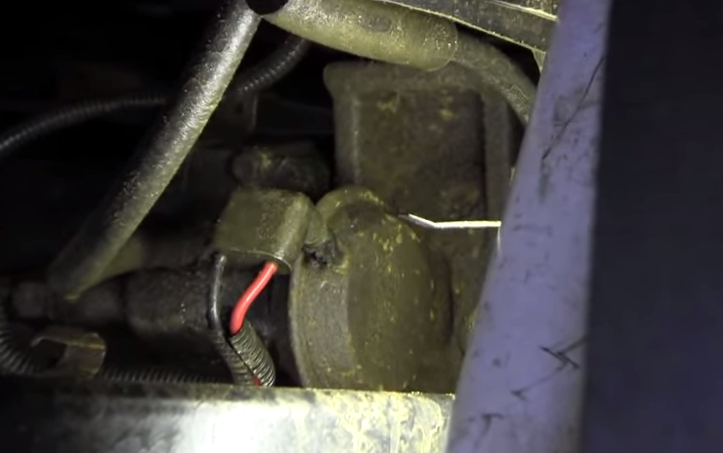
Step 1 – Locate the old actuator
- The first thing you'll need to do is locate the 4WD actuator. Depending on your working conditions, this may require raising the front end of your truck to gain more work space; drive-on ramps are perfect for this.
- Looking underneath the front passenger's side of the truck, you will see the actuator on the front differential.
Step 2 – Remove the actuator assembly
- Using a 7/16" socket, remove the skid plate below the actuator assembly.
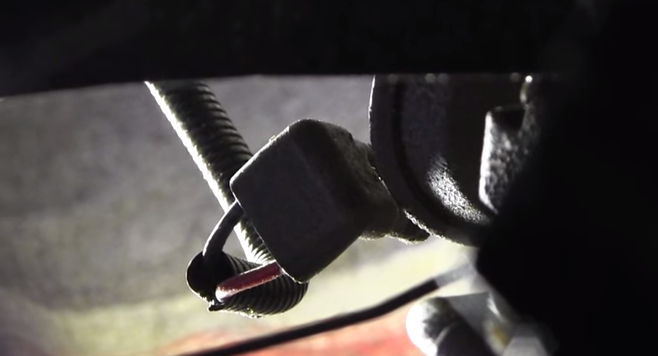
- Then firmly pull off the vacuum line from the actuator assembly.
- Place a drain pan under the actuator; it will leak some fluid when the actuator assembly is removed.
- Using a ratchet with 7/16" socket, remove the four bolts holding the actuator assembly in place.
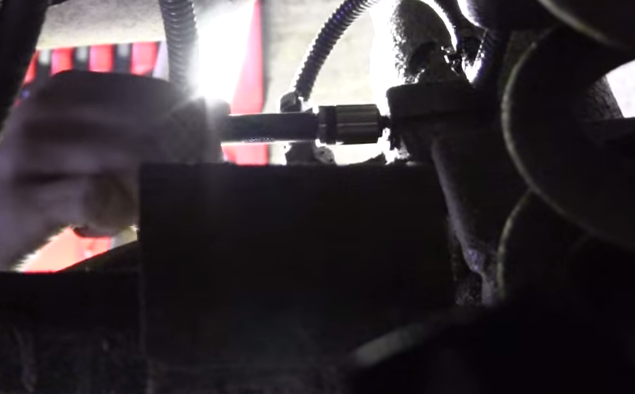
- After the four bolts have been removed, pull off the entire actuator assembly.
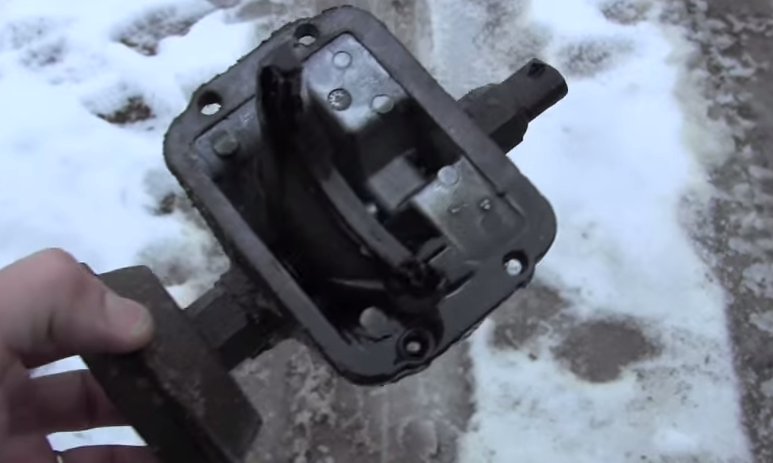
Step 3 – Remove actuator from the assembly
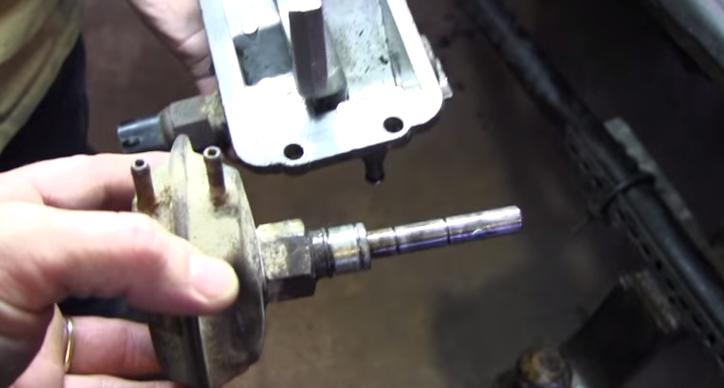
- Using a flat head screwdriver, pry out the three snap rings on both sides of the shift fork. One is on the side furthest from the actuator, and the other two are on the side closest to the actuator.

- With the snap rings removed, pull out the old actuator. If it doesn't slide out easily, you can either heat it up or use a hammer to knock it loose. If using a hammer, rotate the actuator as you hit it to avoid bending it in place.
Step 4 – Install new actuator into the assembly
Install the new actuator to the assembly in reverse order to process of removal.
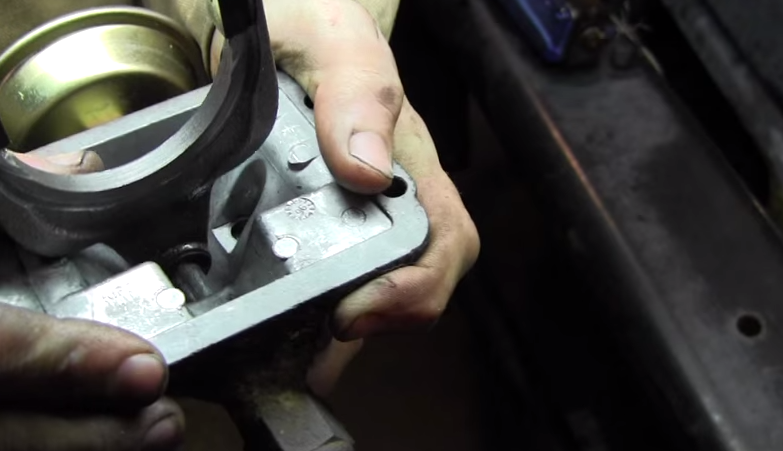
- Slide the new actuator through the shift fork and into the assembly. Make sure to have the O-ring in place for the actuator to slide through.
- Install the three snap rings.
Step 5 – Install the actuator assembly
Install the 4WD actuator assembly in reverse order to process of removal.
- Place the new gasket on the assembly.
- Re-install the four bolts using your ratchet with 7/16" socket.
- Slide the vacuum lines back onto the actuator assembly.
- Re-install the actuator skid plate using your 7/16" socket.
Featured Video: Front 4WD Axle Actuator Replacement
Related Discussions
- 4WD Actuator Vacuum Lines - DodgeForum.com
- 4WD Actuator Issues - DodgeForum.com