Dodge Ram 1994-2001: How to Replace Engine Coolant Temperature Sensor
If you are having issues with your temp gauge or throwing coolant temp sensor codes, this article is for you. This outlines everything you need to know to install a new sensor yourself.
This article applies to the Dodge Ram 2nd Generation (1994-2001).
The coolant temp sensor(s) have a few jobs. They send a signal to the gauges so you can monitor engine temperature, they tell the radiator fans when to kick on or off, and they let the ECU know how warm the engine is so that it can fine-tune the fuel delivery to give you maximum performance as well as fuel efficiency. Occasionally, they can go bad and cause some driveability issues. If left unchecked, cooling problems can lead to series engine damage like warped heads.
From 1994 to 1997, the Ram had two coolant temp sensors (CTS) to handle the different functions. In '97, they began switching over to one multi-function CTS, and in '98 and up they all had just one. Additionally, some had just one-wire sensors, where others had multi-wire. Make sure you know which one your truck has to be sure you order the right parts.

Materials Needed
- Open-end wrench set
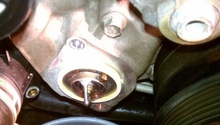
Step 1 – Gain access
The sensor(s) thread into the in intake manifold on either side of the thermostat housing, behind the alternator. You will need to remove the intake piping to find them. Unscrew the air cleaner cover bolt, and un-clip the airbox to set it aside. On trucks with two sensors, the one on the left of the thermostat housing is the sending unit for the gauge, and the one behind and to the right sends signal to the ECU. Depending on the problem you are having, you will likely just change one or the other.

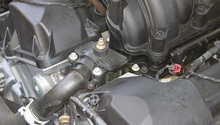
Step 2 – Replace the sensor
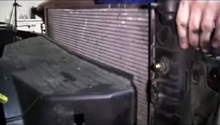
Unplug the harness connector from the sensor, and verify that it has the same number of wires as the new one you bought. There is coolant behind the sensor, so you may want to drain some from the radiator before you remove it. Otherwise, just put rags beneath it and be ready to top up the system.
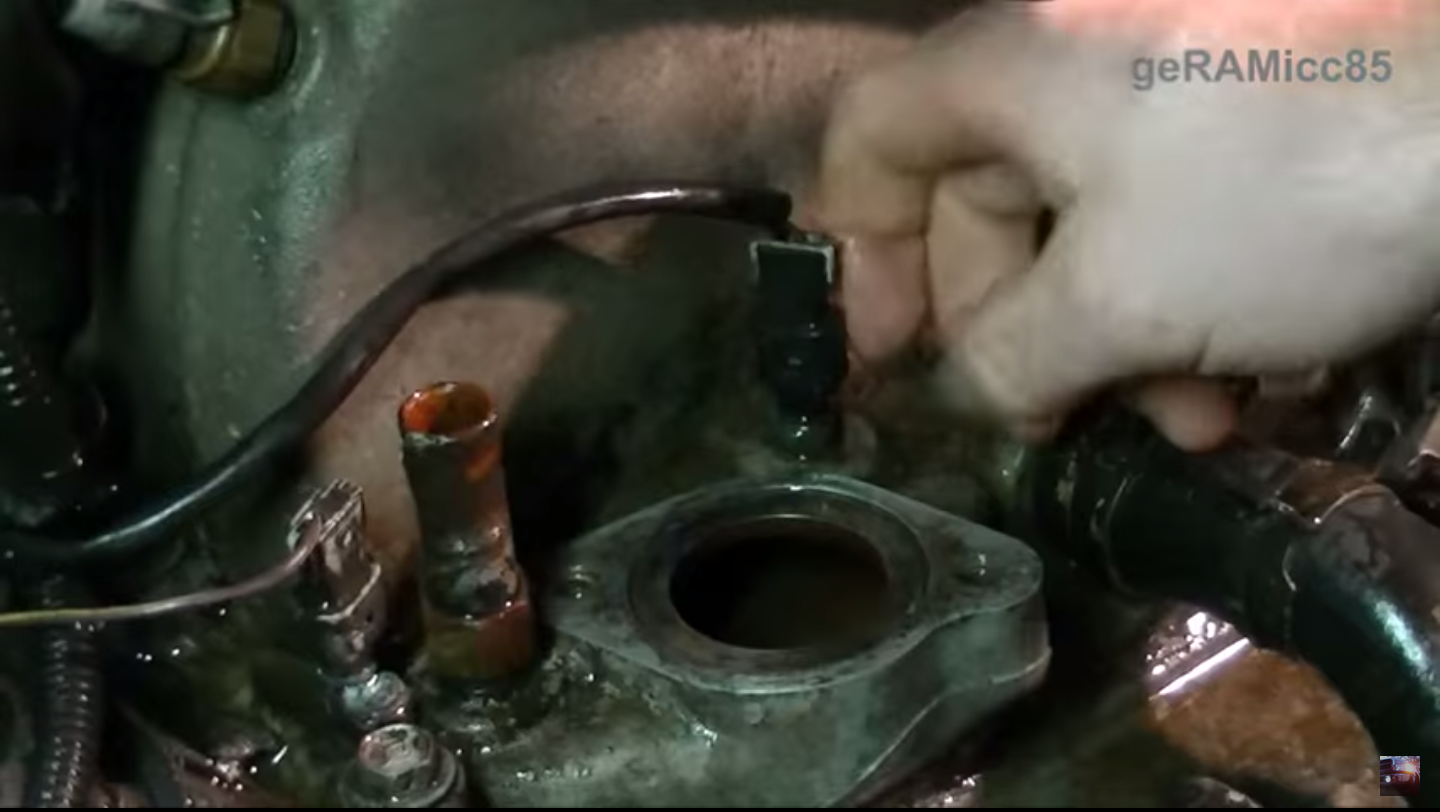
Use an open-end wrench to remove it from the intake manifold, and set it aside. If you are having trouble getting a wrench on it, remove the alternator first; although, it is possible with it in position. These sensors use pipe threads, meaning they are tapered and should not need any sort of sealant or Teflon tape. In fact, some sensors ground through the threads and Teflon can inhibit this connection, causing false readings. Tighten the sensor, reconnect the harness, and put the intake back together. Make sure the coolant is topped up.
Step 3 – Verify the repair
With everything back together, start the truck and let it idle until it reaches operating temperature. Check that the radiator fans are coming on and off every few minutes, that the gauge is showing a normal temperature, and that the ECU isn't throwing any coolant related codes.

Featured Video: How to Replace Coolant Sensor
Related Discussions
- Engine Coolant Temperature Sensor - DodgeForum.com
- Coolant Temperature Sensor Confusion - DodgeForum.com
- Coolant Temperature Sensor - DodgeForum.com